Included in the Deluxe Beam Spring First Aid Kits: 12 beam spring modules. Unlike the Model F first aid kits, the Beam Spring First Aid Kits do not include the recommended spare inner foam. Please pick the Round 1 first aid kit for the Ultra Compact B104 or Ultra Compact BSSK, and please pick the Round 2 first aid kit if you have the classic style beam spring keyboards (B62, BSSK, B104, or B122).
Importance of the add-on Deluxe First Aid Beam Spring Kit: The first aid kit that is included with each keyboard is just 4 modules, designed for initial fixing of modules broken in shipping or otherwise damaged. The “real” first aid kit folks pay for in the product add-on has 12 modules. If the modules fail many years from now, it is strongly recommended to have spent the extra $4 per module to have enough modules to last you the life of the keyboard, since modules won’t be available after this project shuts down and ends production. I think I saw some original beam spring modules going for $50 individually since the supply dried up, and I don’t want that to happen with these.
Expectations: In my experience all but 1 or 2 of the beam modules can be adjusted so that they are fully functional without needing replacement. The expectation is that up to 4 beam modules may be replaced with ones from the included first aid kit (of course if more than 4 are non-repairable following the setup video, the limited warranty usually provides for free replacements of these additional modules beyond the first 4; see below for details). You will not receive 4 additional modules by mail if 4 are broken initially or after some usage, for example; those 4 free modules are meant to serve as advance replacements. In other words, you are not guaranteed to receive all of the modules as fully functional and the included mini first aid kit permits you to replace up to 4 damaged modules yourself. If additional modules are broken, you will receive a partial replacement "Part B" that you will have to assemble – you won’t receive a fully assembled module ready to install.
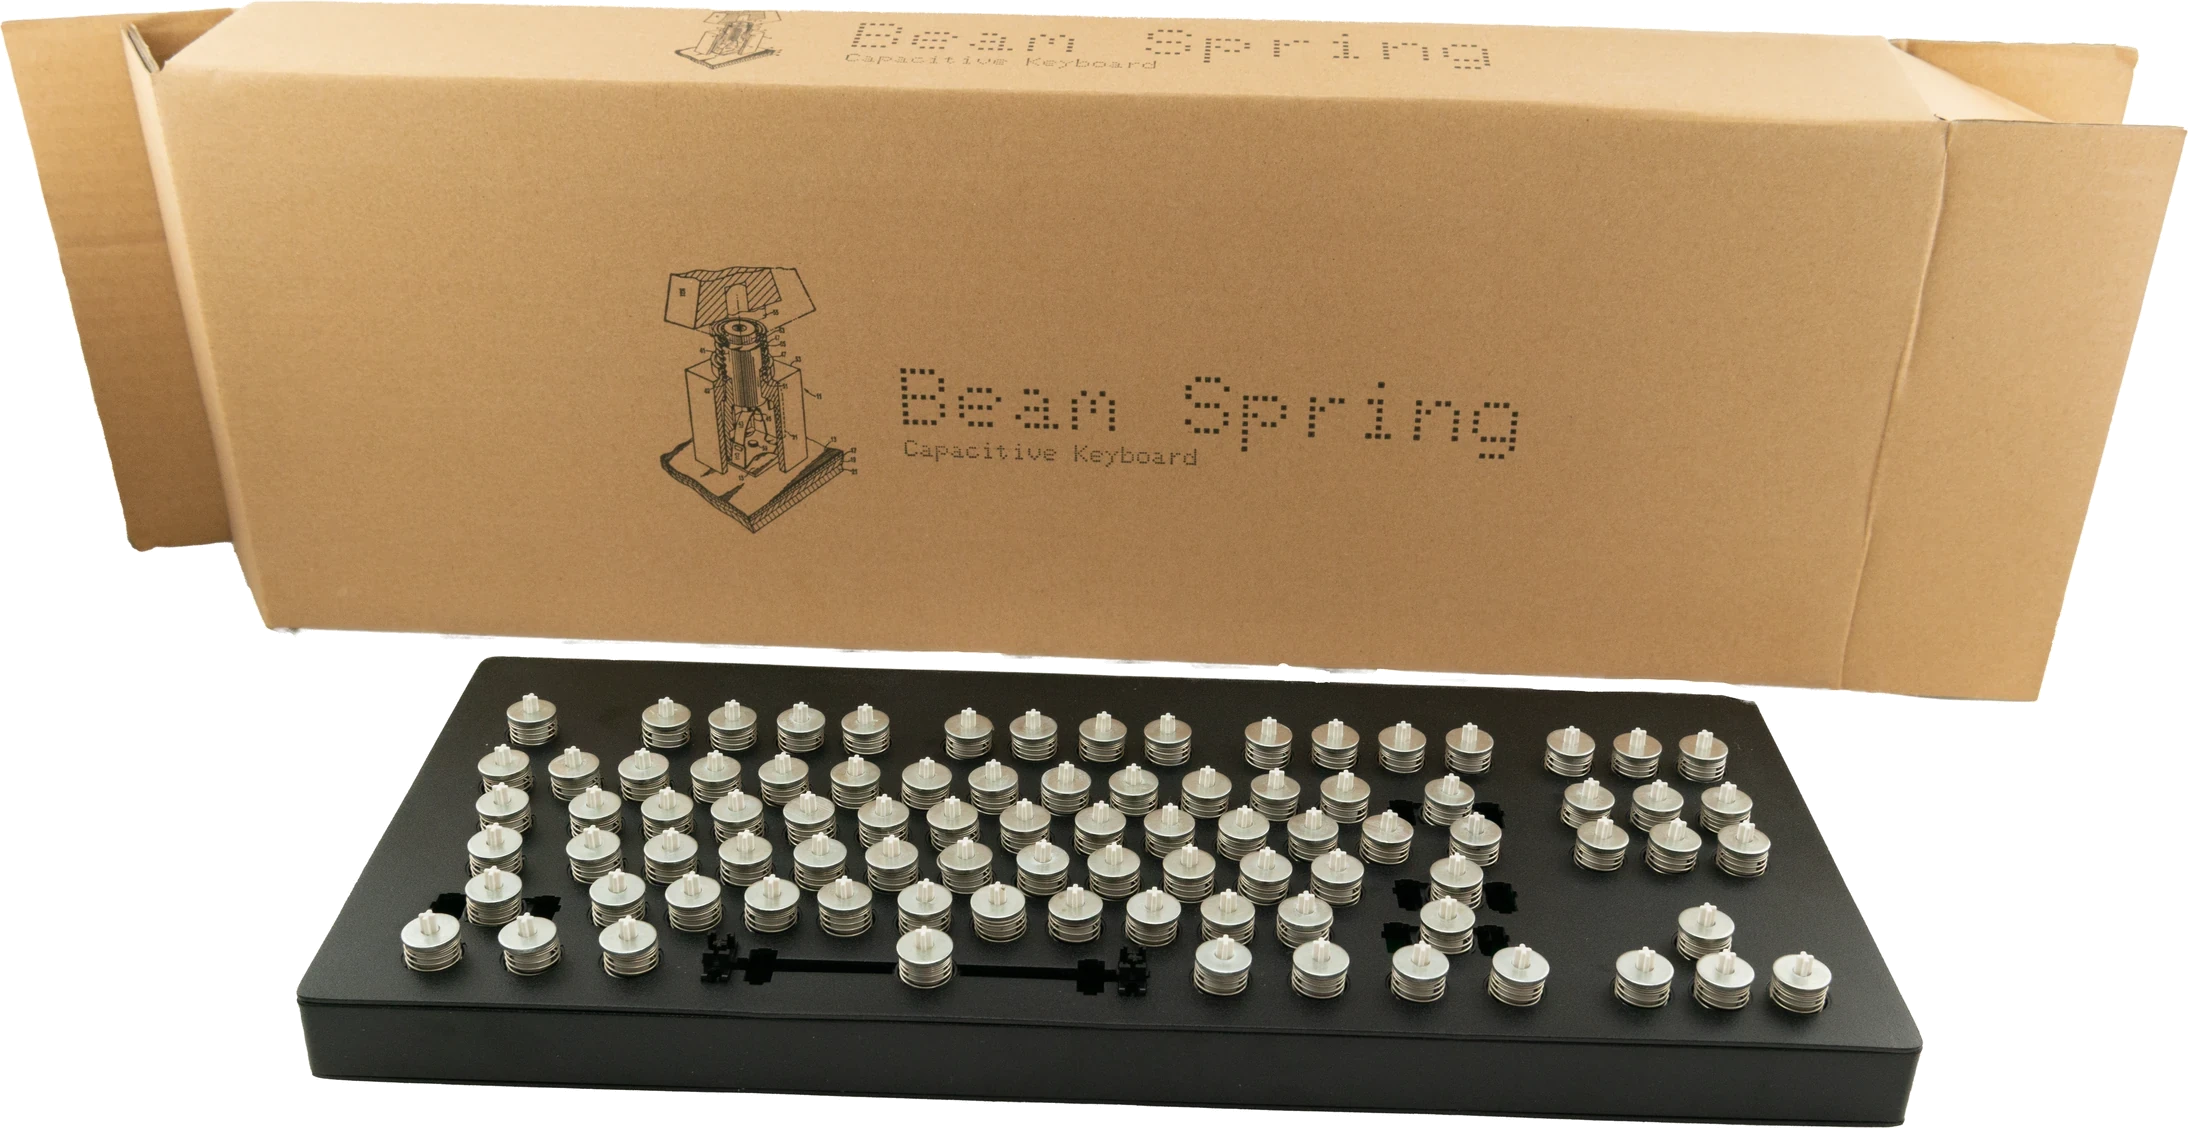


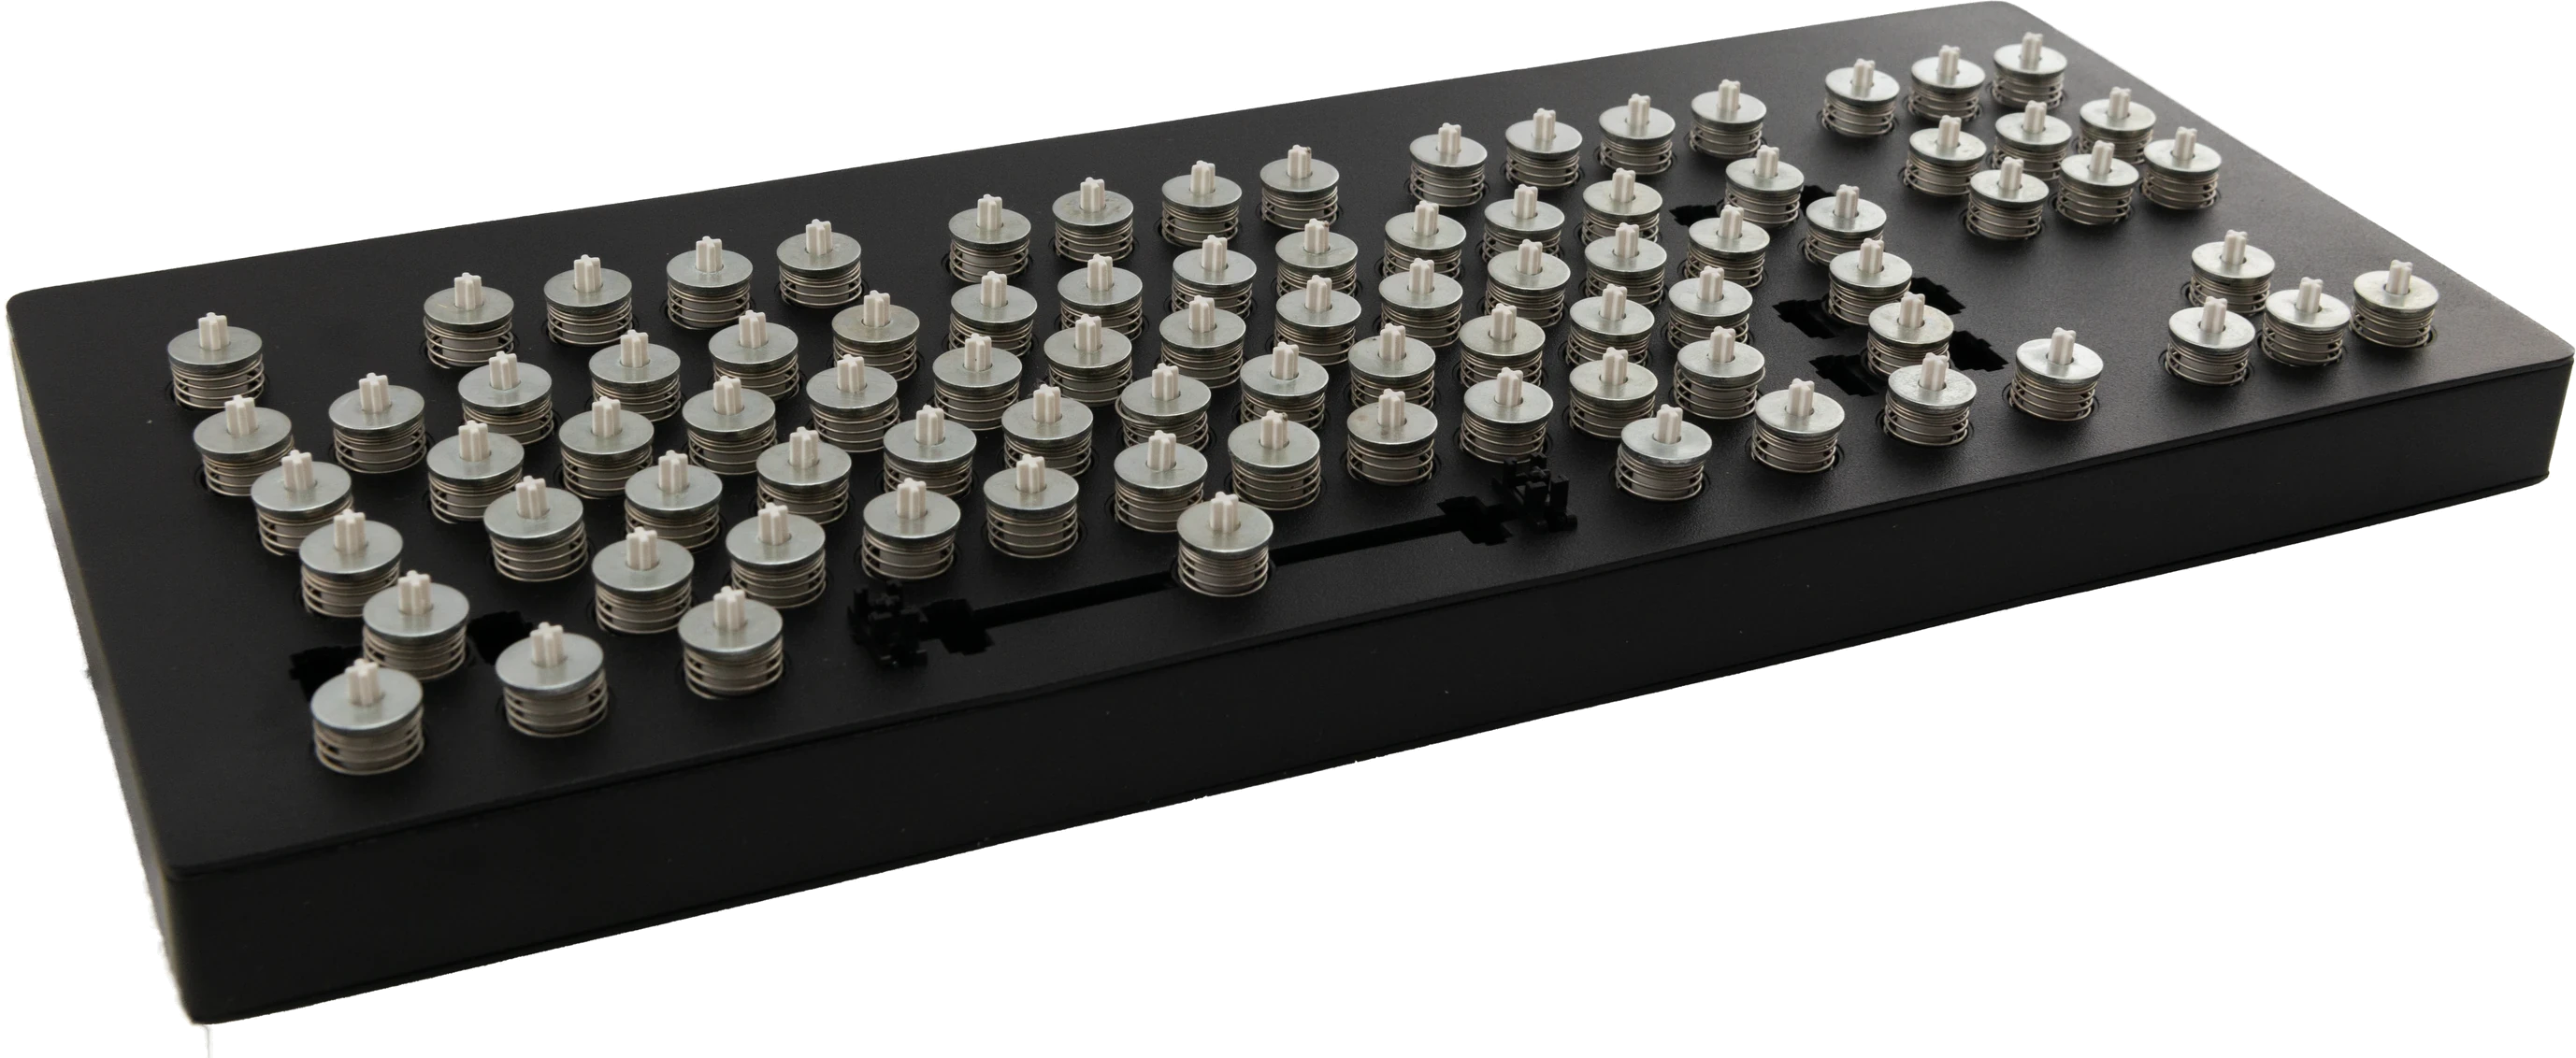


First Aid Repair Kit for the future


Base Key Set
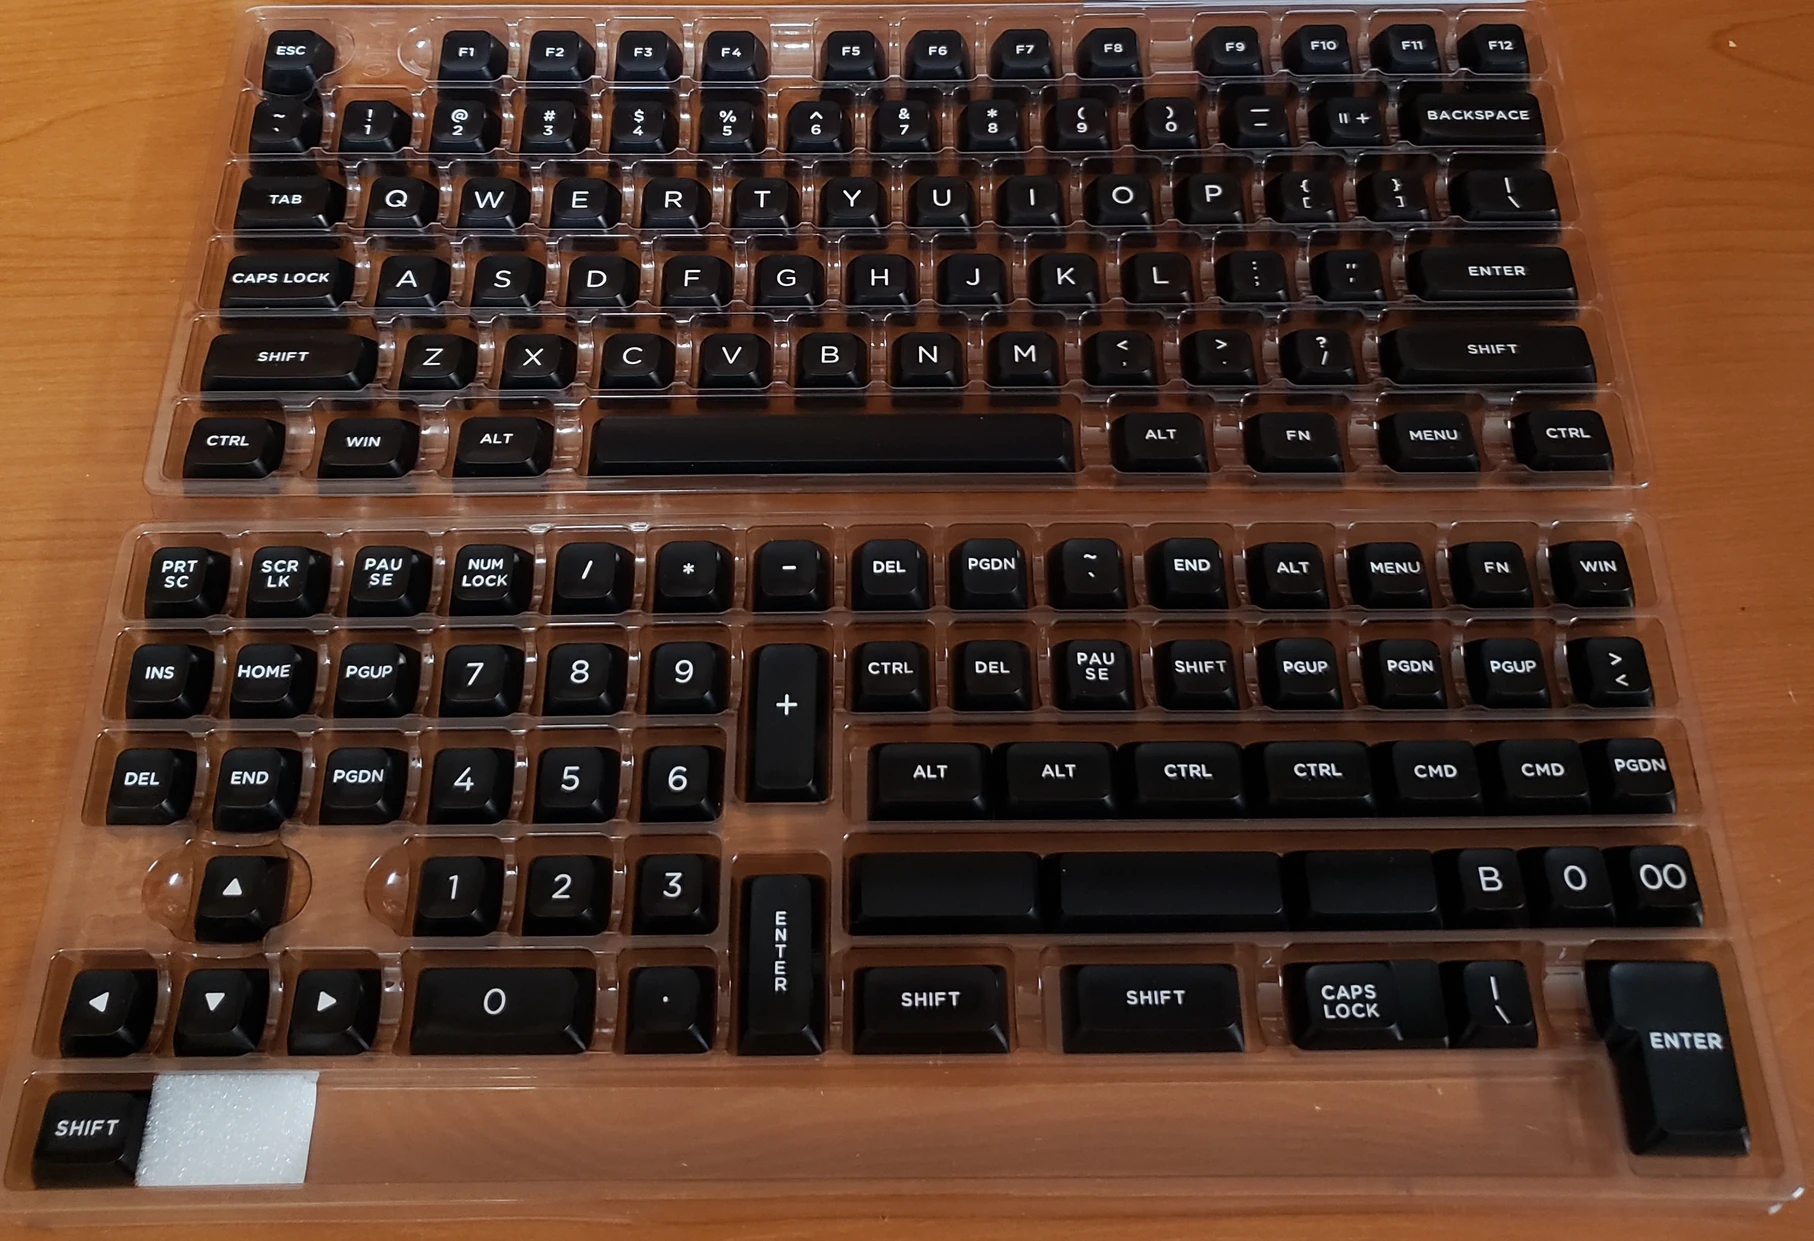
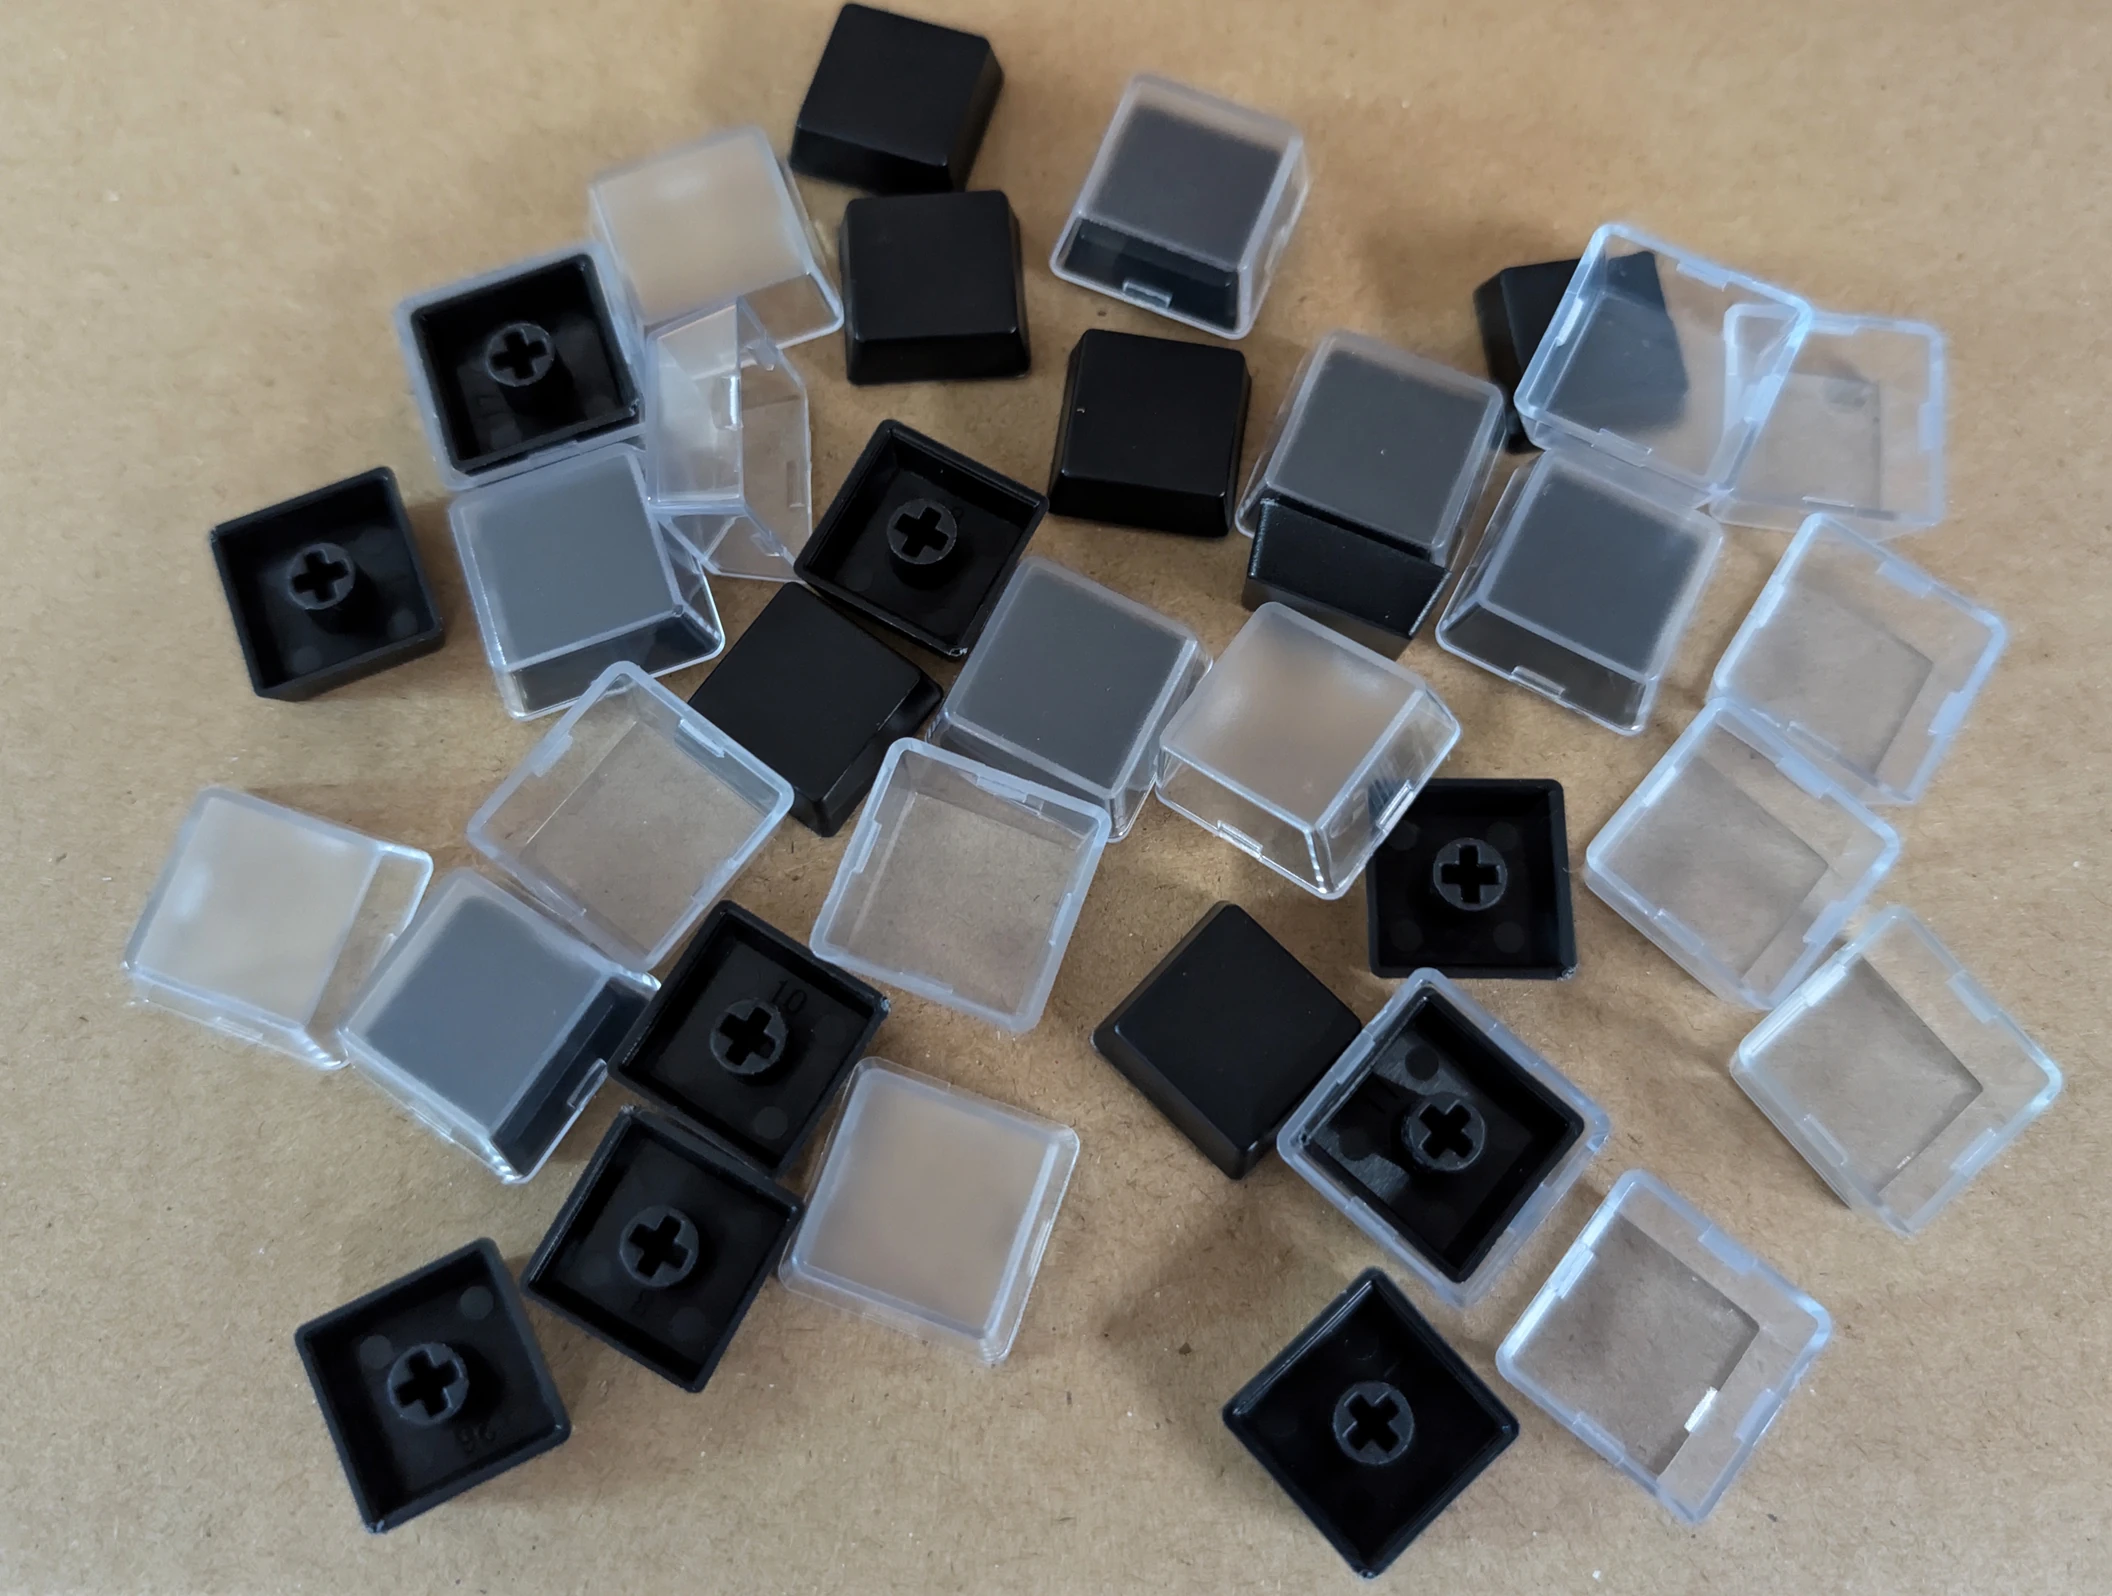
Choice of 2 MX-compatible PBT double shot key sets. The key sets are US ANSI but with additional keys so you can make an ISO and/or HHKB style layouts, with one exception: the black ISO Enter key with white text is a separate purchase for all key sets; it is not included in any key set. Beam spring key sets are MX stem key sets so they should work with MX type keyboards as well as the brand new beam spring keyboards. These key sets will not work on Model F or Model M keyboards. Many people just pick both, or order extras of their preferred set, since they may want to change their keys over the coming decades and these were custom ordered with an enormous minimum order quantity that may never be reordered.
• Choice 1: black modifier keycaps with white text, and the rest of the keys white keycaps with black text
• Choice 2: all black keycaps with white text (recommended choice: the other set is more popular than expected so if you are flexible, please order this set)
Important: you only get the keys pictured, even if you order a Beam 122 key keyboard, or ISO or HHKB style layout, so you will have to make do with these exact keys, order the project's 22 key transparent relegendable MX key set, or try your own keys. The included keys can make both an ANSI and ISO layout as pictured, though some keys will not have the normal ISO legends or may have a slightly different row profile than the row you intend to install it in. If a key is not pictured in the key set photos, it is not included, even if the key would normally be included with a layout that you want. There may not be enough keys in the included key set to cover the 122 key keyboard the way you want it. For example, the key set with this project does not include switched Caps Lock and Ctrl keys for a HHKB style layout, nor F13-F24 keys for the B122 layout. In the photos, the bottom left row has a few keys that will not be included in the key sets as they were just sample keys: Z A W 8 3.
If you want to use the included set with the ISO layout, I recommend the all black with white text keys because the factory made the < > key next to ISO left shift in black instead of white. If you want ISO, remember to order the black ISO Enter key as it is not included, even though it's in the photos. Alternatively you could just use the key or use any other 1U key in that position. Since MX keycaps have different profiles/keycap heights for each row, using one of these keysets in ISO will likely have one or two keys with a different row height. The "Choice 1" key set does include a white ISO Enter key as pictured.
Keys are not included with any beam spring keyboard, unless a key set is ordered.
In the interest of full disclosure the keycap photos have had their colors altered to reflect the expected black keys and white keys option (black modifier keycaps with white text, and white keys with black text for the other keys). The other option will be all black keys and white text. The reason is that the factory is custom making the requested colors just for this project and no other customers had requested this before, so our specified colors were not available as a sample.


Solenoid driver and solenoid
Enhance tactility through an extra-hefty solenoid: This is an extremely popular add on, with over 1,000 sold so far. A metal plunger strikes the solenoid housing with each keypress to create a powerful typewriter-style thunk, a physical tap you can feel while typing. This optional add-on has adjustable power and can be toggled on and off by key combination. It adds extra clickiness to the keyboard. It is a click that you can feel and hear, for extra feedback when typing each character.
Remember to order both the solenoid driver and the solenoid, which are two separate store items that are not included with any keyboard (when configuring with a keyboard, they are grouped together but you can buy them individually on the solenoid product page).
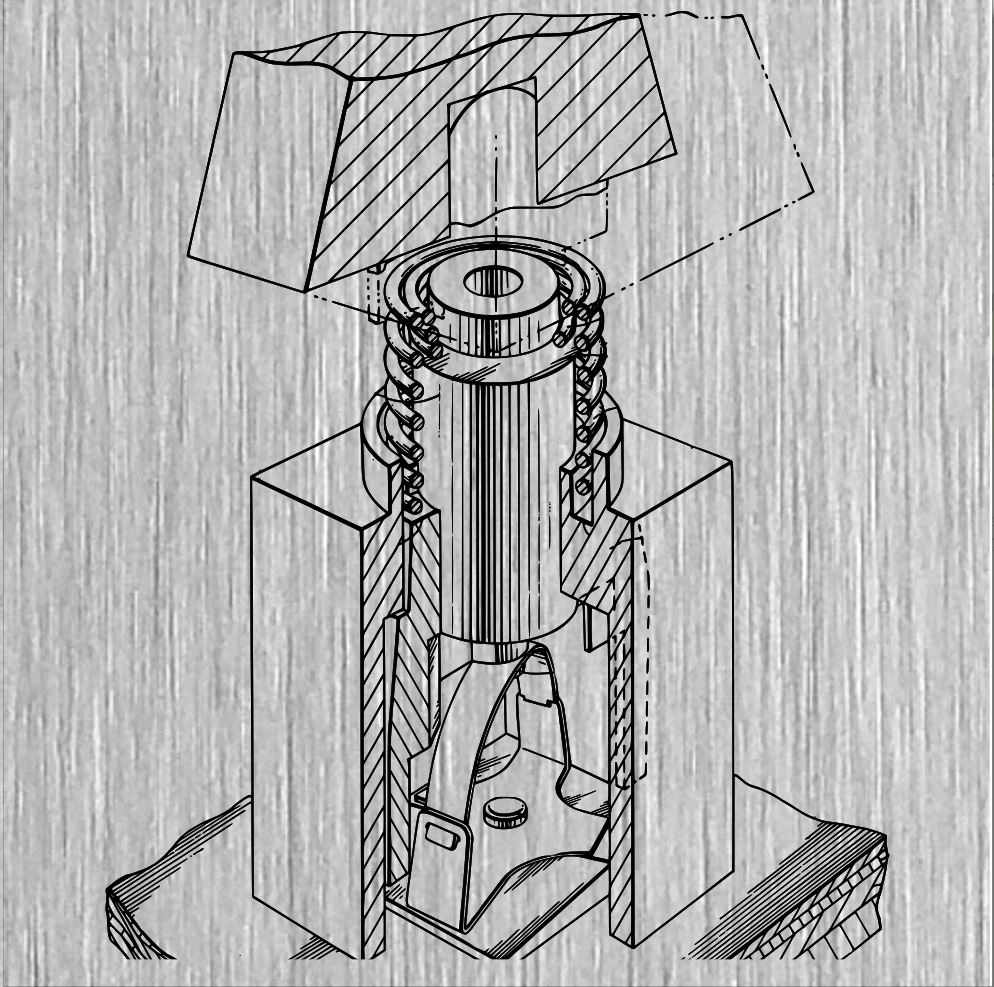
About solenoids: IBM has had a long history with solenoids, dating back at least to the late 1970s with their development of the beam spring keyboard. To increase the tactility of the already-tactile beam spring keyboards and make them more in line with their clicky predecessor the IBM Selectric line of typewriters, IBM added a solenoid to various beam spring and Model F keyboards. A solenoid has a metal cylinder (or plunger) that when the surrounding coil receives a current, it moves that cylinder, which then makes contact with the metal enclosure of the solenoid, and then it springs back to its original position, so you can have an audible click and you can feel the tap of the solenoid with each keypress. That is why solenoids are a great way to have even extra feeling while typing. Most folks probably don’t want the solenoid on all the time which is fine: the firmware has a built-in key combination toggle command so that you can switch on and off the solenoid as needed, without having to unplug anything. These solenoids are also a great option as an upgrade to IBM’s original solenoids too (I’d always save the originals of course for the sake of completeness).
Custom made solenoid specifications: Why pick this solenoid over other solenoids or over IBM’s original solenoids? The new solenoids are far beefier than IBM’s originals, so your solenoid clicking will be even better! It’s a custom design that you can only order here. The specifications are 6v, 40 ohm, 0.15A, 0.9W, adjustable throw factory set to 1mm but with a user-adjustable range of about 0.5mm to 5mm (there are 2 screws that can be loosened to adjust the distance of the strike bar). The factory throw setting allows you to start using this solenoid with no modification (still need to follow xwhatsit’s solenoid installation guide to avoid damage to equipment). This solenoid has the dark blue outer covering, black and white twisted wires and 2.54mm connector like the original IBM solenoids, but with a strike bar so it won’t exactly resemble the IBM solenoid. This solenoid is not the one that’s available on eBay, though it looks similar and the voltage and resistance specs are the same. Also that other model doesn’t have the adjustable throw – you would have to spend time milling the strike bar to modify it for correct usage with the solenoid drivers. If the ebay solenoid’s throw distance isn’t changed, your solenoid will be very sluggish and won’t be able to operate at full typing speed. Also my solenoid is even larger than the eBay solenoid, the 26mm height dimension on eBay is set to be ~29-30mm on my solenoid (the solenoid goes sideways in F62/F77 so it fits) though all the solenoid specs are subject to change. With a larger metal frame, my solenoid should be a little louder than the eBay model and far louder than the original IBM! This is the largest possible solenoid that will fit inside the classic style cases.
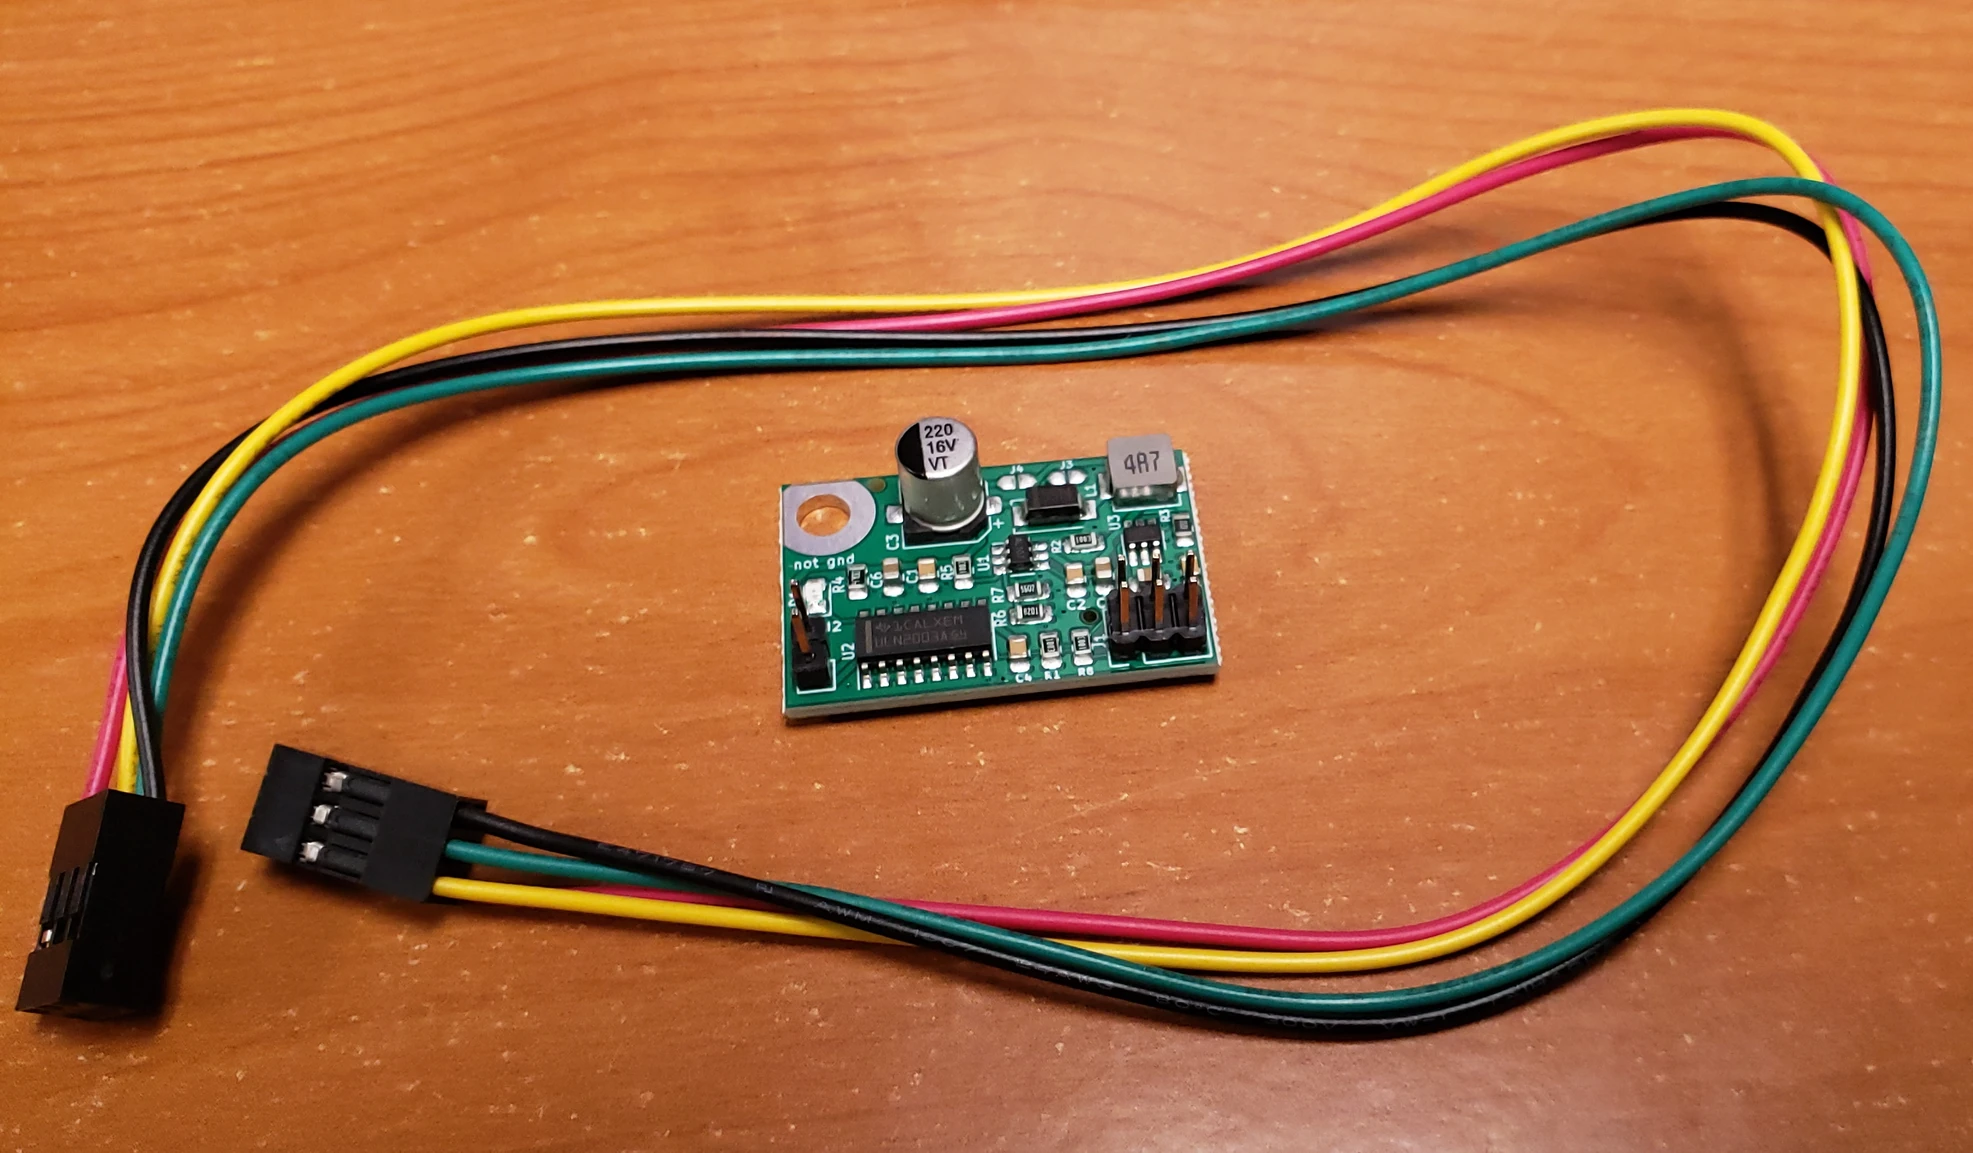
Solenoid drivers help you add a solenoid to your keyboard. You need both a solenoid driver and a solenoid; they are not sold together. The solenoid driver does not include the solenoid but it does include the ribbon cable to connect to your controller. The solenoid would go inside your classic case new classic case keyboard, but it has to be installed outside the compact case keyboards. Controllers are not required for your Brand New Model F or Beam Spring keyboard – they are included and preinstalled. When installing the solenoid, because the screw that secures the solenoid is at the bottom of the keyboard as shown in the manual, order any of the slightly taller bumpers for the back of the keyboard (i.e., any option except the cork bumpers unless you double up and stack two of the cork bumpers, one on top of the other). So if you want to use cork, buy an extra set so it is tall enough – you may want to pick up some additional bumpers so you can add some height to the bumpers, by either putting two cork bumpers on top of each other or using one of the other bumpers which are thicker; otherwise the solenoid screw may contact your desk.
The solenoid driver and solenoid are very easy to install, fully assembled with the components factory soldered. Installation takes a few minutes, by following the step by step guide in the manual, but if you prefer for me to install this, you can order the solenoid driver and solenoid as well as 39 units of the store item $1 increments with an order note for me to install it. Do not forget the order note; if you forget it then I will not know to install the solenoid for you. You do not have to solder to install the solenoid; you are just connecting the plug-in cable on the solenoid driver to the controller, and then plugging in the solenoid cable to the solenoid driver. The only exception is the round 1 Beam Spring B104 keyboard which used an older xwhatsit controller with 30 instead of 33 pins; it did not have those 3 additional pins for LED and solenoid wiring at the same time (see the manual for details).
If you want to reuse your previously received solenoid driver and solenoid with your Round 2 beam spring keyboard, order the beam spring solenoid add-on kit containing additional needed parts. It should be included if your solenoid is shipping with a beam spring keyboard. If ordering a solenoid driver and solenoid in the future to use with your new beam spring keyboard, you can request these parts to be included at no extra cost if you add an order note. For this reason, the pictured bolts and other small parts included in each solenoid kit may vary and you may not receive everything pictured, so an order note will be helpful to me so I know what to send you. Here is a review of the solenoid explaining why it is highly recommended for these keyboards.
What to order to have a solenoid in your original IBM Beam Spring keyboard: Solenoid driver, solenoid, and beam spring controller. These are three separate store items so please do add all three to your cart!
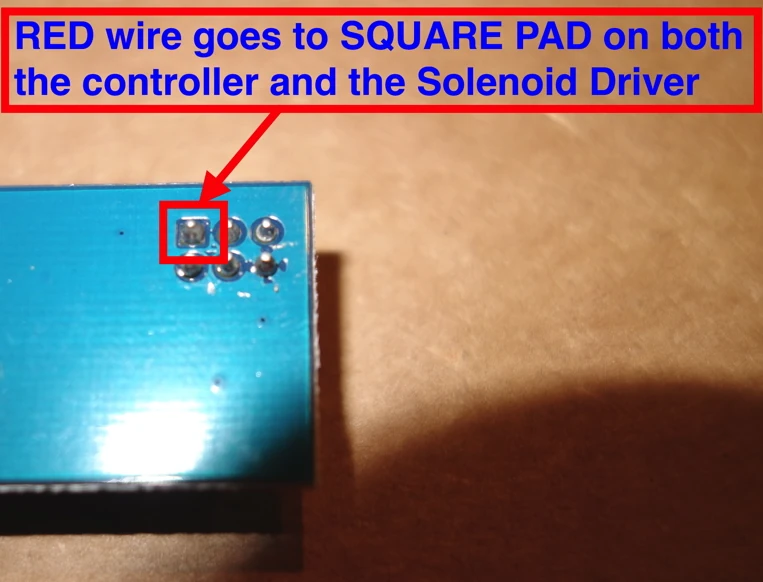
Warning: you may destroy your controller, solenoid driver, and/or solenoid by not following the solenoid driver instructions as well as the other instructions in the manual at modelfkeyboards.com/manual Most important is to match the square on both sides of the ribbon cable connector, so that you connect the squares (voltage line) to each other. The position is different from what is pictured online, from other xwhatsit controllers, and from the photo below. If you install the cable the wrong way you will destroy your equipment. If unsure, do not connect it! For the solenoid drivers: see the images below for the general installation procedure of solenoid drivers inside Brand New Model F Keyboards. The solenoid driver you receive will be either the xwhatsit original design solenoid driver or the version updated by Deskthority member pandrew. Both are confirmed working fine with my solenoids and with the IBM original solenoids.


Beam Spring Extras
Beam Modules: I definitely recommend getting extra beam modules even beyond the few that are included in the first aid kit, as these parts are most prone to accidental damage/breakage/liquid spillage. Many pick up 12 additional modules or one additional deluxe first aid kit (same quantity and price). Everyone is offered the bulk pricing of $4 each, no matter how many you order. You can order the Round 1 or Round 2 (the Round 2 modules have a 1mm taller circular "lip" on top to accommodate the added inner foam between the module tops and below the top inner assembly plates. All modules available here are the new production design which is smaller than the IBM originals; they are not compatible with original IBM beam spring keyboards. These are the same modules and at the same pricing as what you can order with the deluxe first aid kits.
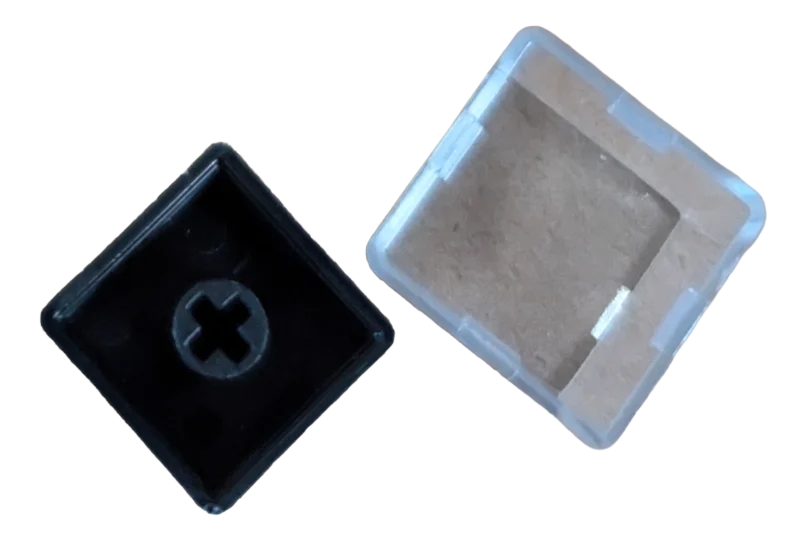
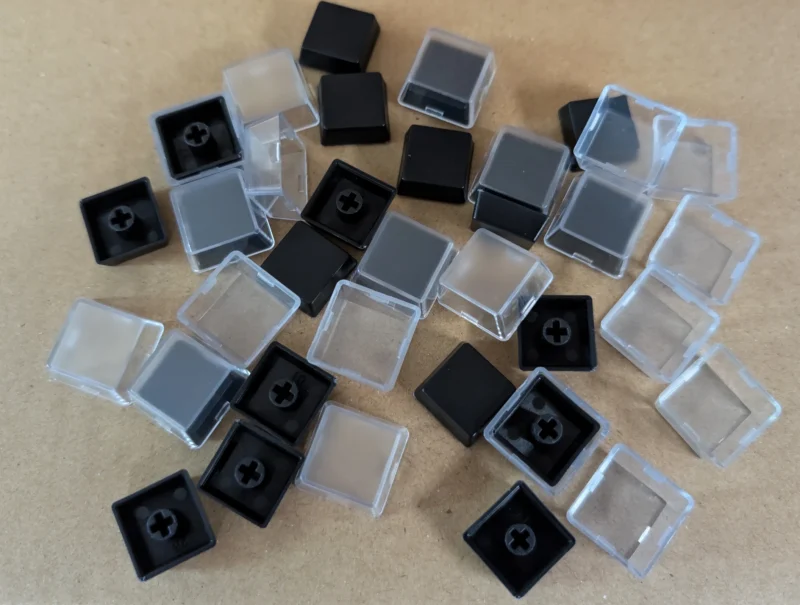
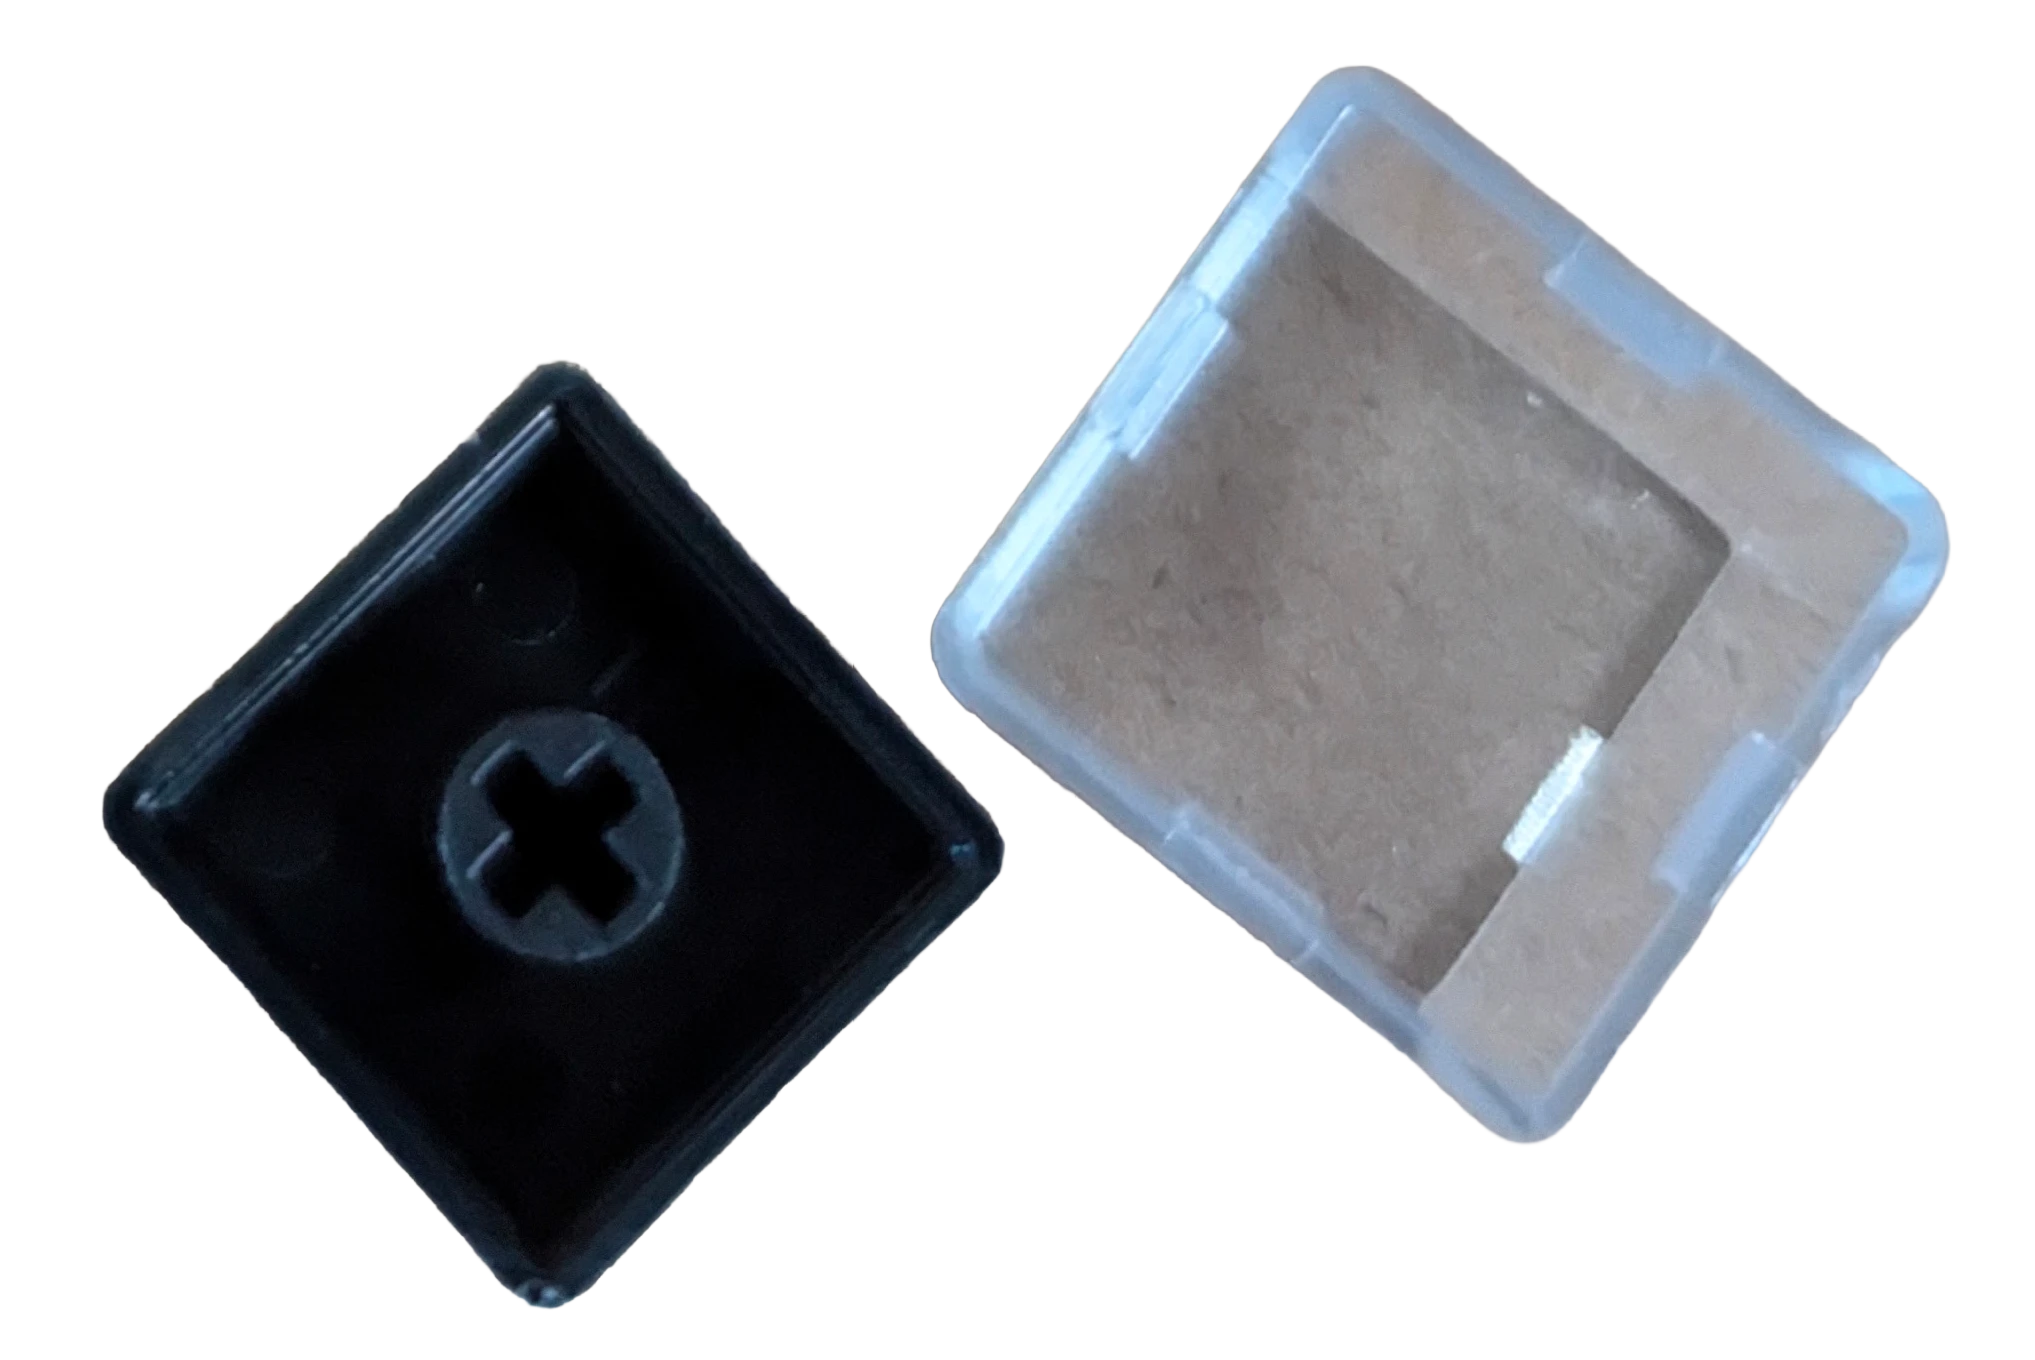
Clear transparent relegendable MX key cap and stem: these only work on MX-type keyboards like the Beam Spring keyboards; there is a separate relegendable key product in the shop for Model F keyboards. As noted in the manual, my recommendation is to install all transparent relegendable keys with a piece of tape between key and stem so that you do not have to worry about it falling out. The worst that can happen is that the key won’t be able to be pressed down all the way because the key is already tight – in that instance, just remove the tape and install the key normally. Due to the variations of tolerances between key stems and keys, occasionally a key may fit so loosely that it falls off easily. I have not seen this issue at all with the project’s full key set but it may happen with other MX key sets. I have also seen this with the transparent relegendable MX keys being sold with the project since their tolerances to not appear to be as tight. This means that if you purchased these relegendable keys or other manufacturers’ keys, it is possible that some keys will fall off if you hold the keyboard upside down or while typing. There are various safe fixes for this, such as putting a piece of paper or scotch tape between the key cap and the beam spring module’s stem, which you may need to do as you set up this keyboard. These fixes will completely stop any loose keys from falling out.
Beam springs will work on original IBM and new keyboards. The new keyboards use springs that are the same specifications as the originals.
Beam Spring Badge: Badges are the same size as the IBM originals and can fit most original Model M or Model F keyboards with a recessed badge spot, except for the IBM XT and AT boards that use a larger badge. These badges are 2cm x 2cm. The F122 is the only new production board that has a recessed spot for the badge but you can stick the badges anywhere on any of the Brand New Model F or Brand New Beam Spring keyboard cases! The badges are rendered images; see the Setups tab to see real images of the badges as installed on users' keyboards. The F122 recessed area measures about 21-22mm tall by 20mm wide, so you will have to center the 20mm badge and there will be about 0.5mm to 1mm space below and above the badge in the recessed area. Be sure to remove the transparent plastic protective film from the top side of the badge before installing.
MX Plate Mount Stabilizers: I only have the non-spacebar stabilizer units available. But I strongly recommend getting them as spares for your spacebar since you can quickly change out the broken plastic stabilizer parts on the longer spacebar metal part so that you can use these spares with the spacebar on your new Beam Spring keyboard. While they aren’t included for the other keys besides the spacebar and I don’t recommend them, some people prefer them. Order 7 for a full size board and order 4 for the smaller boards like B62 and BSSK.
Beam Inner Foam: Recommended. Important to note that the foam is not included in the deluxe first aid kits, unlike the Model F first aid kits which do include the foam. For the Round 2 boards, one foam goes between the top inner assembly and the tops of the modules, just like on the IBM originals and another foam goes between the PCB and bottom inner assembly plate (both foam add some sound dampening). Important note that this product only includes the bottom foam for the Round 1 boards since they did not have top inner foam.
Beam Spring Solenoid Add On Kit: the 3 custom countersunk bolts (2 M3 6mm for the solenoid and 1 6-32 3/8 inch for the solenoid PCB), 6-32 nut, and rubber spacer (to install below the solenoid PCB) needed to use a solenoid with the Round 2 beam spring cases. These 5 parts can be ordered as part of the beam spring solenoid kit if you want to reuse your previously received solenoid driver and solenoid, and should be included if your solenoid is shipping with a beam spring keyboard. If ordering a solenoid driver and solenoid in the future to use with your new beam spring keyboard, you can request these parts to be included at no extra cost if you add an order note with the solenoid order.

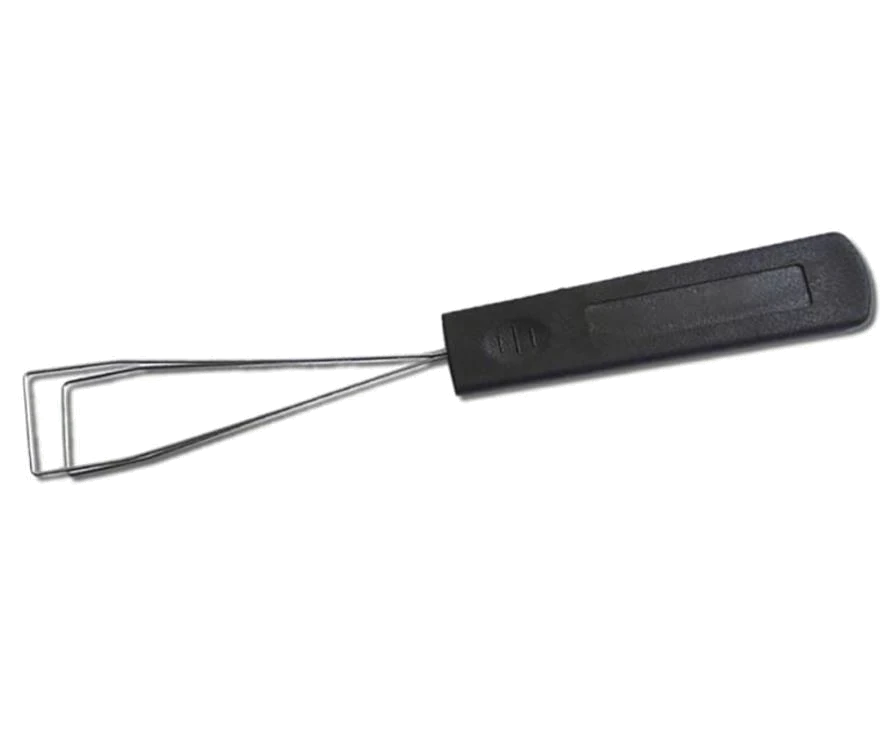
Key Cap Puller
A special wire key puller recommended for use with Model F, Beam Spring, and Model M keyboards. I use a key cap puller for all these keyboards. While supplies/pricing last. The key cap puller may have another brand name or the color/appearance may vary based on product availability.


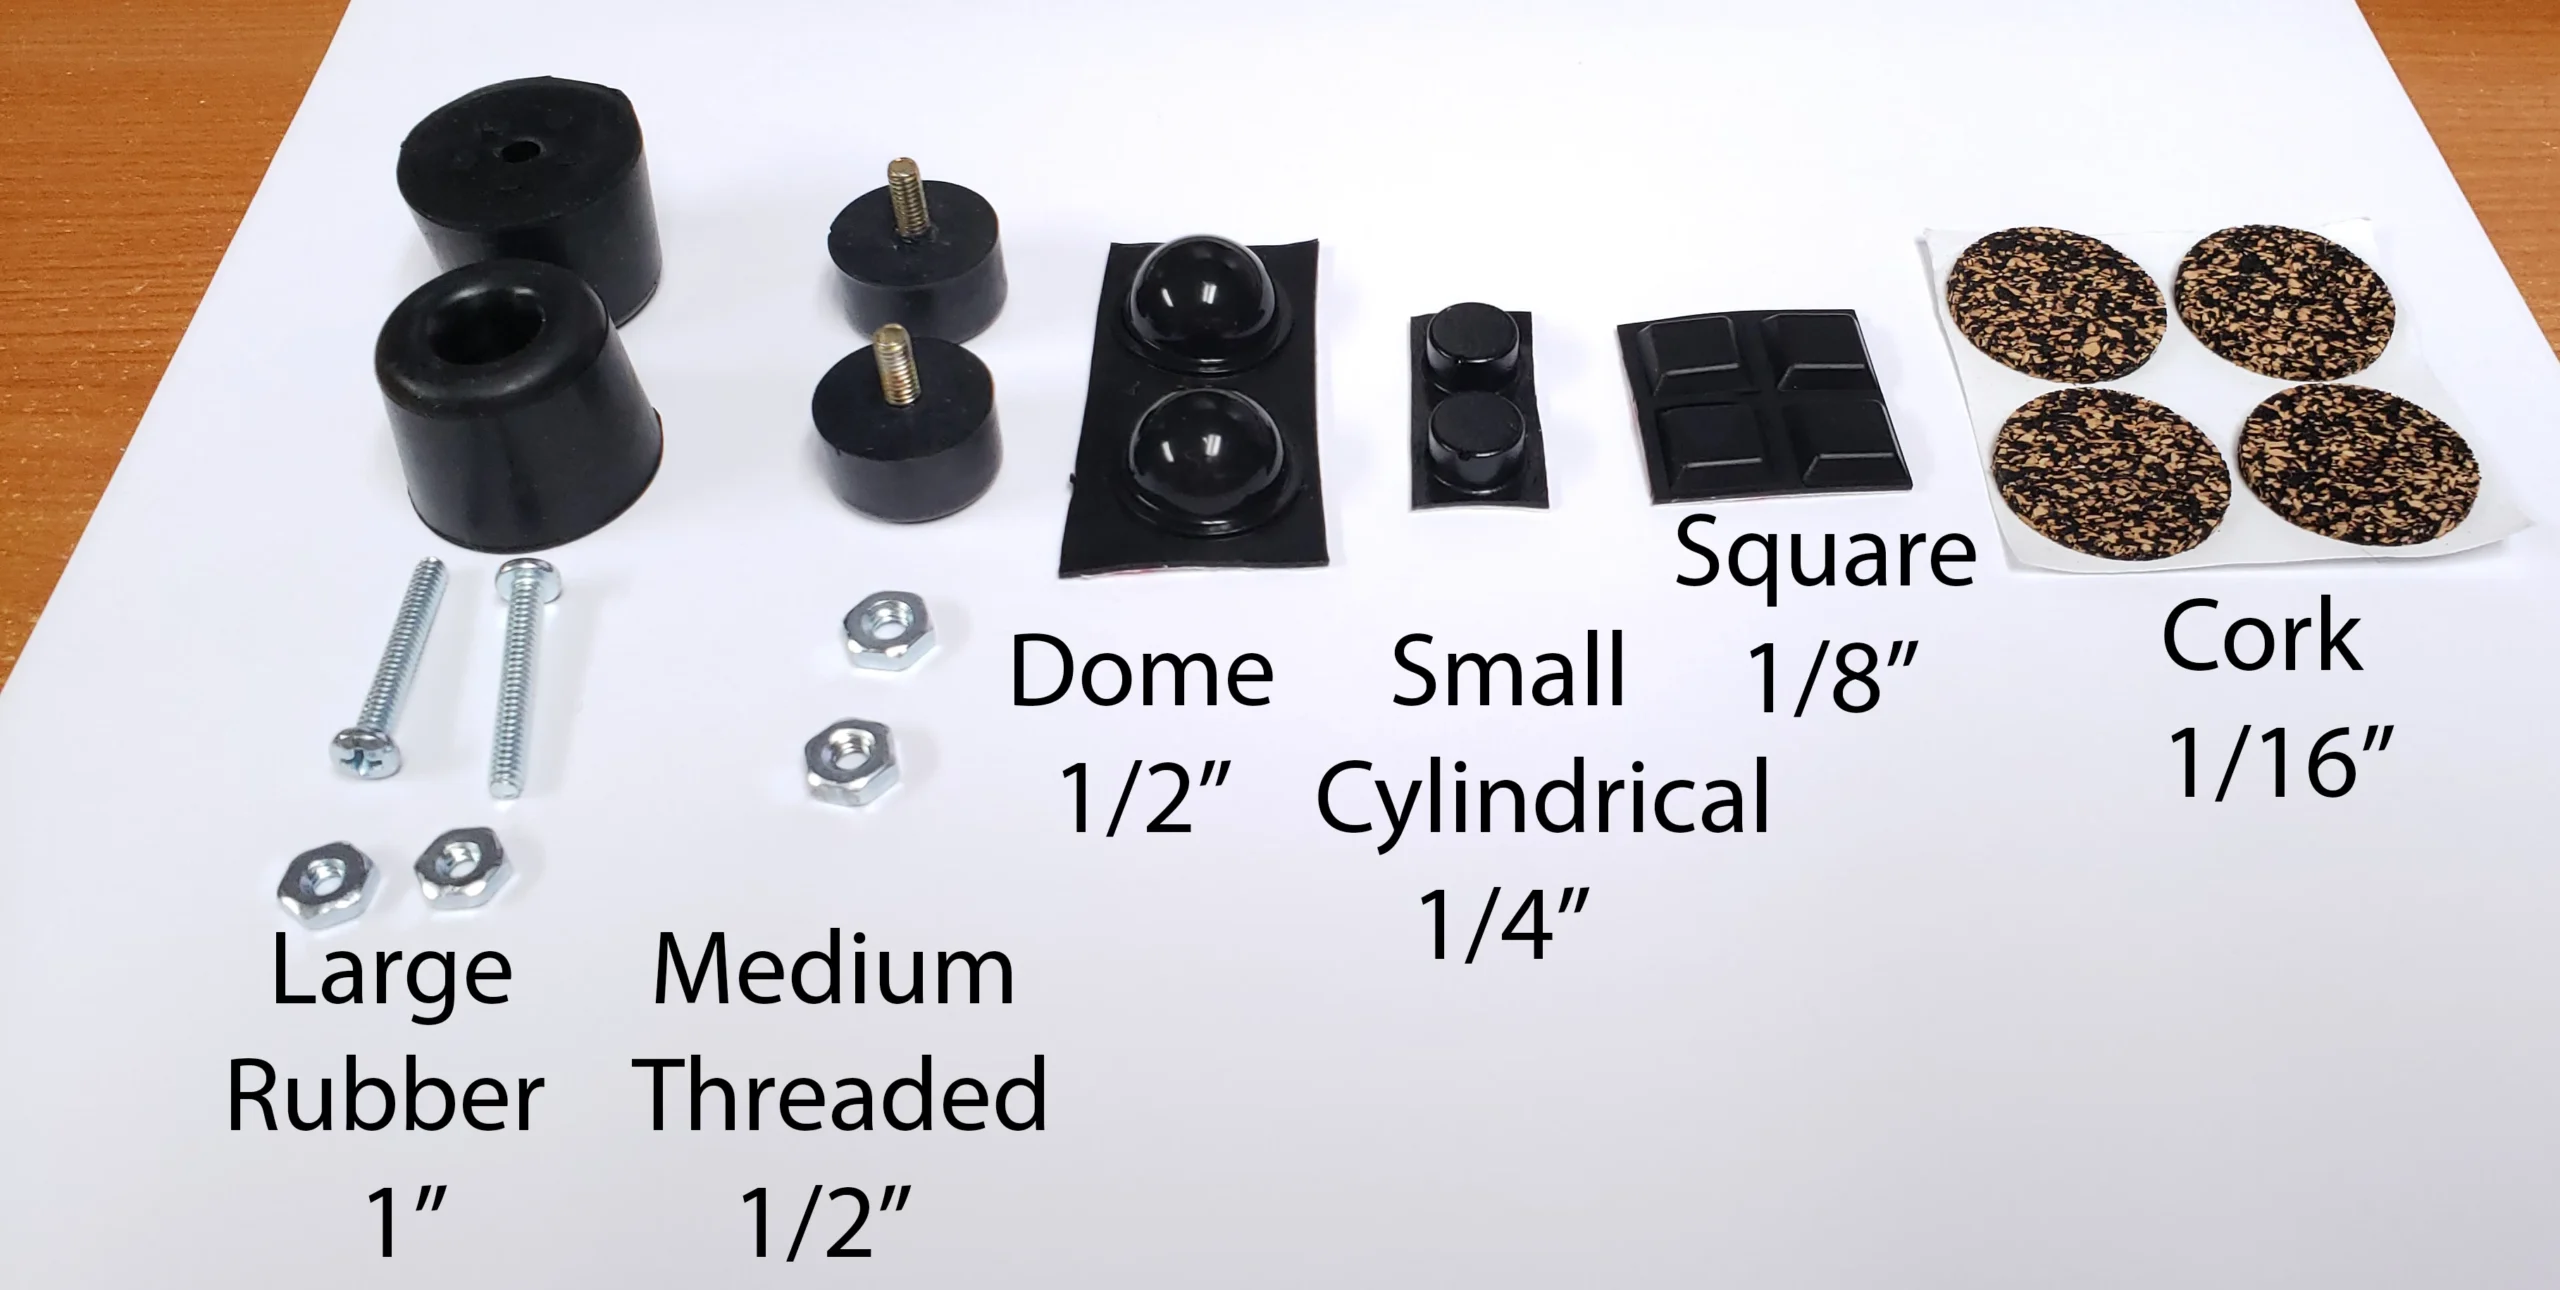
Keyboard Feet / Bumpers
What are bumpers? These are the small adhesive or screw-on feet that attach to the bottom of your keyboard.
Why order them? Most folks get a couple more options to adjust and personalize the angle / height of their keyboard. If you prefer setting different heights to your keyboard (e.g. raise the whole keyboard up, tilt the front side or back end), you can pick from these bumpers.
Bumper heights (approx.): cork = 1/16 inch (1.6 mm). 4 square = 1/8 inch (3.2 mm). cylindrical = 1/4 inch (6.4 mm). dome (both adhesive and “medium with threads and nut”) = 1/2 inch (12.7 mm). large with screw and nut = just under 1 inch (21.4 mm)
Which are included by default? 4 cork-rubber bumpers/pads are included for each full classic case keyboard ordered. 4 square rubber bumpers are included by default for each ultra compact case keyboard ordered.
Recommendations: For a Model M style angle without the feet flipped out, I would recommend bumpers of equal height, such as 4 cork, 4 dome, 2 medium threaded + 2 dome, or 4 square. For a Model M style angle with feet flipped outwards, I would recommend the “2 medium threaded + 2 square” option. However if you prefer a keyboard to be a little higher up, a popular option is the 2 large and 2 dome. Please be sure to order 2 sets of the cork bumpers for the compact case Model F keyboards so you can double stack each one (these cases have screws that stick out of the bottom of the case so you want to double stack the cork bumpers because they are not too tall). Installing only one set of cork bumpers would be done at your own risk of scratching something. The half-inch tall bumpers with threaded stud built in is one of the most popular options for a secure attachment. This bumper does have an 8-32 thread so it is not recommended if you have the F62 or F77 and also ordered the solenoid whose mounting gear uses 6-32 threads, though you can use both if you drill another hole in the bottom of the zinc case.
Compatibility and important terms: The classic style case F62 and F77 keyboards have two holes on the bottom that can accept a threaded bumper or a bumper with a screw. The other keyboards have 4 holes. Obviously split keyboards have 4 holes for each half, so you'd want to get two sets of 4 bumpers per set. You can't mix and match sets, so if you want 4 threaded bumpers then you'll have to order 2 sets. The 1″ and half inch threaded stud bumpers have a grayish-black appearance which is normal for the SBR material. As noted on the McMaster-Carr web site, this material is not certified as non-marking (generally this means don’t put your keyboard on top of a paper document, for example, the same recommendation for the IBM original keyboards with rubber feet). Bumpers may vary in appearance and design from what is shown on this product page.

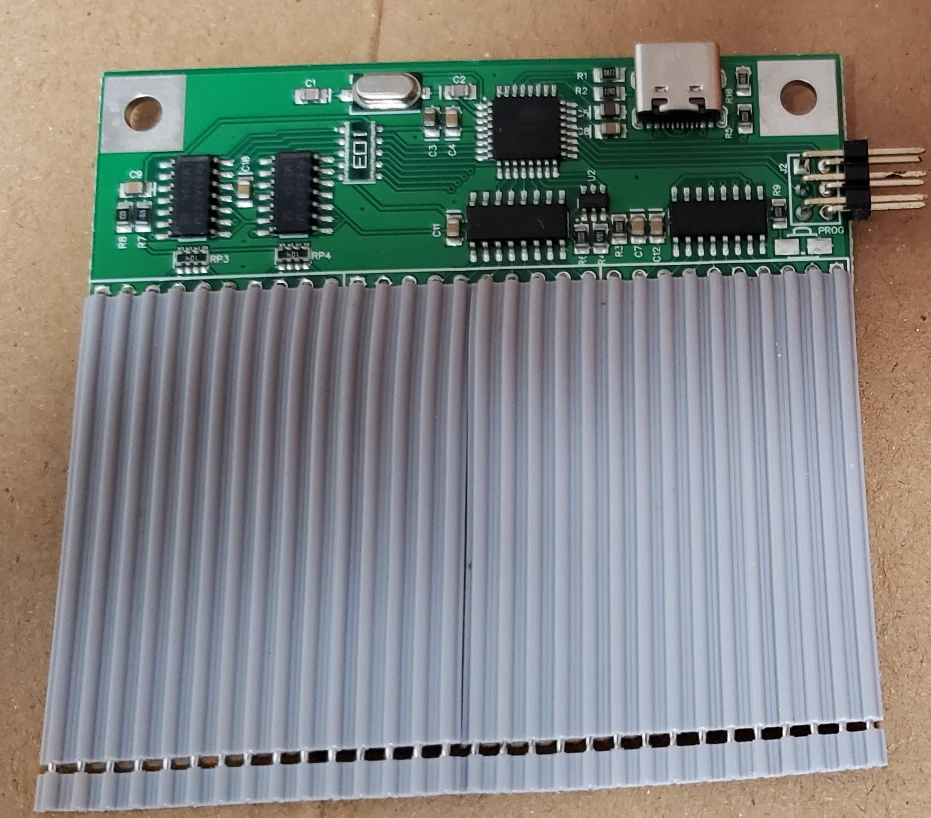
Spare controller
Spare controllers are one of the most popular extras. The controllers contain all of the custom electronics in the keyboard, so if the keyboard stops working long after the project has shut down and spare parts are no longer available, you can switch it out with the spare so your keyboard will continue working. No need to pick the controller; you’ll get the one that works with your keyboard unless you specify otherwise.
Pick "Leyden Jar" if you have a B122, B104, or F122. Pick "xwhatsit USB-C" if you have any other new Model F or Beam Spring keyboard.
To choose the correct option that you need, please see below. Note: All controllers offered here have USB-C! This is the only place to purchase all of these controllers as no one else manufactures them. When on the keyboard configurator page, the correct controller option compatible with your keyboard will be the only available choice.
Controller models available for the new production keyboards: There are two main offerings: xwhatsit USB-C and the Leyden Jar controller.
xwhatsit USB-C is used for many new Model F and new Beam Spring keyboards, other than the models below which use the Leyden Jar controller. All new F and Beam keyboards use these controllers; none of them use the controllers with the blue card edge connectors (those are only used with some IBM originals).
Leyden Jar controllers is for the F122, B122, and B104 because their capacitive PCBs are 18 column designs (support is planned for all other models as well, so you can order a spare Leyden Jar controller for futureproofing). This is an open source RP2040-based controller that you can also use to make your own keyboard.
Both controllers have the same usability and real-world performance, though the Leyden Jar is the latest and greatest, with support for 18 columns instead of 16 and other improvements. To be honest you won't notice much of a difference in normal usage so don't worry about getting one versus the other.
Some quick notes on flashing firmware: you must follow the steps in the manual to flash firmware. Spare controllers not sold inside a keyboard do not come pre-flashed; they will not be detected on the computer without following the steps in the manual so you might think they are broken when in fact they just need to be set up. While all of these keyboards work fine with Windows 11 among many other operating systems including Mac and Linux, due to increased security on Windows 11, for flashing Atmega controllers (i.e. all controllers except the Leyden Jar) you may need to use a computer running another operating system such as Windows 10, or try going to Windows Security > Core isolation and toggle “Memory integrity” OFF, then restart the computer, though this is not a confirmed fix as of now. I've had no issues flashing on my copy of Windows 11. Free programs like Rufus allow you to make a “Windows To Go” Windows 10 USB memory key using a freely downloaded trial iso of Windows 10, which will allow flashing. If you refuse to use something other than Windows 11 and you cannot change the aforementioned setting, you will be unable to flash firmware which may be required to use the controller and fix bugs and other vulnerabilities.
I have an original Model F. Should I replace the controller? For models that can use Soarer’s Converter, I do not recommend replacing the original controller unless it does not work reliably. Soarer’s Teensy/Pro Micro 5V ATMEGA32U4-based converter (XT, AT, F122, Unsaver, etc.) plugs into the original controller. Removing the original controller is not a good idea as the traces are at risk of damage during the desoldering process and it is completely unnecessary for the F122 which has a reliable original controller. Instead, just order the aforementioned Pro Micro and follow the setup instructions. For the 4704 style models (F62 Kishsaver, F77, F104, F50), I recommend replacing the controller with the latest and newest 4704 USB-C controller. Just pick the 4704 option. The main benefits of the new controllers are the USB-C connection and the ability to replace the pro micro brains of the controller with another one in case it fails, instead of having to replace the entire controller. They are two separate parts that you would solder together using the included header pins. You also get the benefits of the new QMK firmware (binning, autocalibration) with the new board. Only if you want to use a solenoid, if your original IBM board has failed, or if you want to replace it, I recommend getting the right controller for your keyboard. Here are some helpful Soarer’s Converter files (provided AS IS, no support offered, use at your own risk) that I gathered from various sources.
Which beam spring controller to order for your original IBM keyboard:
Displaywriter beam spring controller (if you have a displaywriter keyboard – Google to confirm if you are not sure)
Beamspring USB-C (for IBM Models) – for various IBM beam spring keyboards except the non-displaywriter beam spring controller – examples include but are not limited to IBM 3278 Beam Spring Keyboard, 5251, 3279, 3276, and 4978
Some beam spring keyboards (3277, 3741) have a non-detachable controller – you may need to order a replacement capacitive PCB as well (I do not offer these)
What to order if you have an original IBM F122 / F104 Unsaver / PC AT / 3178 Blue Switch Keyboard:
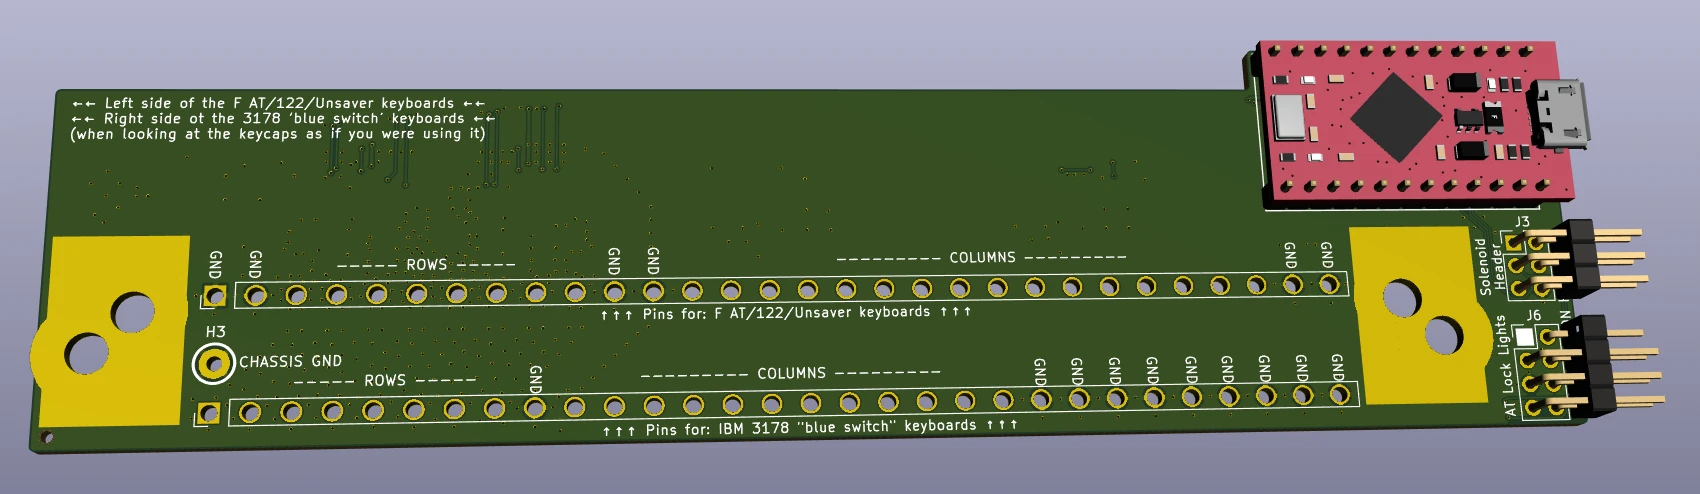
F122/Unsaver/3178/AT Controller (note: this pandrew controller includes the USB-C Pro Micro. You have to solder the pro micro to the controller): Solenoid Driver, Solenoid, USB-C cable
What to order if you have an original IBM F107 / F77 Unsaver / F62 Kishsaver / F50 Keyboard:
4704 Controller (note: this pandrew controller includes the USB-C Pro Micro. You have to solder the pro micro to the controller)
USB cables: Model F custom USB cables are not included – please order one in the shop.
Important terms: Please note that for all PCBs and controllers that specifications and functionality may change over time, so I cannot guarantee compatibility or availability of each feature on these products. Product hardware and firmware revisions may change or be updated in the future, so your PCB may not match exactly what is pictured. The ribbon cable is not pre-soldered to the controller as depicted in some photos. Please note that you have to head over to the Deskthority.net and geekhack mechanical keyboard forums for support as no one on one technical support is offered. In addition to reviewing the manual on this web site, please also review xwhatsit’s original instructions here: https://static.wongcornall.com/ibm-capsense-usb/
A note on USB-C: the USB-C standard allows for extra movement in the connector compared with other USB receptacles like USB-B. For original IBM keyboards, ensure that the USB cable is internally strain relieved so that pulling on the cable will in no way cause cable movement on the other side of the strain relief. By ordering a controller you agree to accept this extra movement and the need for strain relief to ensure a reliable connection. In other words, you must expect that the controller may disconnect if the USB cable is pulled while connected to the controller’s USB-C connector, if not properly strain relieved. I have found that gently squeezing the connector with your fingers to compress the metal USB-C connector housing helps reduce the normal looseness.
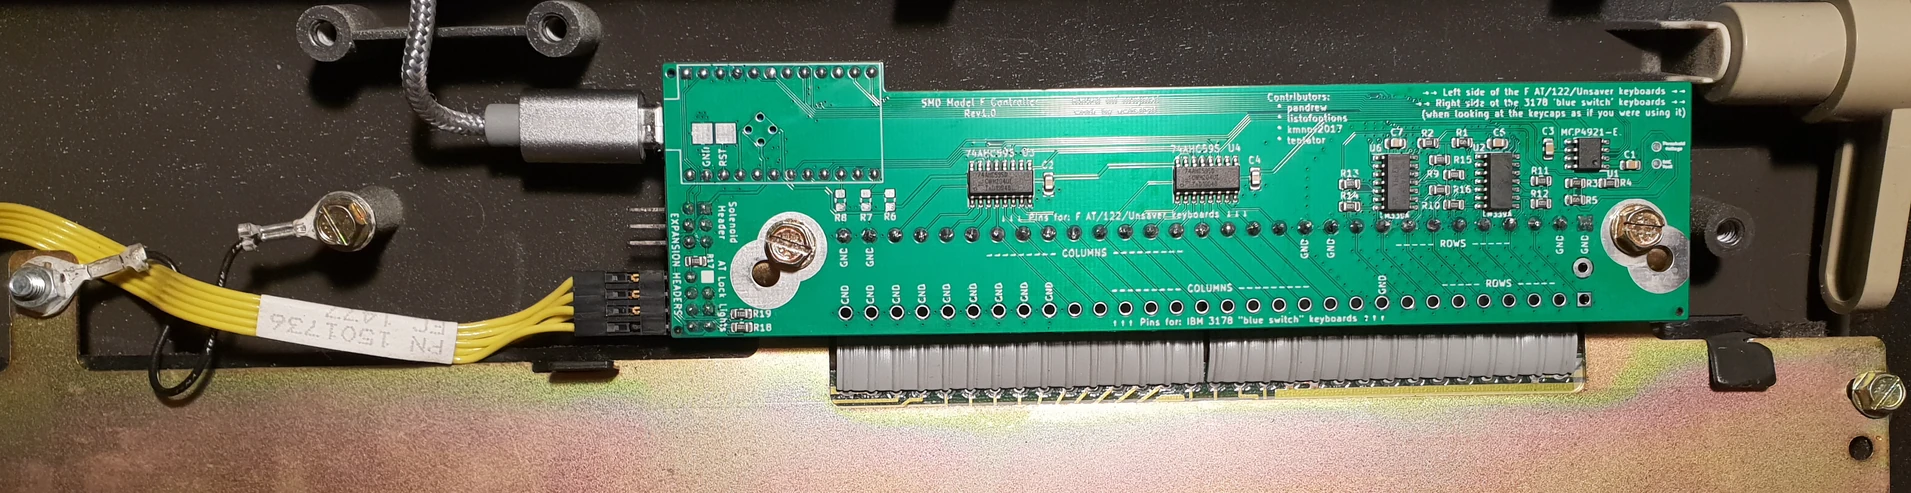
For the pandrew controllers for original IBM keyboards: be sure to solder the Pro Micro controller on the correct side! It always goes on the side without the chips and other components. The pandrew controllers are always installed so that the factory assembled components are visible when viewing the bottom case as shown below; in other words they should be placed so that when you are looking at the keyboard in its normal position, the controllers should be oriented as per the first two images below. The third image below shows the keyboard upside down, with the components side visible. Images credit: pandrew


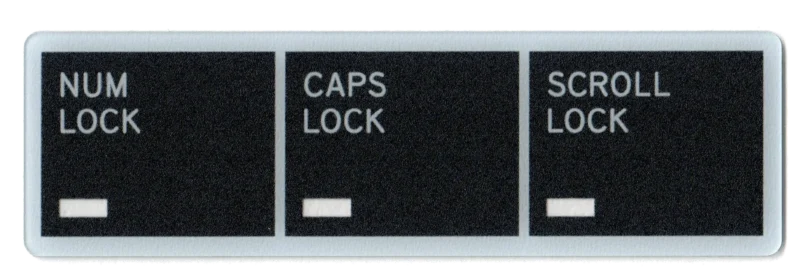
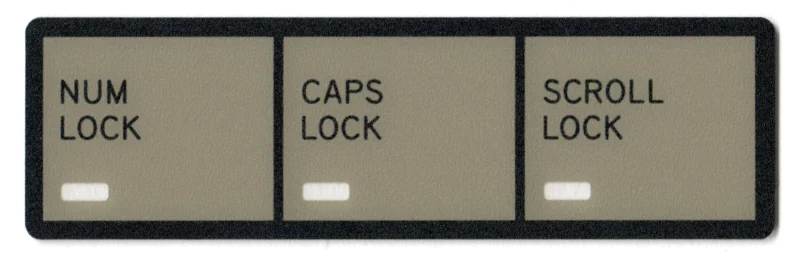
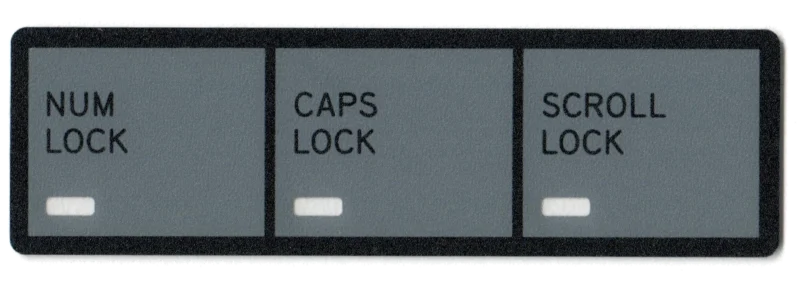
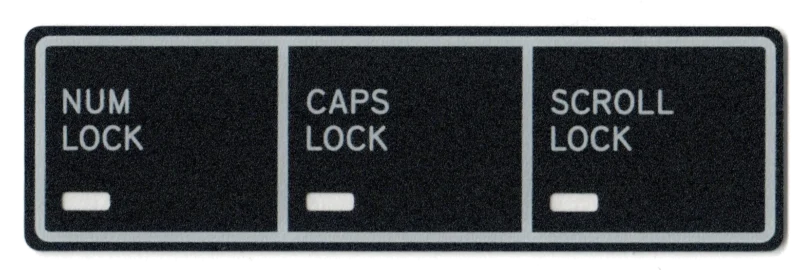
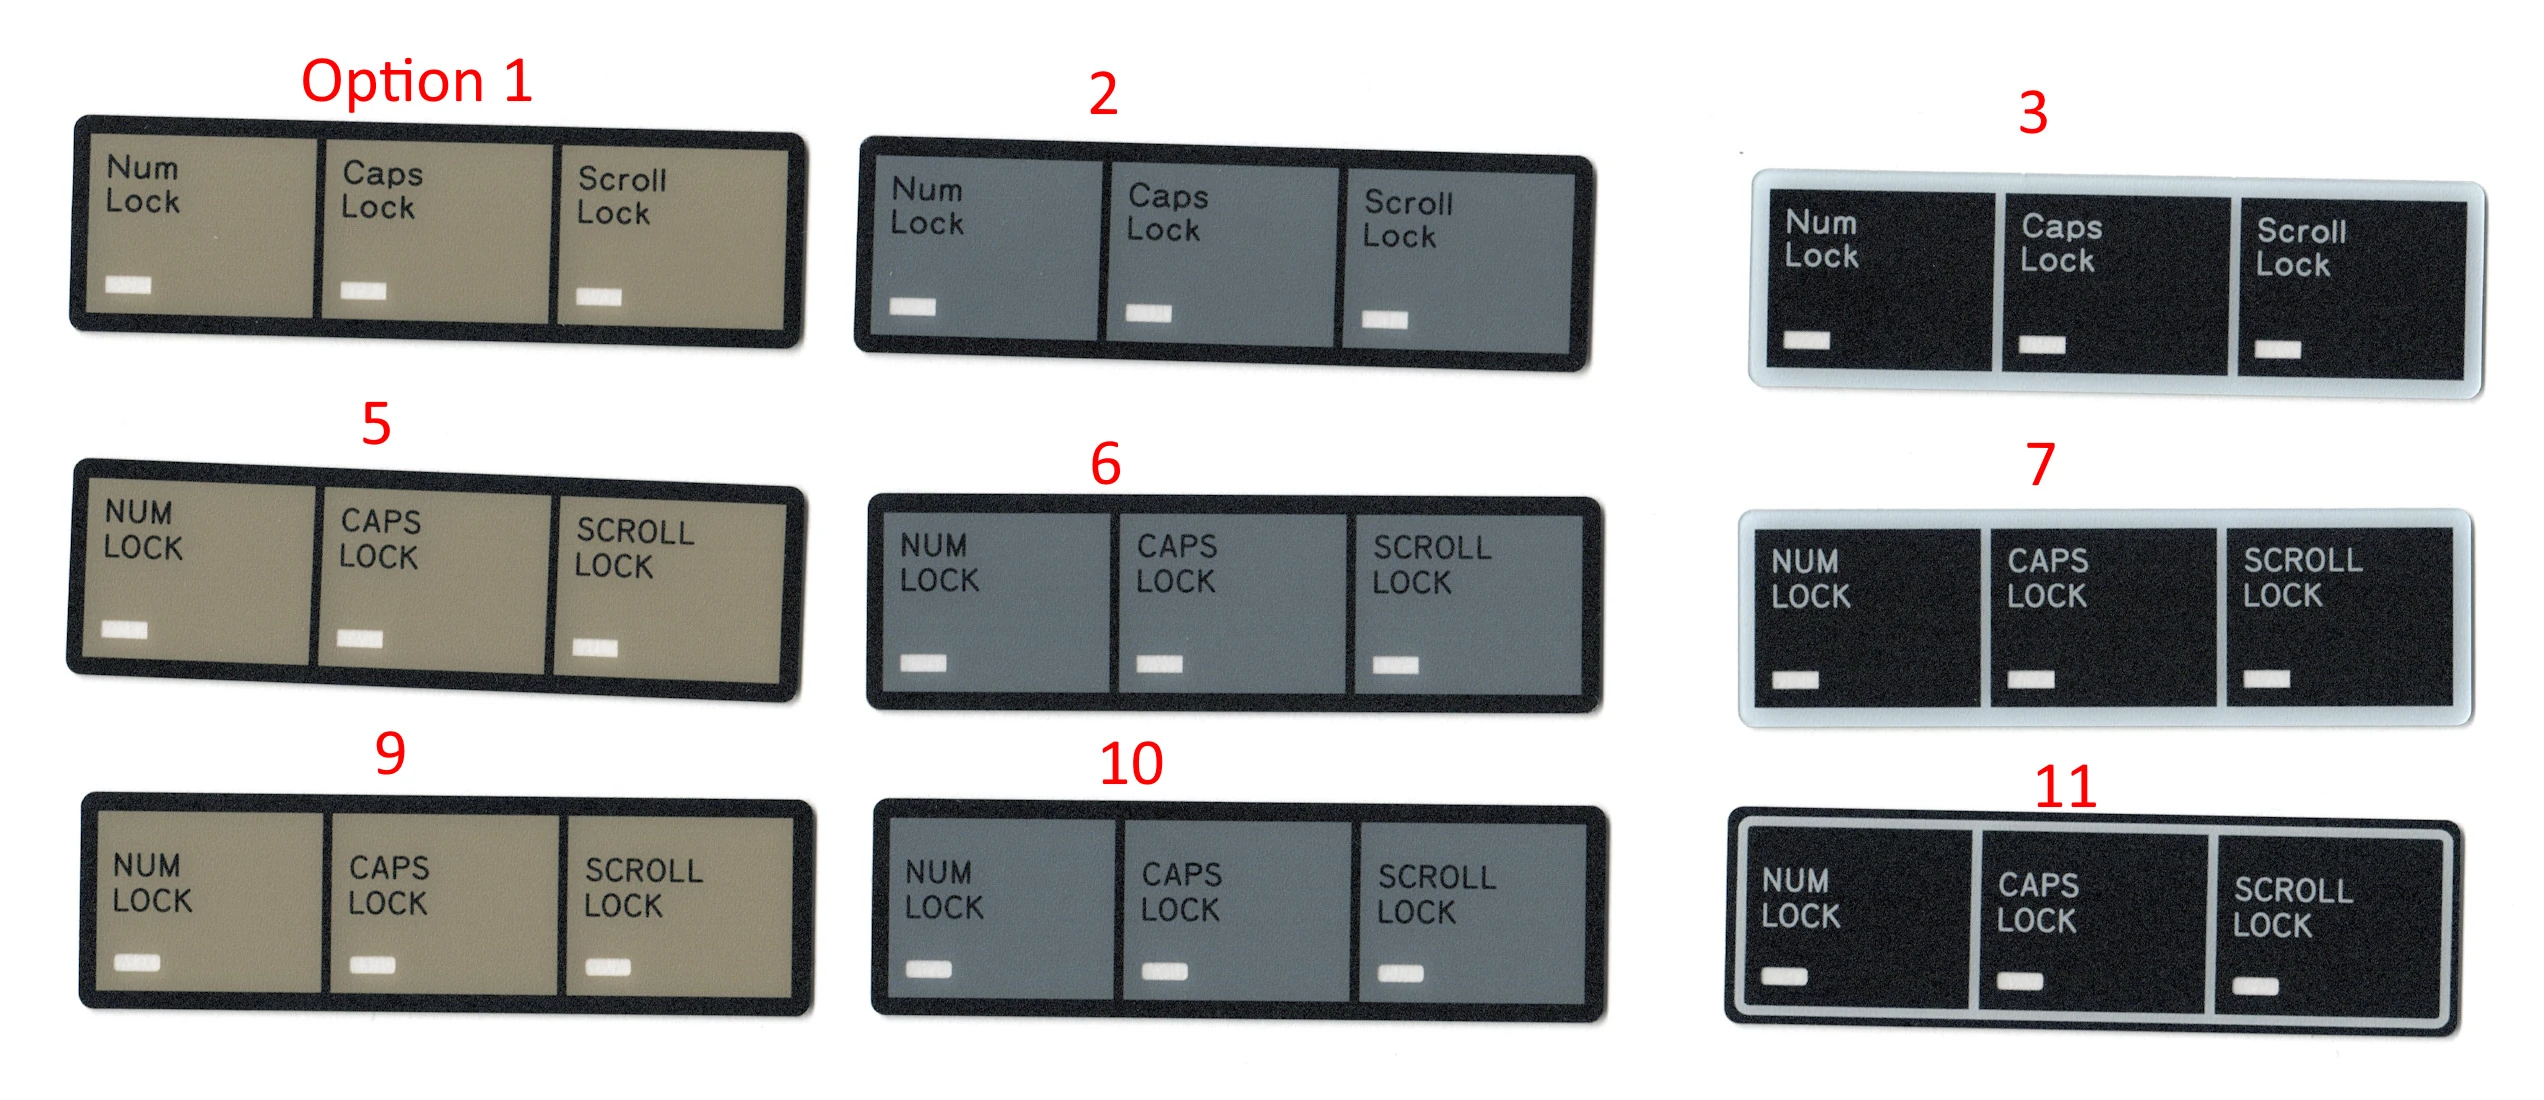
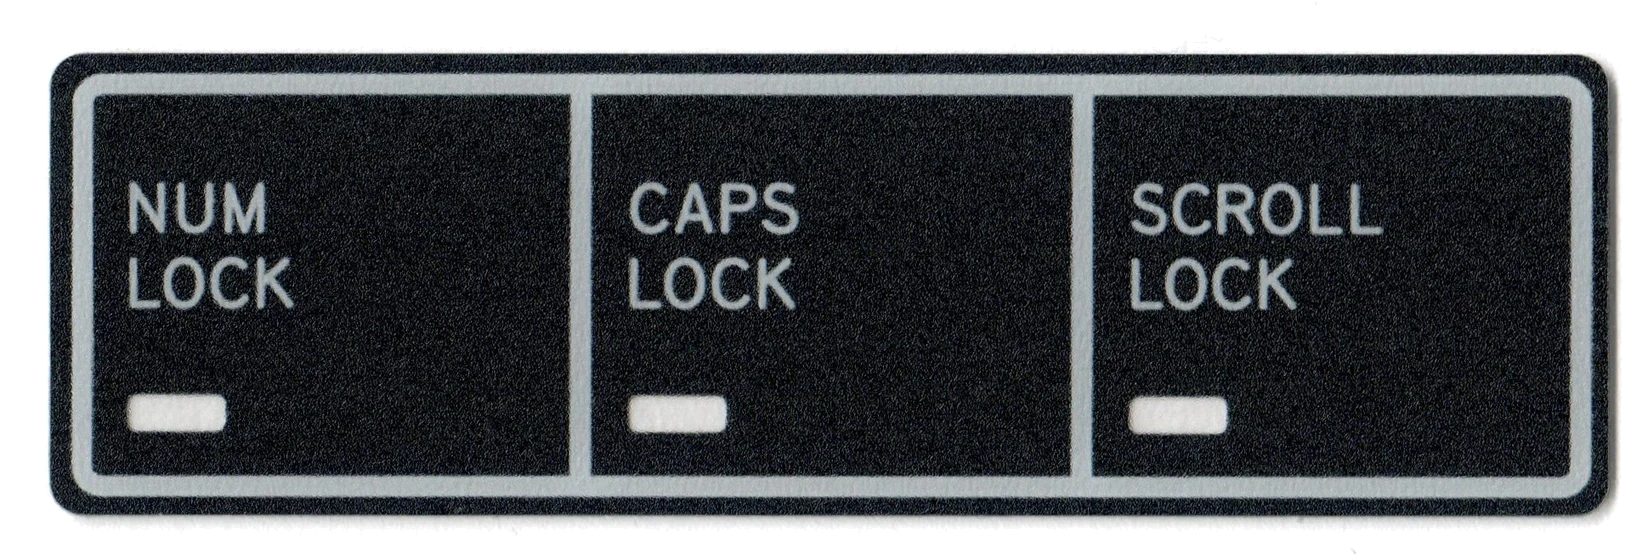
LED Overlays
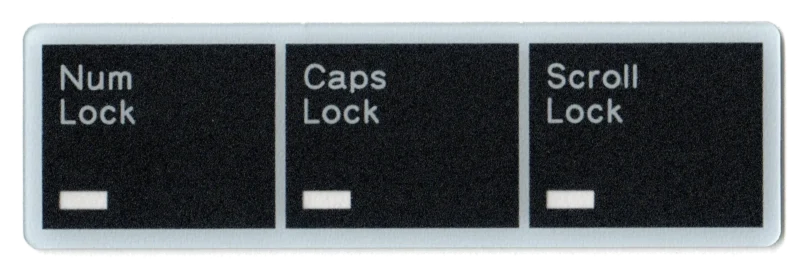
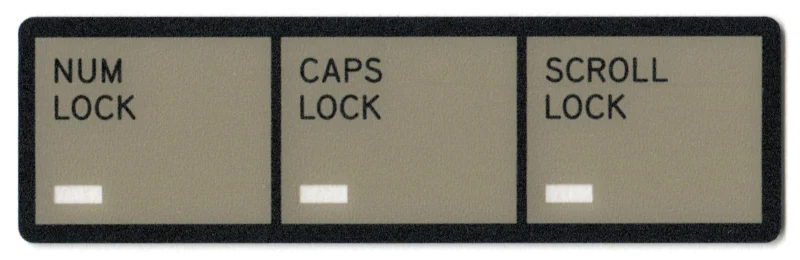
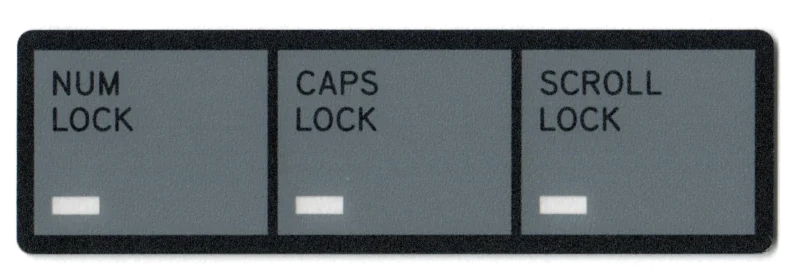
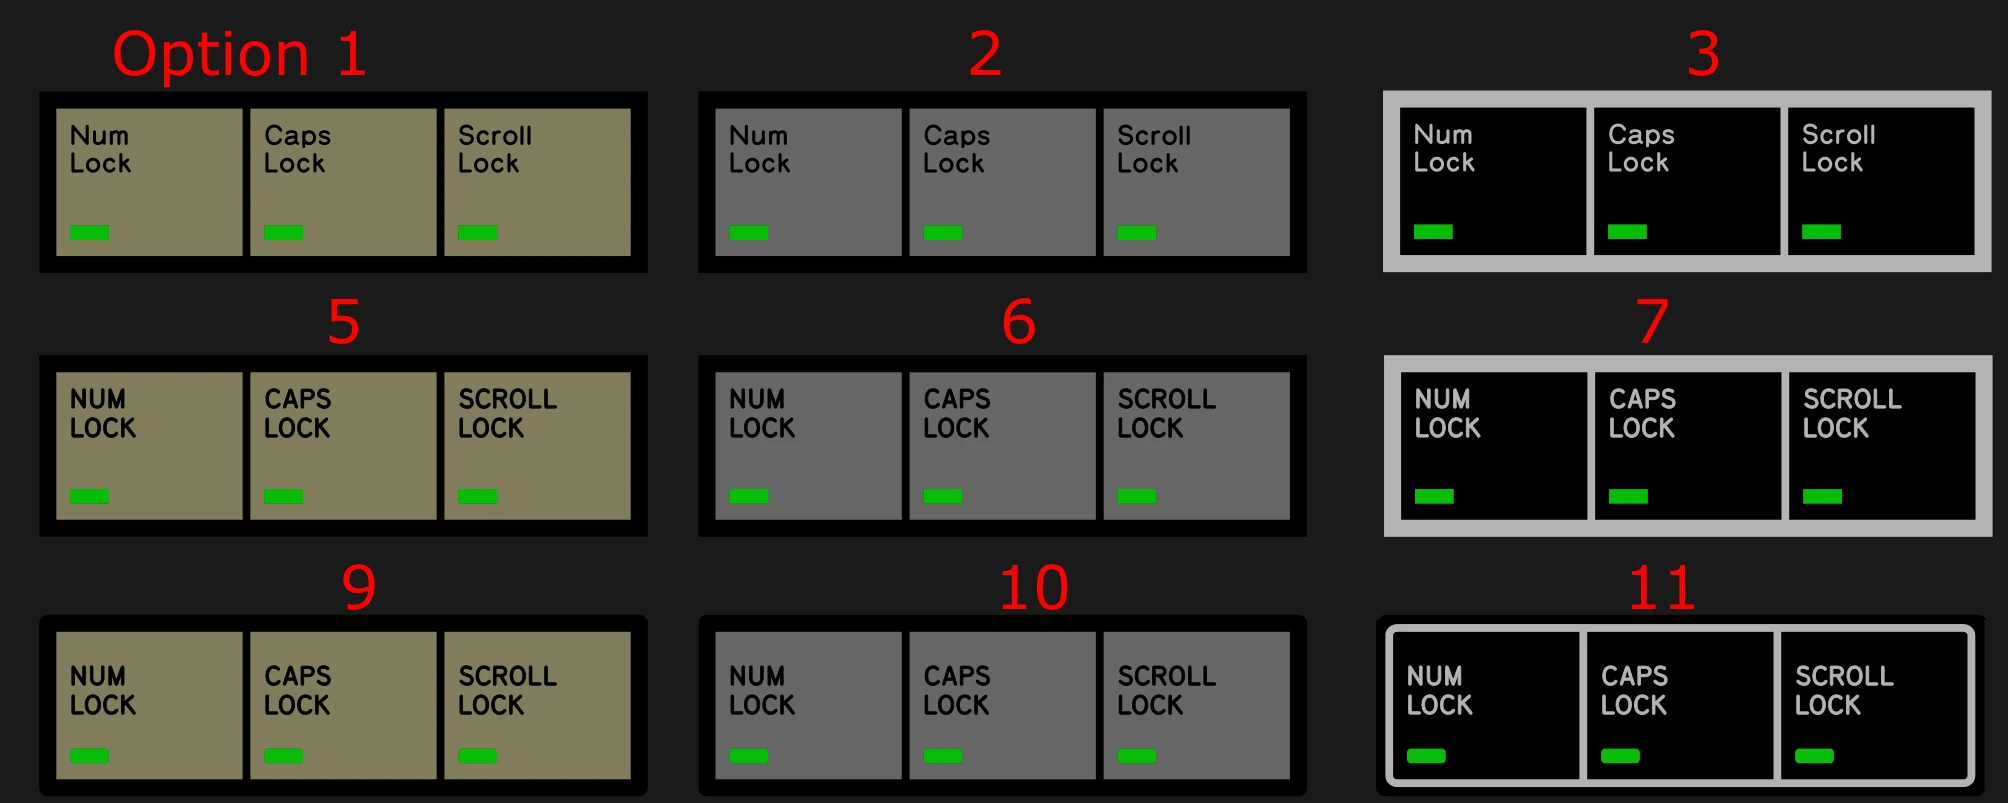
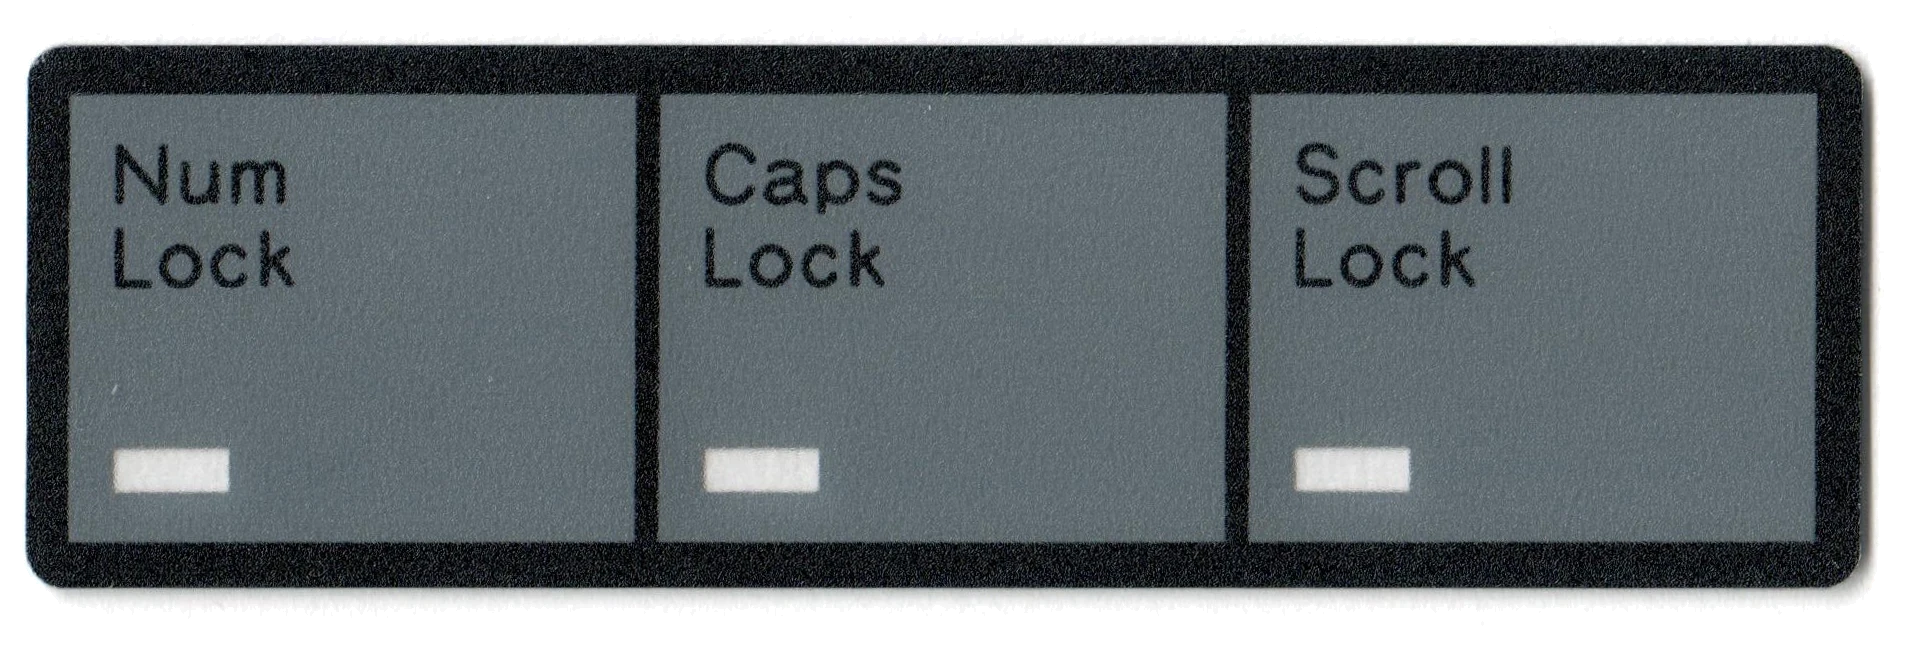
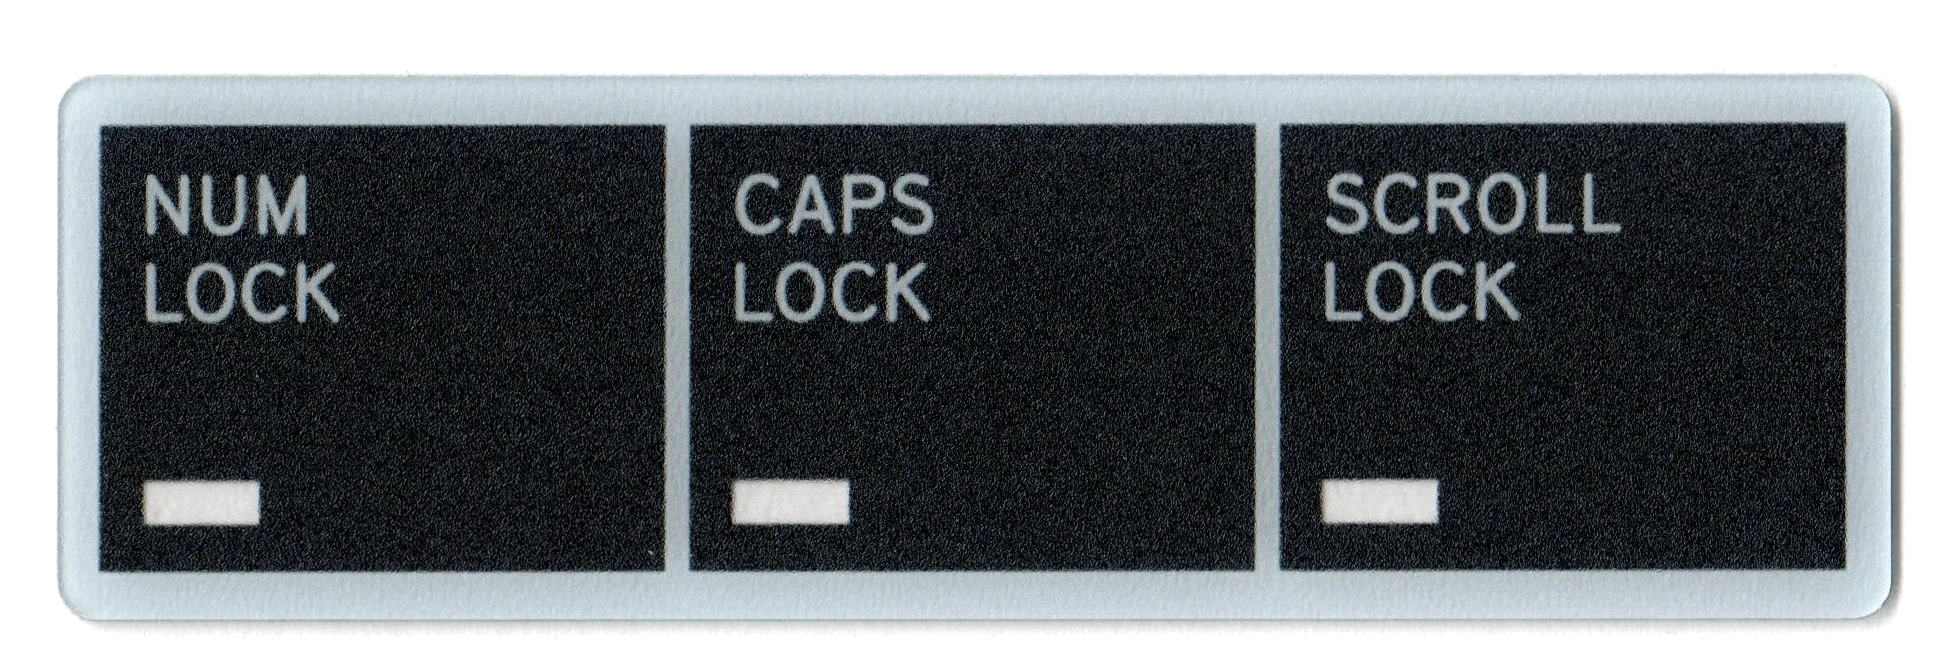
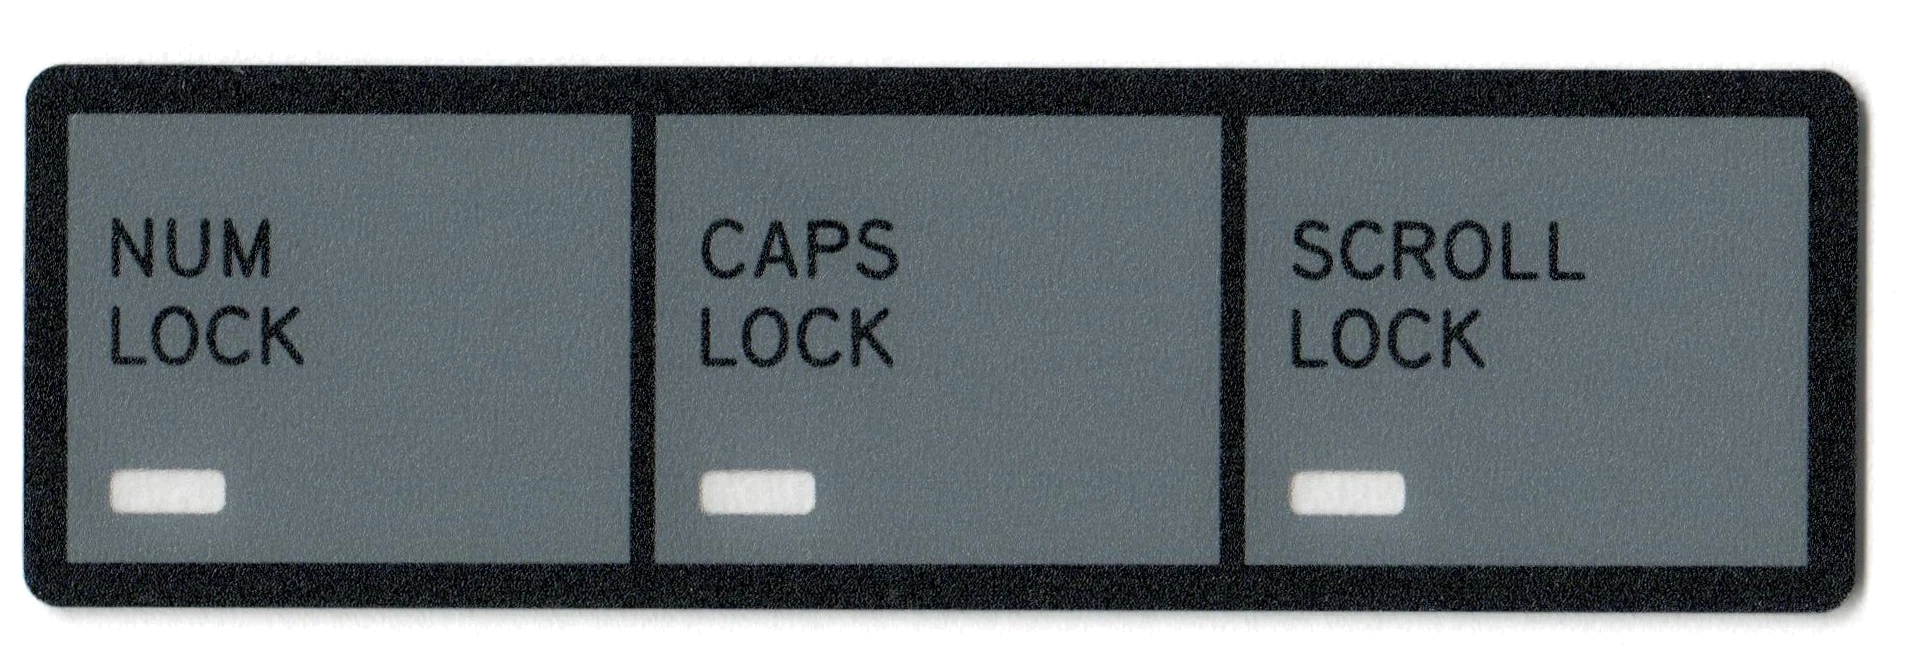
LED overlays offer a beautiful retro-style way of covering the 3 LED lock indicators for Num Lock, Caps Lock, and Scroll Lock. They are the same size as the IBM originals and can fit most Model M or Model F keyboards with LEDs. They also are highly recommended for the Brand New Beam Spring keyboards, because LED overlays are not included.
Option 1 is the standard IBM Model M type option that most people get. Note: not all boards have LEDs.
This product allows you to specify which overlay you'd like to receive; a random overlay will be included with your F122 or F104. All other boards including B104 and B122 do not come with an overlay. Only 104 and 122 keyboards have LED lock lights; but overlays are offered with all keyboards because all controllers support adding lock LEDs.
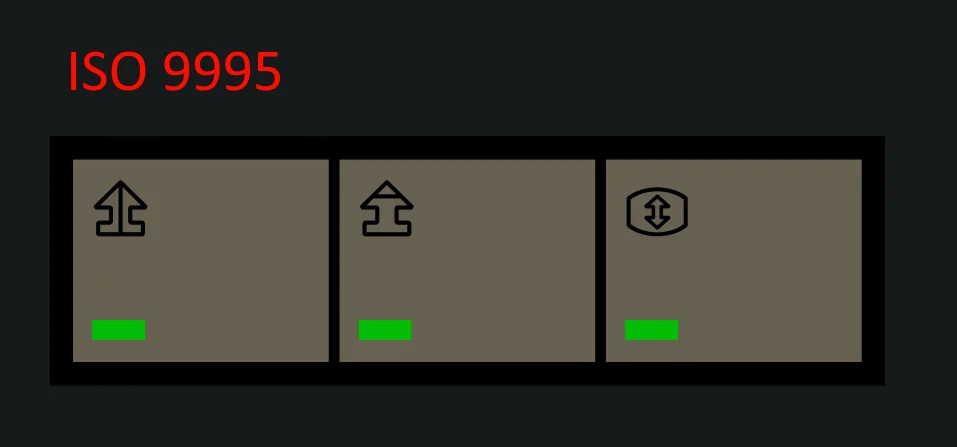
ISO 9995 is a terrific symbols-only LED overlay option to consider. Overlays 3, 7, and 11 have a light gray appearance. I have also done a special order of 5 of each of these 3 overlays with a more white appearance, available at additional cost.
For the fellow detail-oriented folks out there, the overlay numbers are not contiguous as there were originally some additional suggested offerings that did not end up being produced.


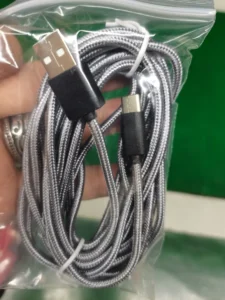
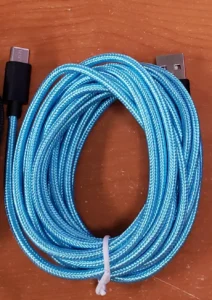
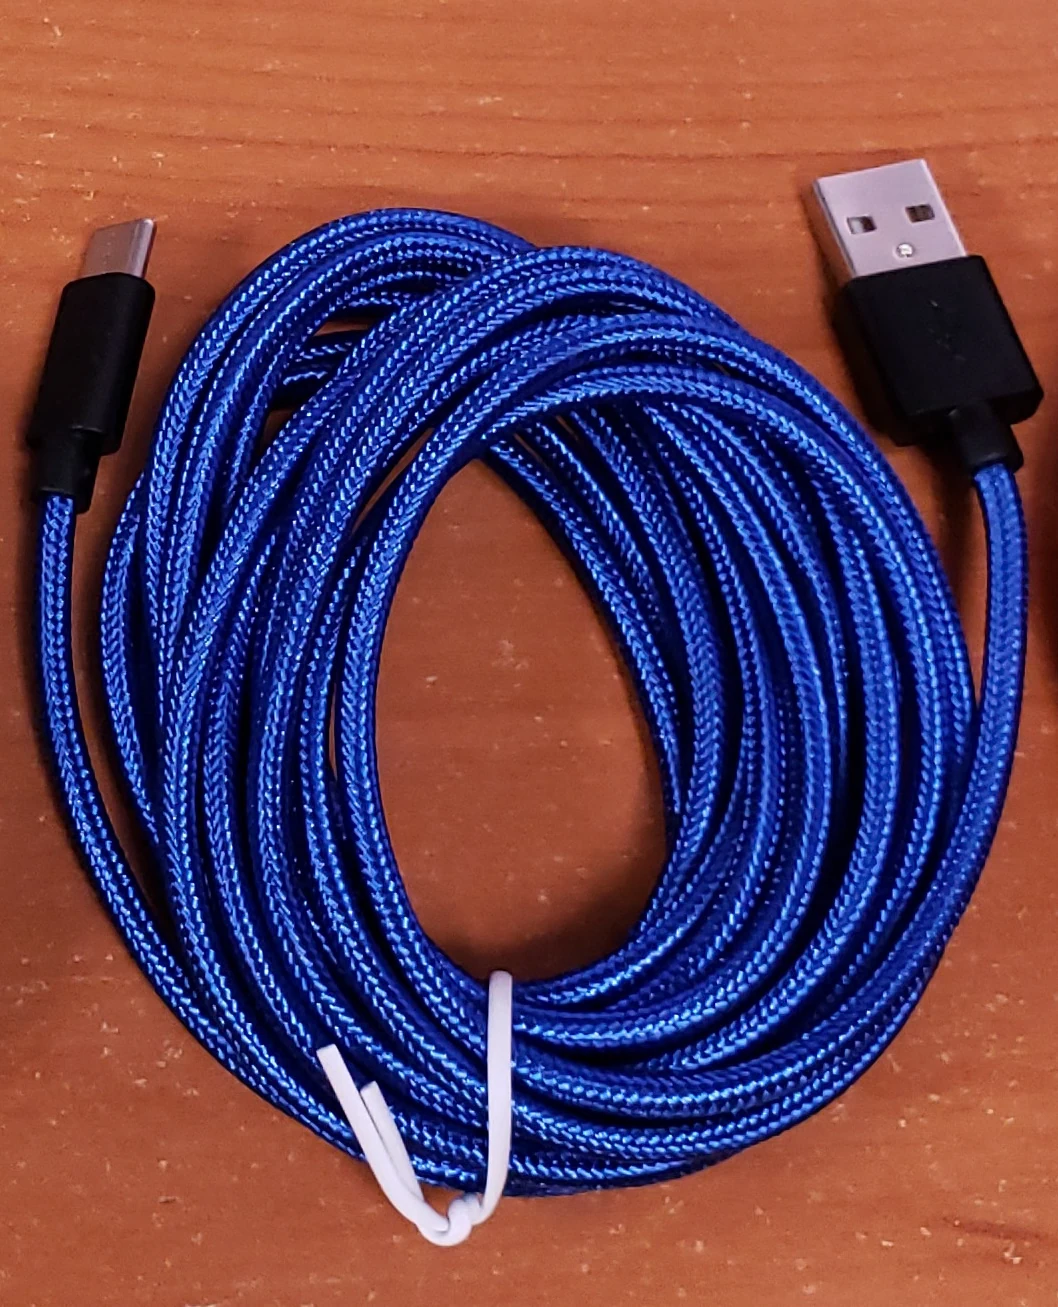
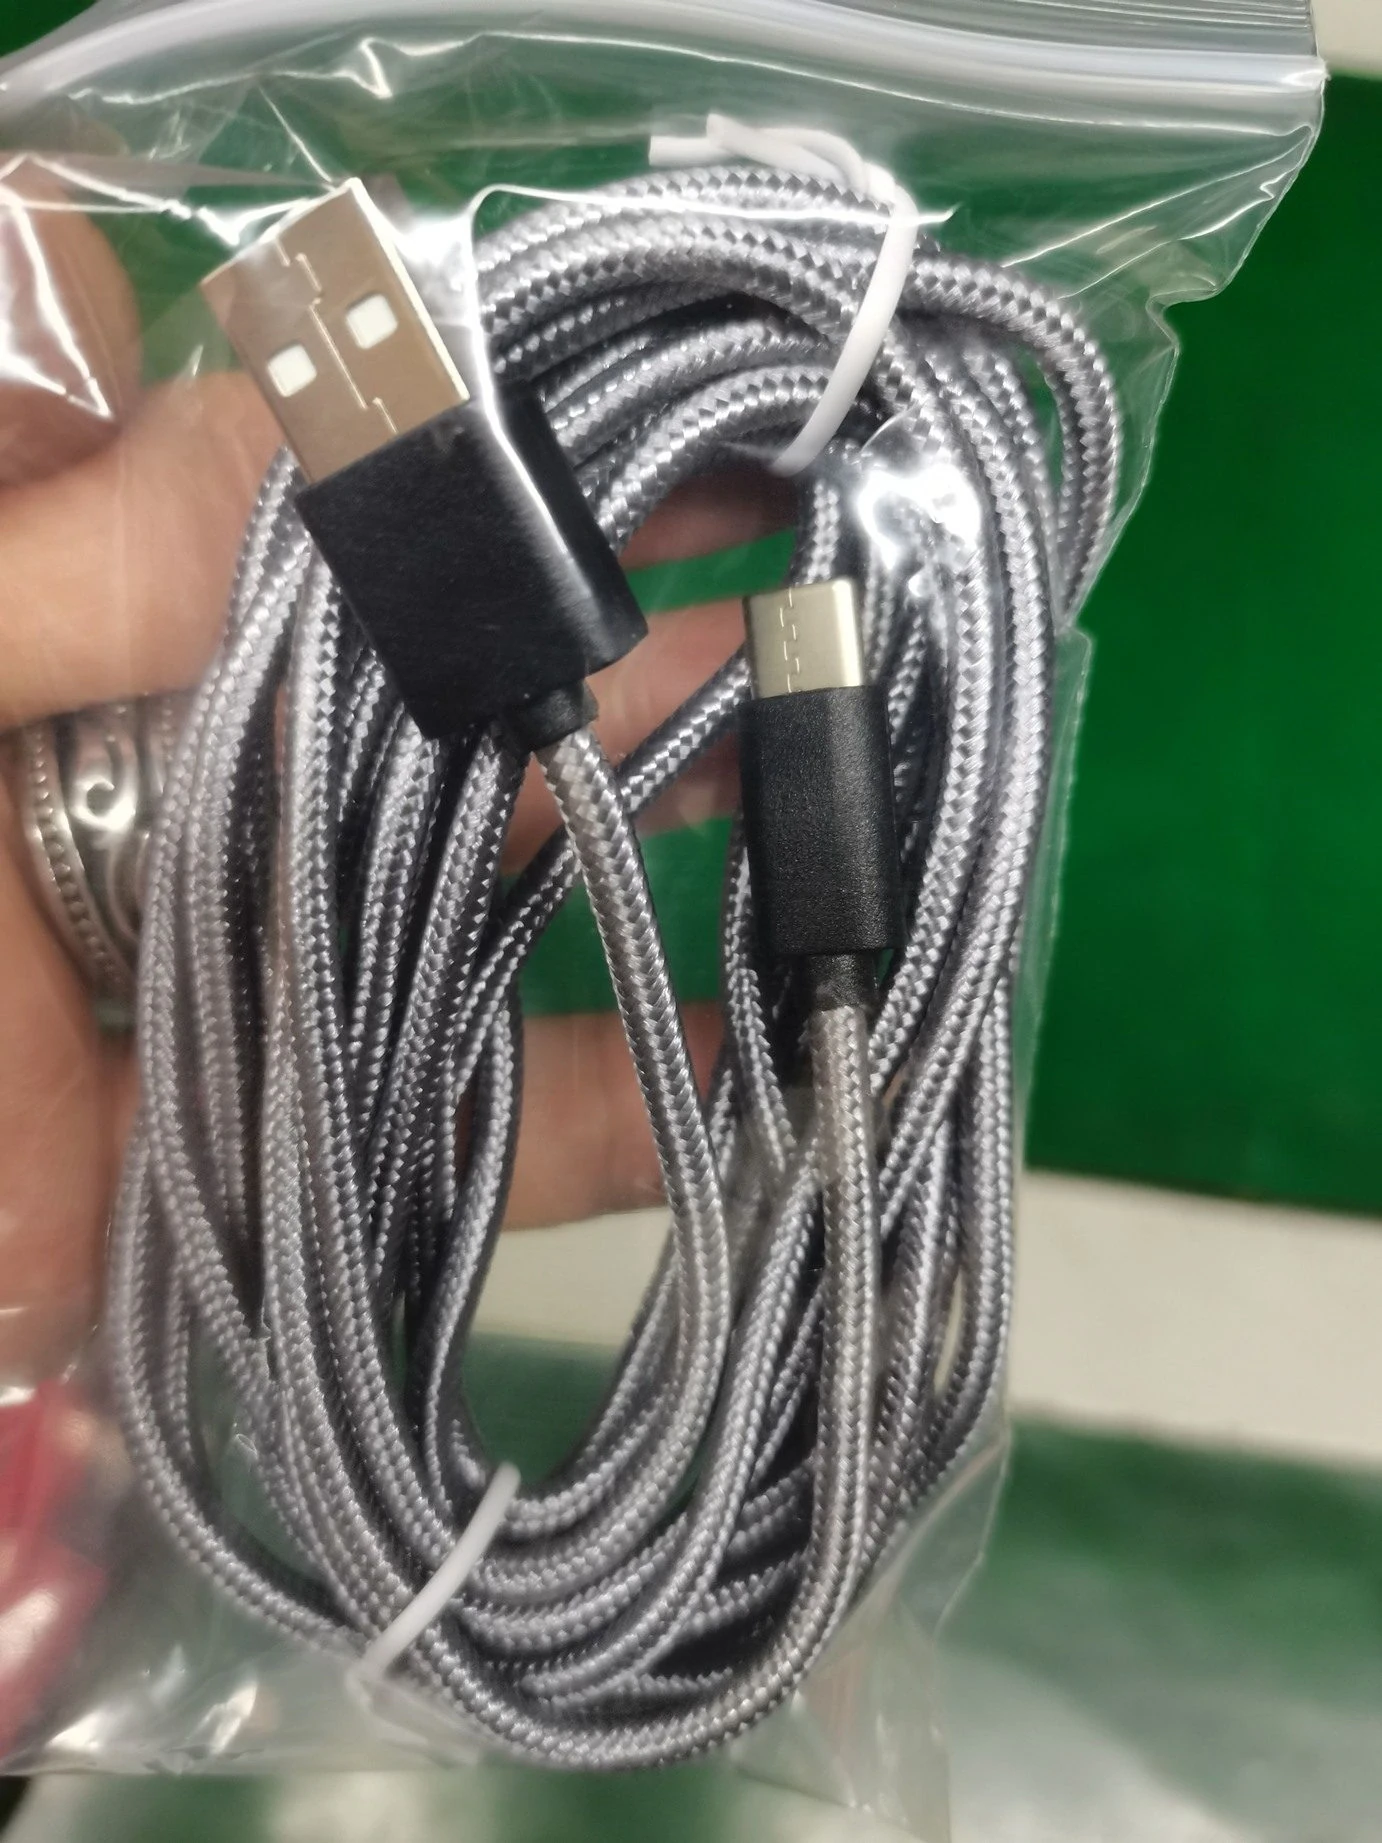
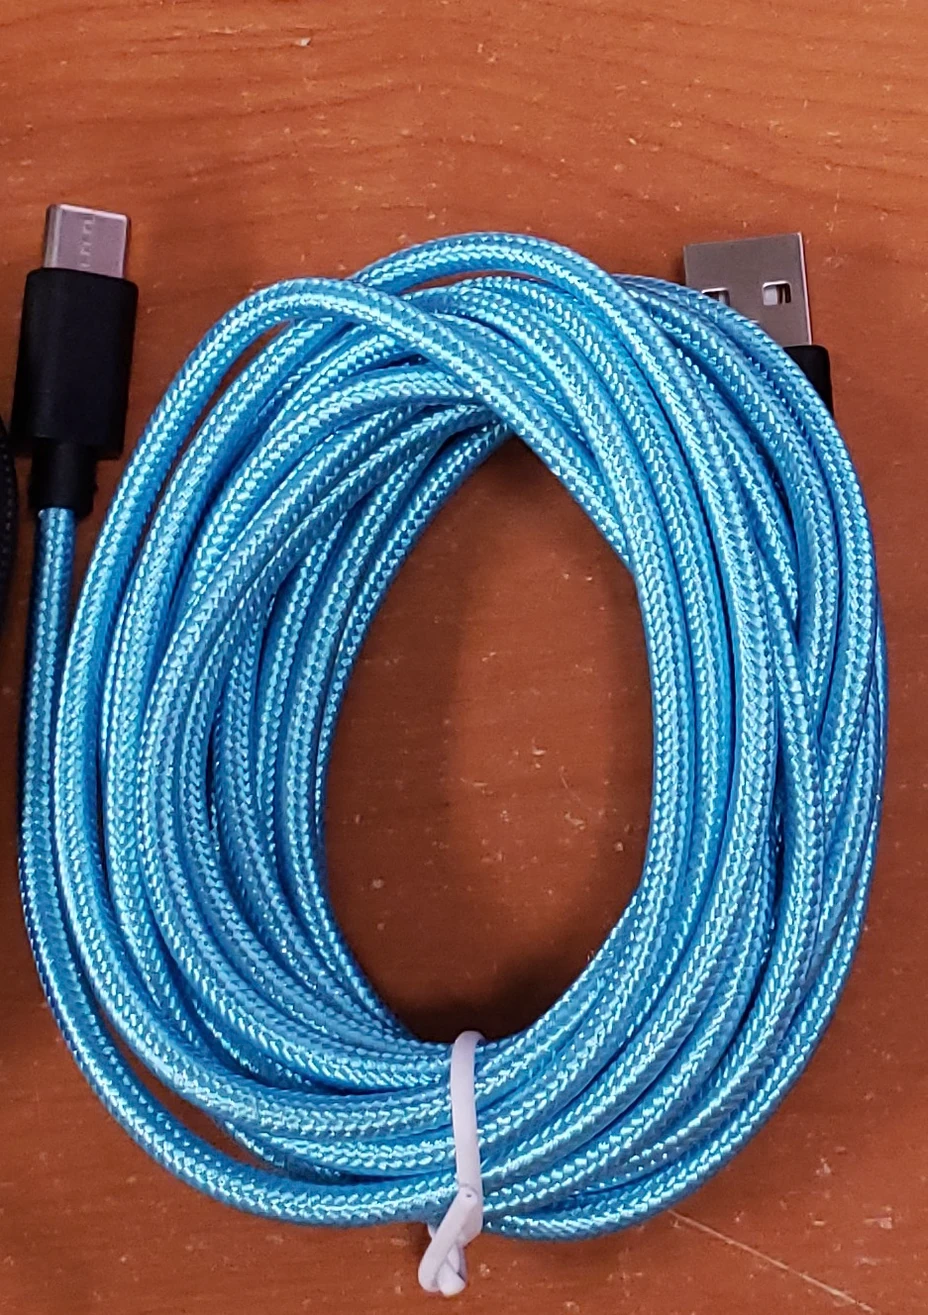
Spare USB Keyboard Cable, Custom Design
Available in various colors. These USB cables have been custom made for the Brand New Model F and Beam Spring Keyboards projects with an extra narrow connector to fit the compact cases (not all USB cables will fit). USB-C cables made in recent years do not last too long in my experience so a spare is recommended.
Length: 3 meters (9.8 feet)
Important terms: These USB cables and are not recommended for other purposes. As with all cables, Strangulation Hazard, Keep Out of Reach of Children.
I want to help (custom/low serial skip the line, tariffs)
Custom/Low Serial Number: Choose this option to jump ahead in line by up to several hundred spots! Also a great way to support the project a little more and request your own serial number and/or production date. Serials can be up to 7 numerical digits only – no letters or other special characters. Important note: click this link to see details on available serials, especially for single digit serials.
Likewise, you can choose to support the project through the other options in this section. Feel free to add this on to a previous order to upgrade it (you can choose free shipping on this order if it’s just for this upgrade).
Thank you for supporting the project a little extra – it is much appreciated to help cover the tens of thousands of dollars of project cost overruns and get your keyboard far faster.
Which serials are available? See below for which serials you can pick with each level of support. With all levels of support, you can also pick higher numbers and/or custom production dates, subject to availability.
I usually ship in sequence of order date (generally first come first served) unless you order a single digit serial or low serial number. Single significant digit serials (less than 0000010) will be one of the very first to ship, and low serial numbers will be among the earliest to ship.
What are the different upgrade levels? There are different levels of low serial, ranging from single digit serials, to double digit range of serials, to other low serials 100 and higher. The standard $29 option allows for some requests. Other options can be selected by picking the single, double, or triple digit serial options. It is ok to upgrade from the $29 option you may have ordered already to the $99 option using the store item $1 increments to make up the difference.
Custom dates: All low/custom serial options allow the option to request a custom date / year that will go on the product label. A birthday, birthdate (with birth year!), or anniversary are all possibilities to consider. You can send a list of preferred serials in priority order, up to 7 digits (numbers only and they must be non-negative). Many other serials (3 to 7 significant digits) are also available but not listed below. The list is not updated constantly and if you order any low serial option I cannot guarantee you will receive your requested serial; you may be assigned an available serial.
Important terms: this store item does not guarantee a requested serial number. If your requested serials are not available, another serial will be assigned to you; it may be a “lower tier” serial and you agree not to receive a refund for the cost difference as the primary purpose of this item is to expedite shipping by skipping the line as well as getting something that can match a particular date. Ordering a low serial does not guarantee shipment within a certain amount of time. It only guarantees that when each shipment arrives, your order will be one of the first to ship if it is all in stock. I personally inspect and ship each keyboard. Under no circumstances can you add conditions of purchase such as requiring a refund if a certain serial or date is unavailable. Many serial numbers have already been reserved, especially for the F62 and F77; the main benefit of this product add-on is to support the project a little more in exchange for skipping the line, not to have a serial close to number 1. The low serial upgrade does not make your keyboard arrive any faster from the factory, but it allows you to skip the backlog as soon as the keyboard arrives and is in stock. You are not purchasing an exclusive license for one serial or production date; others may have the same serial or date as you (for example, someone with a Model M style F104 and an Ultra Compact F104, or two of the same model if I mistakenly duplicate serials). For example, outside of the premium low serial options, the standard low serial for the F77 is now in the low thousands. Please feel free to check with me before purchase if you need a certain number or date. A reminder that while the skip the line option lets you move ahead in the backlog by dozens and dozens of spots, there is still a quality control and order preparation process that needs to happen, so it will still take time for your order to ship, but you may get your order a month (or more) earlier. As I note on the update blog posts: “In terms of the timeline from here, I cannot estimate the timeline for any specific order, so please do not email me asking for a personalized update on when your order will ship. You will receive an email with a tracking number once your order is all done.”
Serial Levels:
The Model M case style Model F keyboards (Classic F104/FSSK/F122) and classic Beam Spring Keyboards:
Single Digit Serials: 0-9
Premium Serials: 10 through 99
Regular Low Serials: 100 and up
Beam Spring Round 1 and the newly announced anodized case Model F keyboards (Compact F104/FSSK/F50/F15 Split/Split Ortho):
Single Digit Serials: 0-9 (only a few remaining!)
Premium Serials: 10 through 50
Regular Low Serials: 51 through 99
With other models out for years that have most of their small numbers already taken (F62, F77, etc.), the next lowest serials will be offered.
Click to view available serials (Check with me – this page is not updated often and these serials may be gone by now – last updated 8/4/26):
CLASSIC B104
Single Digit Serials: 1, 5, 7-9
Premium Serials: 11, 12, 14-49, 59-99
Regular Low Serials: 107-299
CLASSIC B122
Single Digit Serials: Sold Out
Premium Serials: 11, 12, 14-49, 55-86, 88-99
Regular Low Serials: 100-400
CLASSIC B62
Single Digit Serials: 0-9
Premium Serials: 12-54, 56-99
Regular Low Serials: 100-400
CLASSIC BSSK
Single Digit Serials: 0-9
Premium Serials: 10-49, 52-64, 66-99
Regular Low Serials: 100-400
CLASSIC F104
Single Digit Serials: 7
Premium Serials: 28-99
Regular Low Serials: 145-299
CLASSIC F122
Single Digit Serials: Sold Out
Premium Serials: 25, 27-41, 43-68, 70-99
Regular Low Serials: 135-299
CLASSIC F62
Single Digit Serials: 7
Supreme Serial Level: 150, 151, 153-167, 169-179, 181-195
Premium Serial Level: Available, no pre-set range
Regular Low Serials (1101-1200): 1116-1200
CLASSIC F77
Single Digit Serials: Sold Out
Supreme Serial Level: Available, no pre-set range
Premium Serial Level: Available, no pre-set range
Regular Low Serials (2701-2800): 2701-2800
CLASSIC FSSK
Single Digit Serials: 1, 3-7, 9
Premium Serials: 12-17, 19-68, 70-99
Regular Low Serials: 128-212, 214-299
COMPACT B104
Single Digit Serials: 1, 4-9
Premium Serials: 10-20, 22-49
Regular Low Serials: 58-83, 85-99, 237-400
COMPACT BSSK
Single Digit Serials: 1, 6, 7, 9
Premium Serials: 10-50
Regular Low Serials: 51, 52, 54-99, 210-400
COMPACT F62
Single Digit Serials: 1
Premium Serials: 13, 14, 18-20, 27, 43-48, 50
Regular Low Serials: 70-85, 87-99, 102-200, 203, 385-394, 398, 399
COMPACT F77
Single Digit Serials: 1, 8
Premium Serials: 15, 17, 18, 20
Regular Low Serials: 75-85, 87-98, 100, 108-131, 133-165, 167-169, 172-189
COMPACT FSSK
Single Digit Serials: 0-9
Premium Serials: 10-17, 20-50
Regular Low Serials: 65-100, 291-400
Shipping Rates — US: Free. Canada: $48.92. Rest of World: $74.69. Non-Contiguous US: $25. Rates (if a keyboard is not shipping): US: $9.99. International: email me for a shipping quote.
Beam Spring Round 1 BSSK Keyboard
$260