






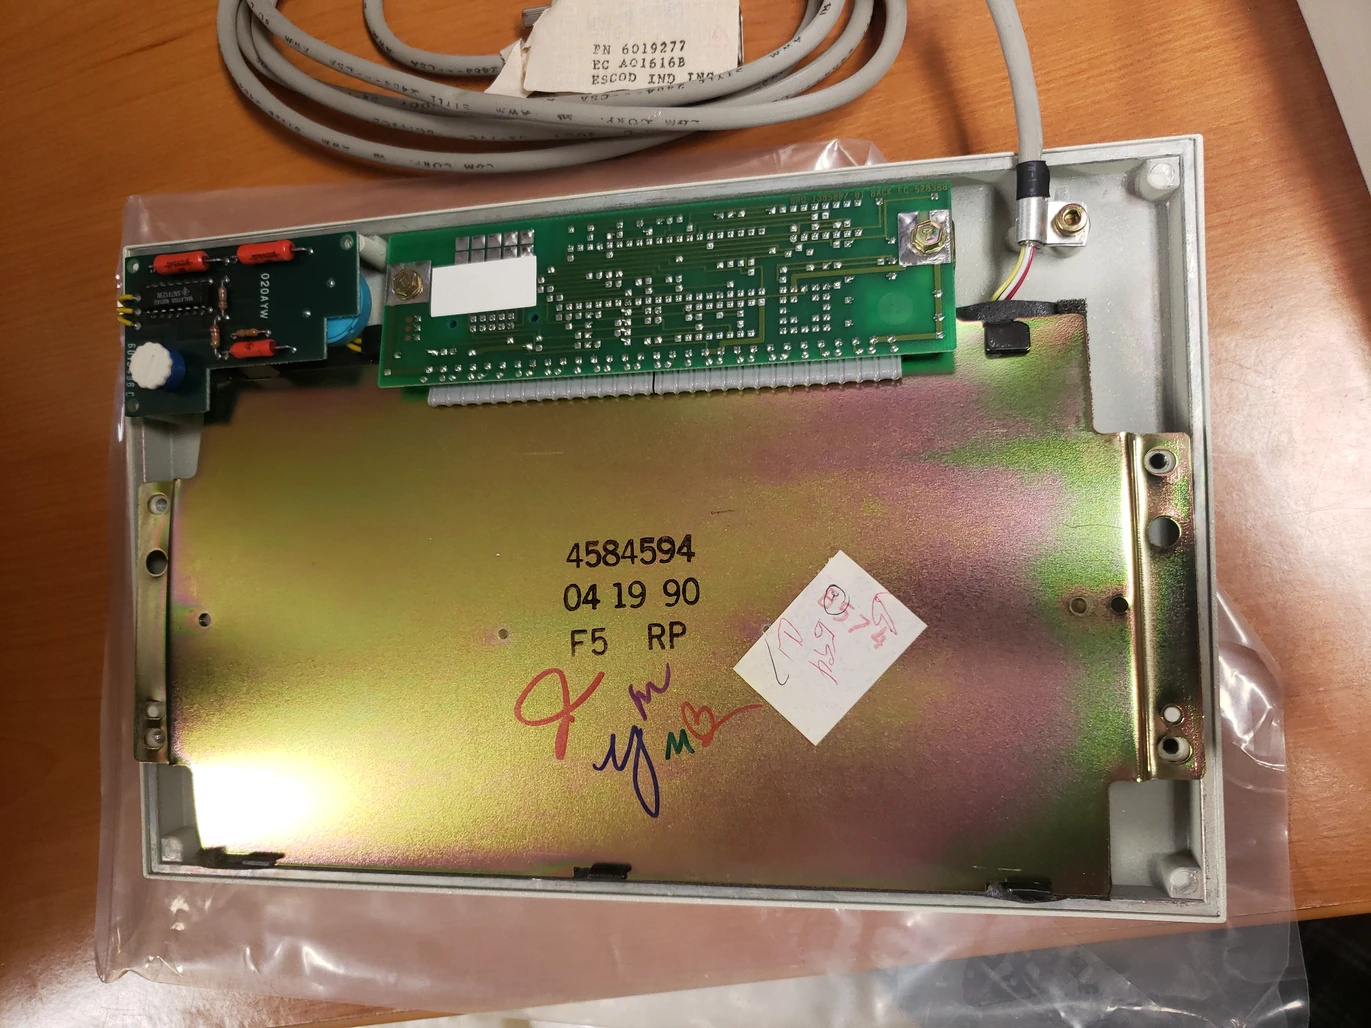
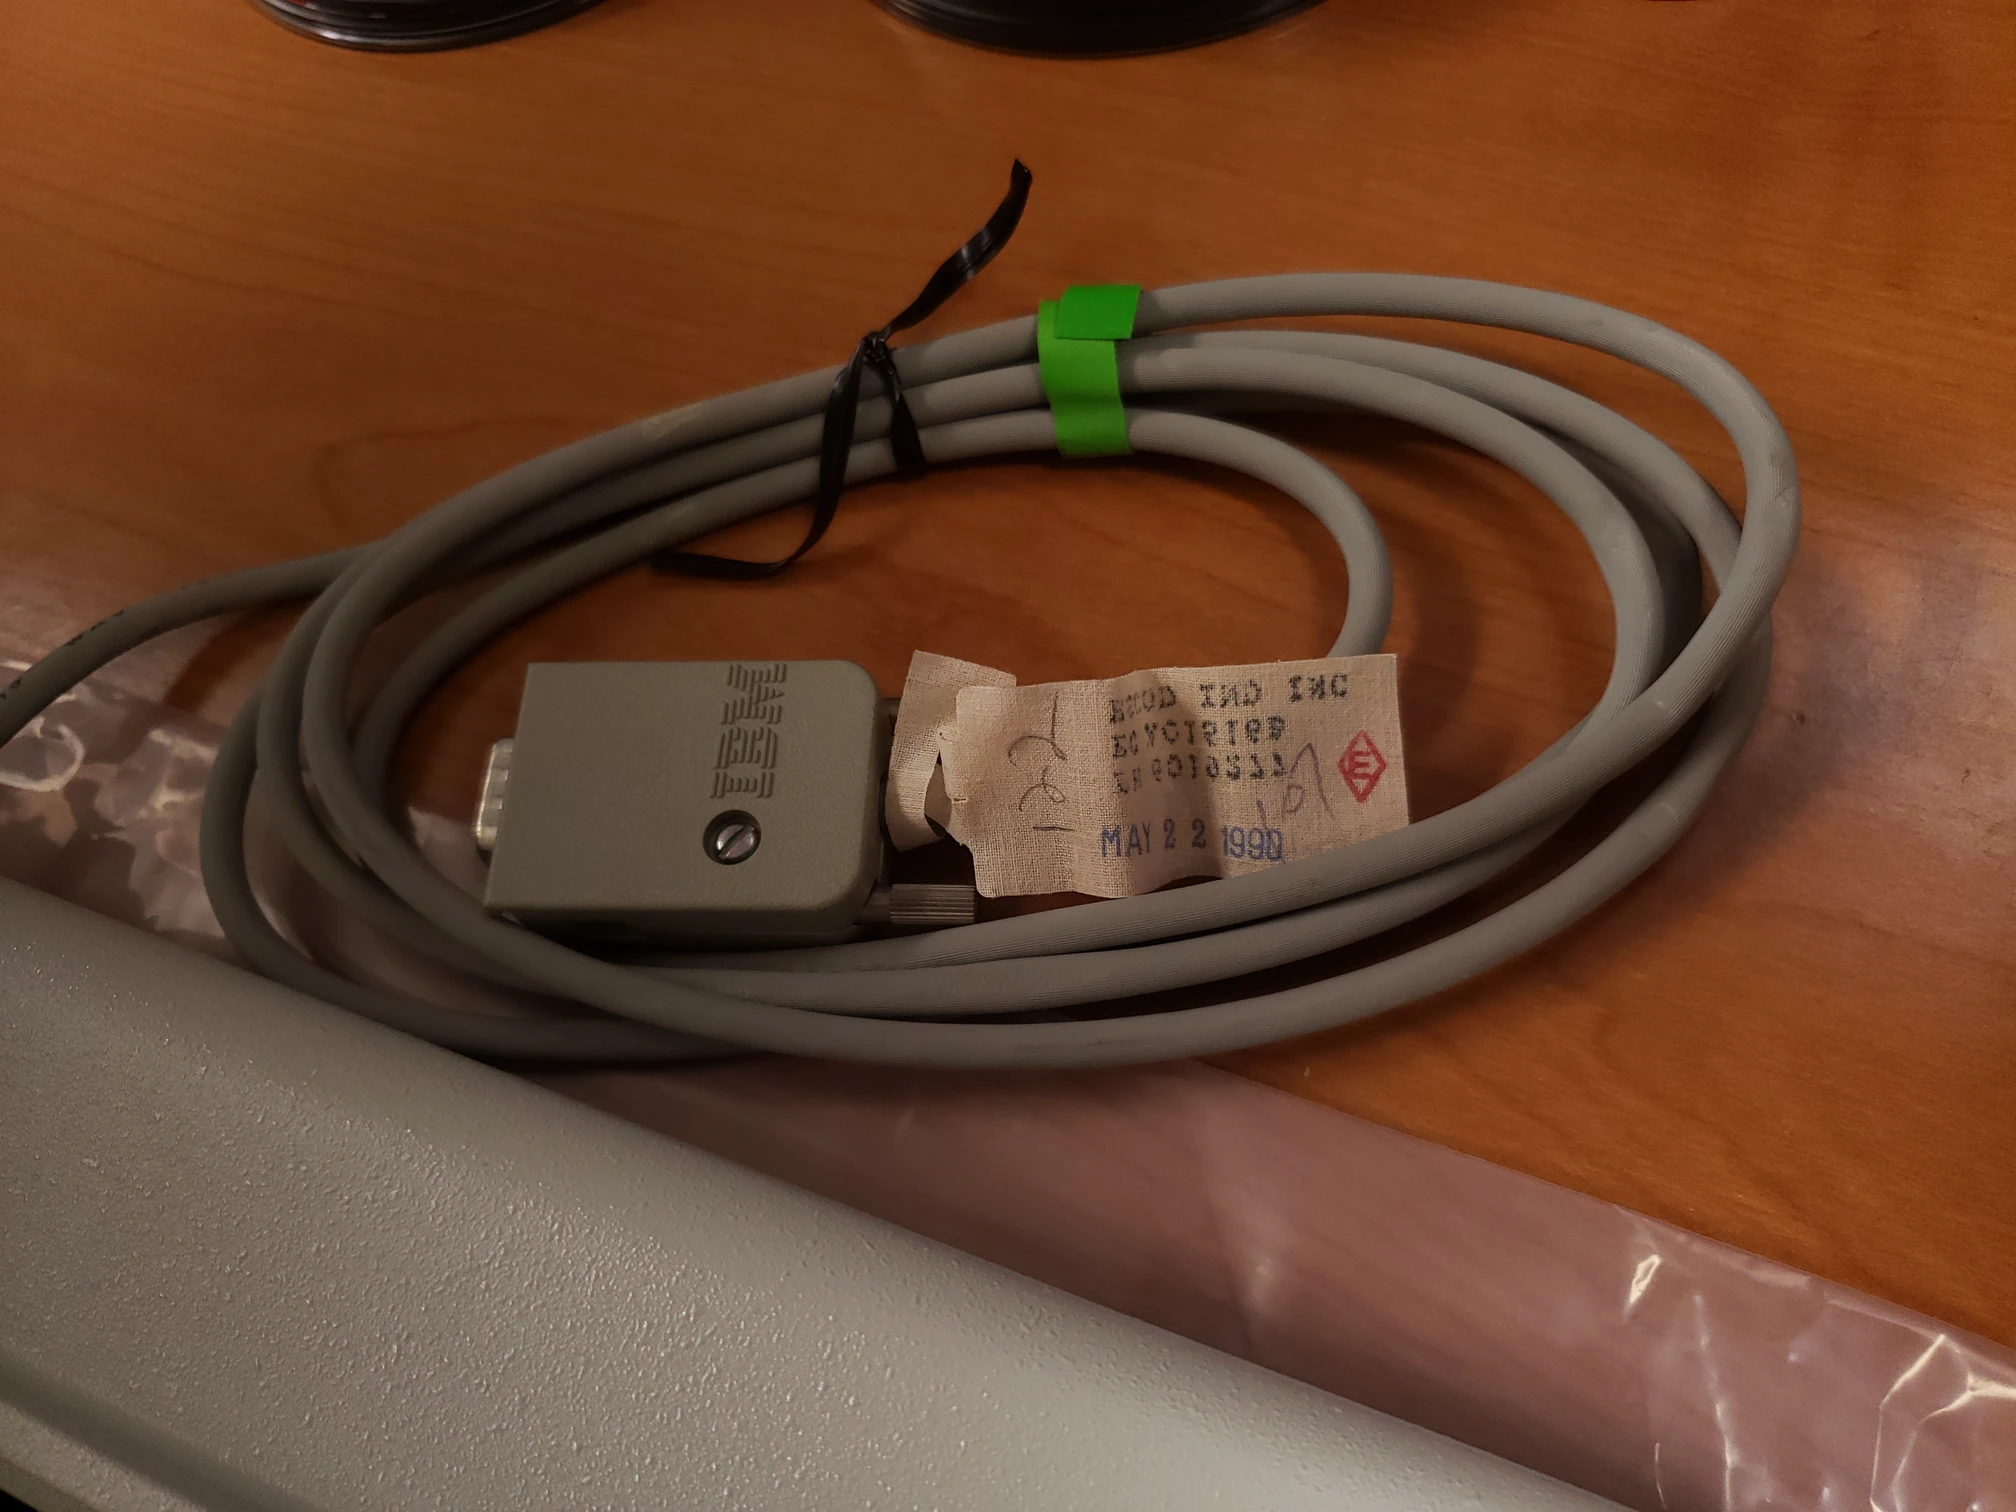
































Enhance tactility through an extra-hefty solenoid: This is an extremely popular add on, with over 1,000 sold so far. A metal plunger strikes the solenoid housing with each keypress to create a powerful typewriter-style thunk, a physical tap you can feel while typing. This optional add-on has adjustable power and can be toggled on and off by key combination. It adds extra clickiness to the keyboard. It is a click that you can feel and hear, for extra feedback when typing each character.
Remember to order both the solenoid driver and the solenoid, which are two separate store items that are not included with any keyboard (when configuring with a keyboard, they are grouped together but you can buy them individually on the solenoid product page).
About solenoids: IBM has had a long history with solenoids, dating back at least to the late 1970s with their development of the beam spring keyboard. To increase the tactility of the already-tactile beam spring keyboards and make them more in line with their clicky predecessor the IBM Selectric line of typewriters, IBM added a solenoid to various beam spring and Model F keyboards. A solenoid has a metal cylinder (or plunger) that when the surrounding coil receives a current, it moves that cylinder, which then makes contact with the metal enclosure of the solenoid, and then it springs back to its original position, so you can have an audible click and you can feel the tap of the solenoid with each keypress. That is why solenoids are a great way to have even extra feeling while typing. Most folks probably don’t want the solenoid on all the time which is fine: the firmware has a built-in key combination toggle command so that you can switch on and off the solenoid as needed, without having to unplug anything. These solenoids are also a great option as an upgrade to IBM’s original solenoids too (I’d always save the originals of course for the sake of completeness).
Custom made solenoid specifications: Why pick this solenoid over other solenoids or over IBM’s original solenoids? The new solenoids are far beefier than IBM’s originals, so your solenoid clicking will be even better! It’s a custom design that you can only order here. The specifications are 6v, 40 ohm, 0.15A, 0.9W, adjustable throw factory set to 1mm but with a user-adjustable range of about 0.5mm to 5mm (there are 2 screws that can be loosened to adjust the distance of the strike bar). The factory throw setting allows you to start using this solenoid with no modification (still need to follow xwhatsit’s solenoid installation guide to avoid damage to equipment). This solenoid has the dark blue outer covering, black and white twisted wires and 2.54mm connector like the original IBM solenoids, but with a strike bar so it won’t exactly resemble the IBM solenoid. This solenoid is not the one that’s available on eBay, though it looks similar and the voltage and resistance specs are the same. Also that other model doesn’t have the adjustable throw – you would have to spend time milling the strike bar to modify it for correct usage with the solenoid drivers. If the ebay solenoid’s throw distance isn’t changed, your solenoid will be very sluggish and won’t be able to operate at full typing speed. Also my solenoid is even larger than the eBay solenoid, the 26mm height dimension on eBay is set to be ~29-30mm on my solenoid (the solenoid goes sideways in F62/F77 so it fits) though all the solenoid specs are subject to change. With a larger metal frame, my solenoid should be a little louder than the eBay model and far louder than the original IBM! This is the largest possible solenoid that will fit inside the classic style cases.
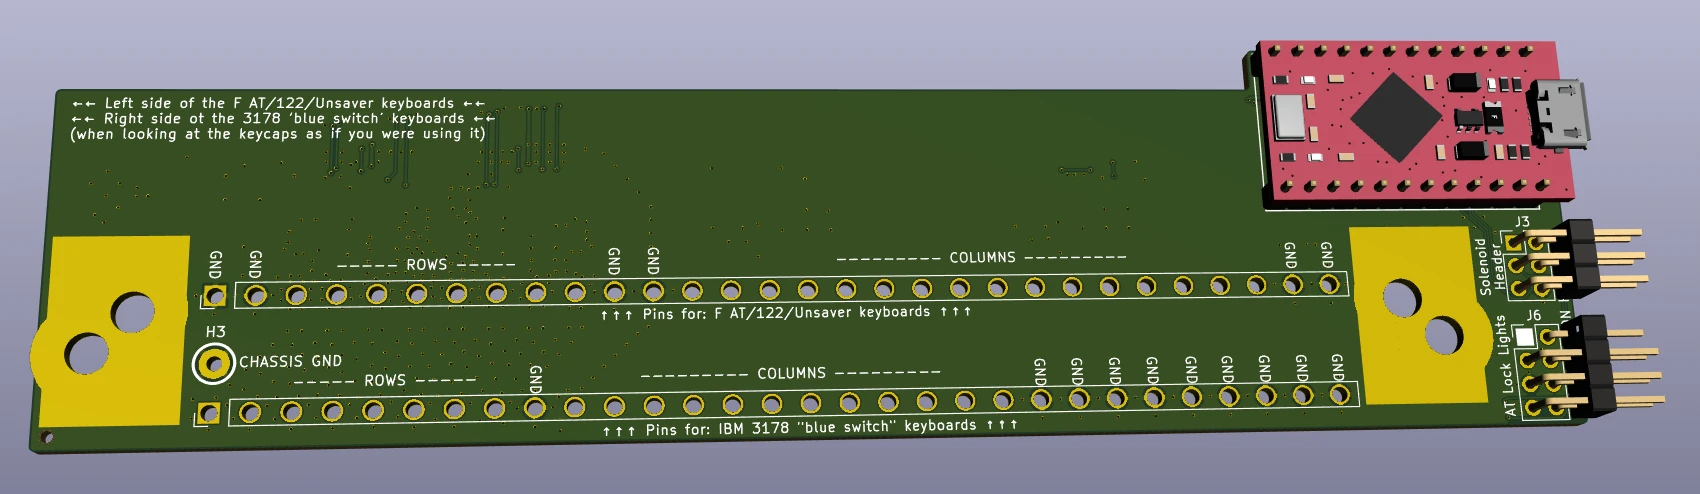
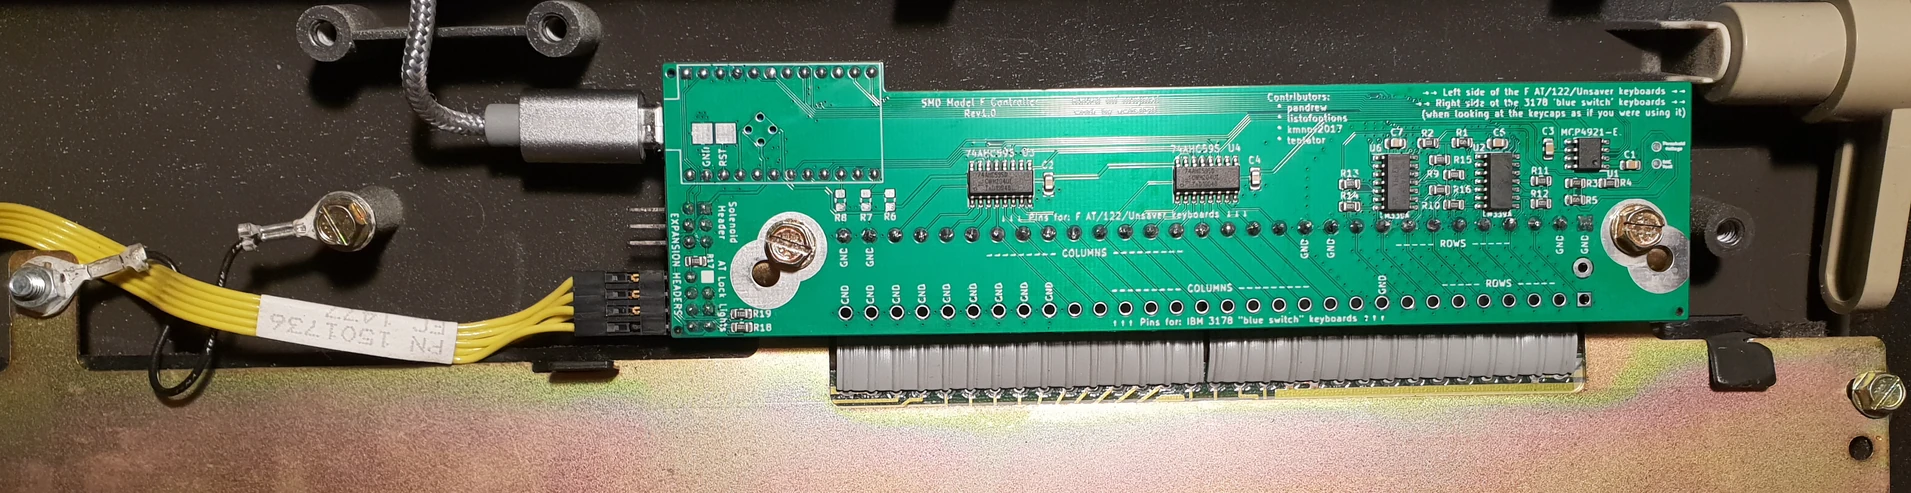
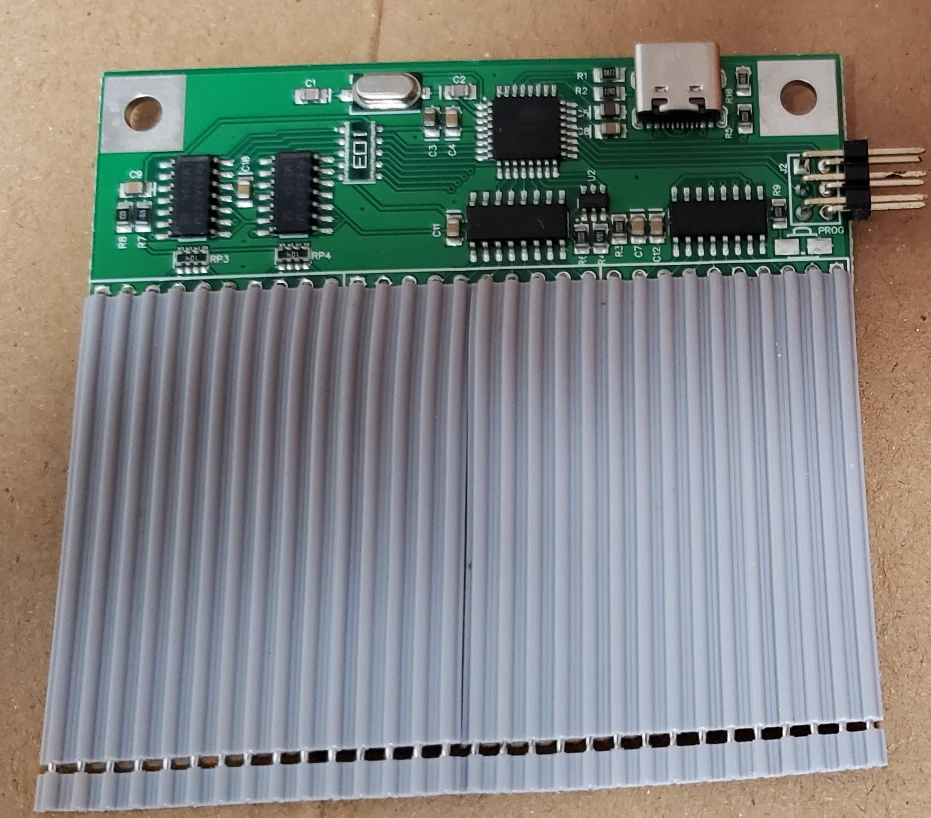
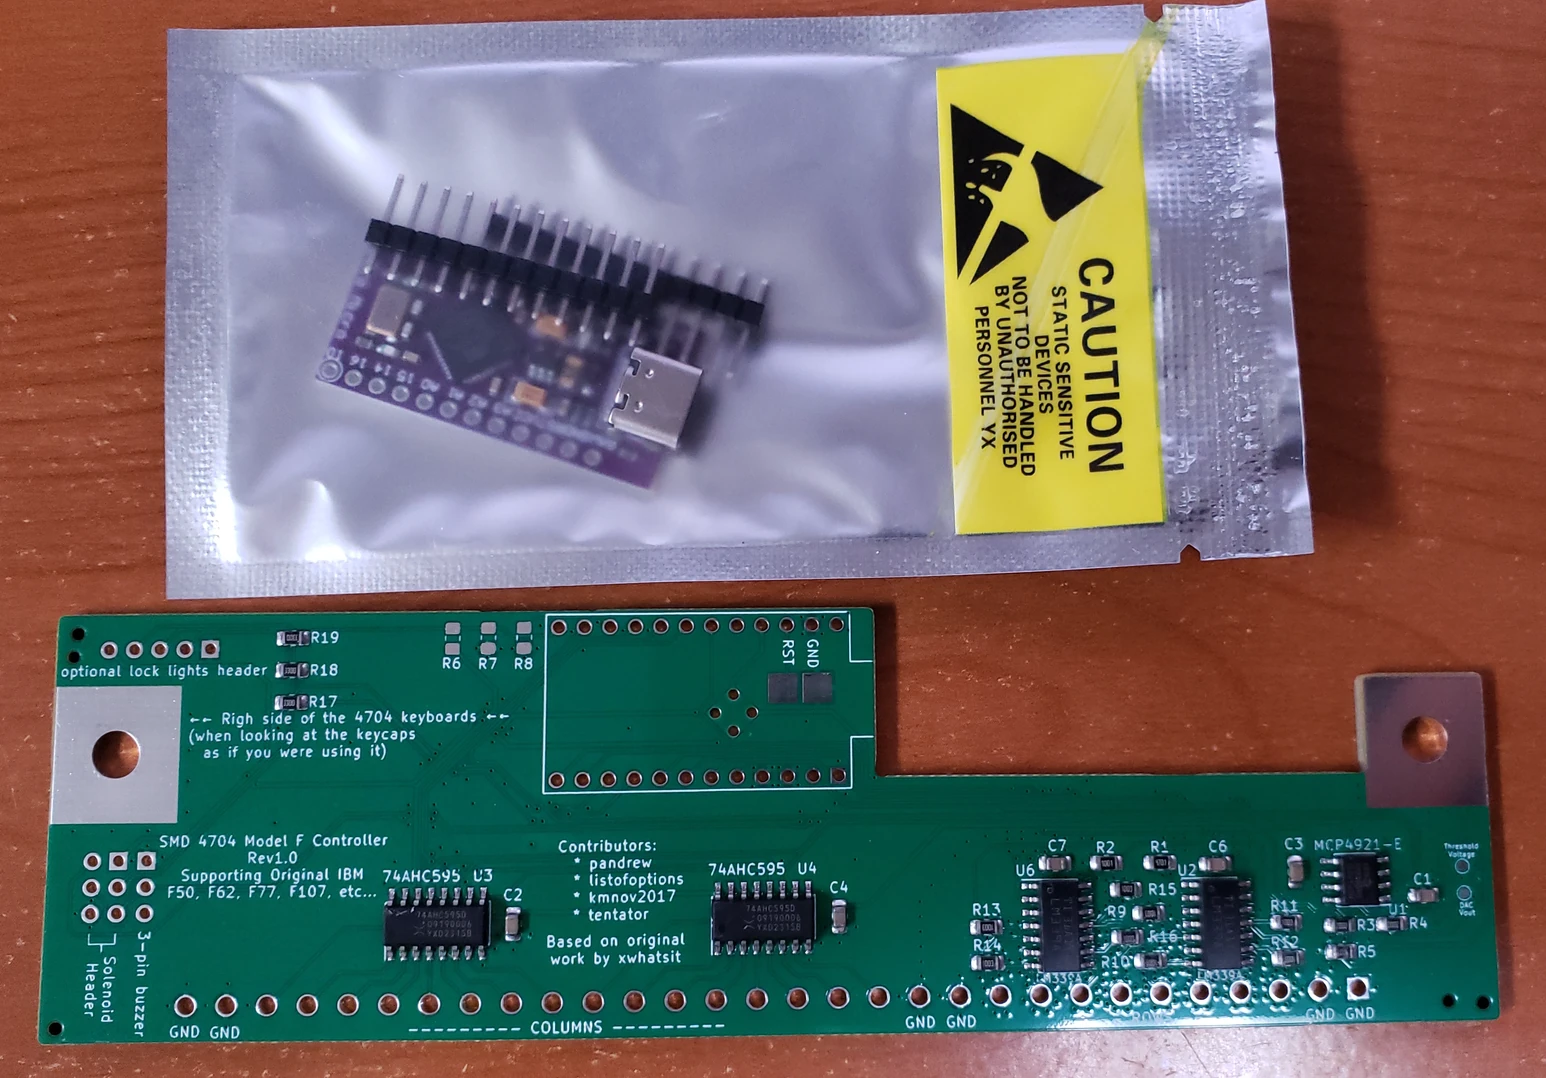
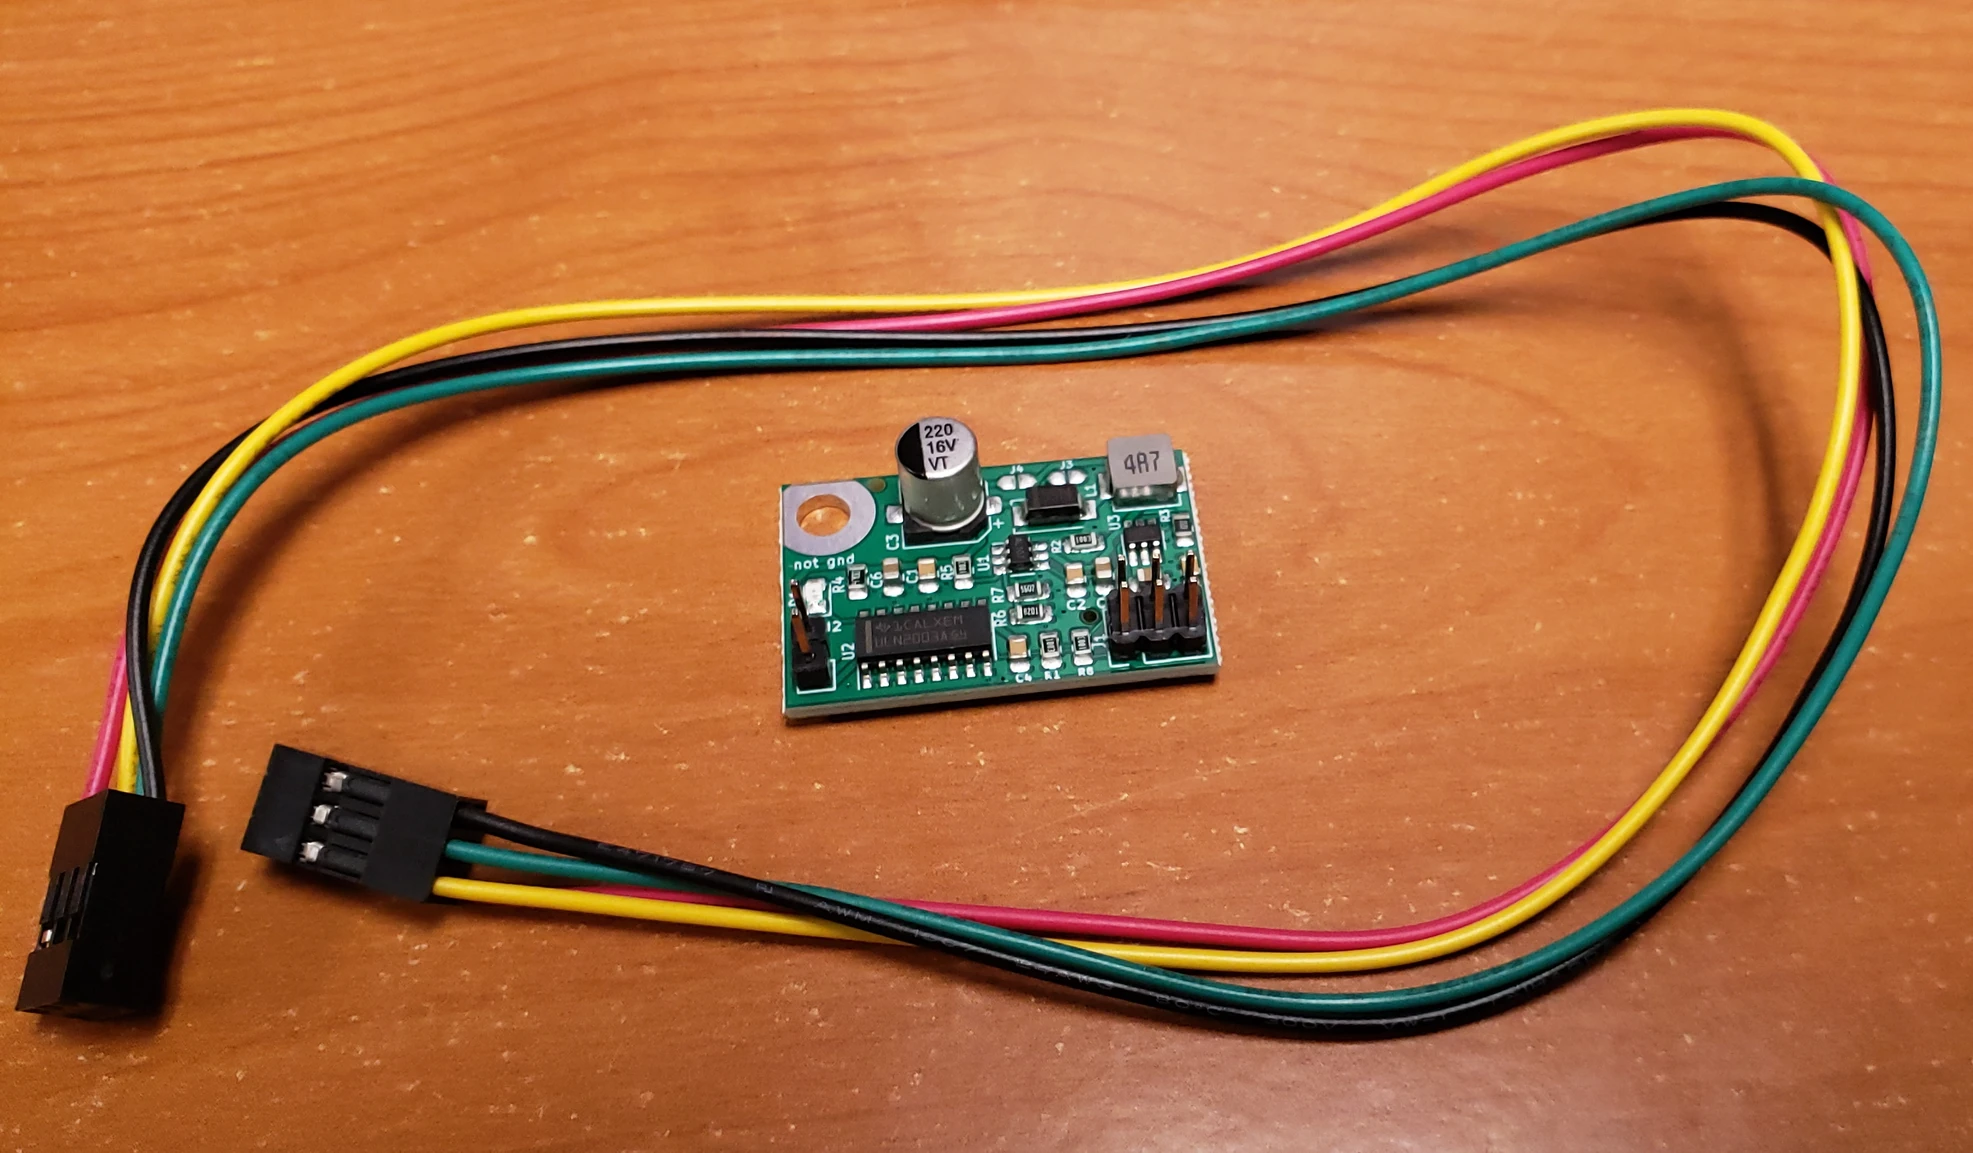
Solenoid drivers help you add a solenoid to your keyboard. You need both a solenoid driver and a solenoid; they are not sold together. The solenoid driver does not include the solenoid but it does include the ribbon cable to connect to your controller. The solenoid would go inside your classic case new classic case keyboard, but it has to be installed outside the compact case keyboards. Controllers are not required for your Brand New Model F or Beam Spring keyboard – they are included and preinstalled. When installing the solenoid, because the screw that secures the solenoid is at the bottom of the keyboard as shown in the manual, order any of the slightly taller bumpers for the back of the keyboard (i.e., any option except the cork bumpers unless you double up and stack two of the cork bumpers, one on top of the other). So if you want to use cork, buy an extra set so it is tall enough – you may want to pick up some additional bumpers so you can add some height to the bumpers, by either putting two cork bumpers on top of each other or using one of the other bumpers which are thicker; otherwise the solenoid screw may contact your desk.
The solenoid driver and solenoid are very easy to install, fully assembled with the components factory soldered. Installation takes a few minutes, by following the step by step guide in the manual, but if you prefer for me to install this, you can order the solenoid driver and solenoid as well as 39 units of the store item $1 increments with an order note for me to install it. Do not forget the order note; if you forget it then I will not know to install the solenoid for you. You do not have to solder to install the solenoid; you are just connecting the plug-in cable on the solenoid driver to the controller, and then plugging in the solenoid cable to the solenoid driver. The only exception is the round 1 Beam Spring B104 keyboard which used an older xwhatsit controller with 30 instead of 33 pins; it did not have those 3 additional pins for LED and solenoid wiring at the same time (see the manual for details).
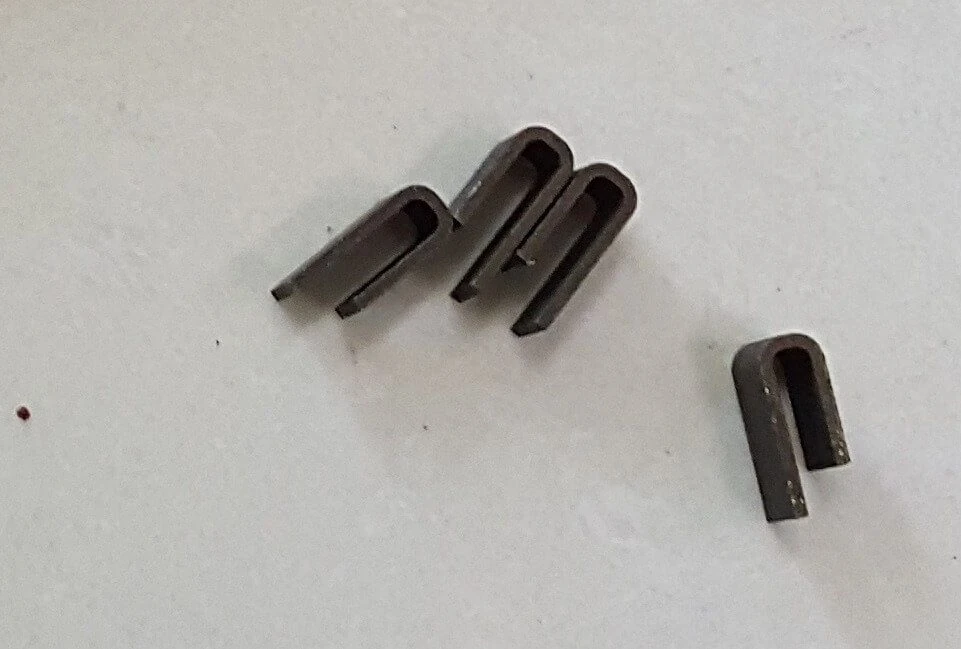
If you want to reuse your previously received solenoid driver and solenoid with your Round 2 beam spring keyboard, order the beam spring solenoid add-on kit containing additional needed parts. It should be included if your solenoid is shipping with a beam spring keyboard. If ordering a solenoid driver and solenoid in the future to use with your new beam spring keyboard, you can request these parts to be included at no extra cost if you add an order note. For this reason, the pictured bolts and other small parts included in each solenoid kit may vary and you may not receive everything pictured, so an order note will be helpful to me so I know what to send you. Here is a review of the solenoid explaining why it is highly recommended for these keyboards.
What to order to have a solenoid in your original IBM Beam Spring keyboard: Solenoid driver, solenoid, and beam spring controller. These are three separate store items so please do add all three to your cart!
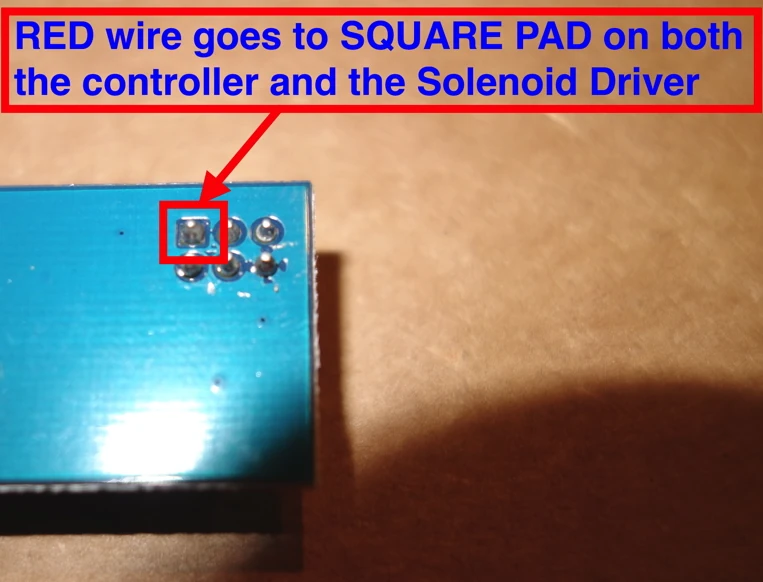
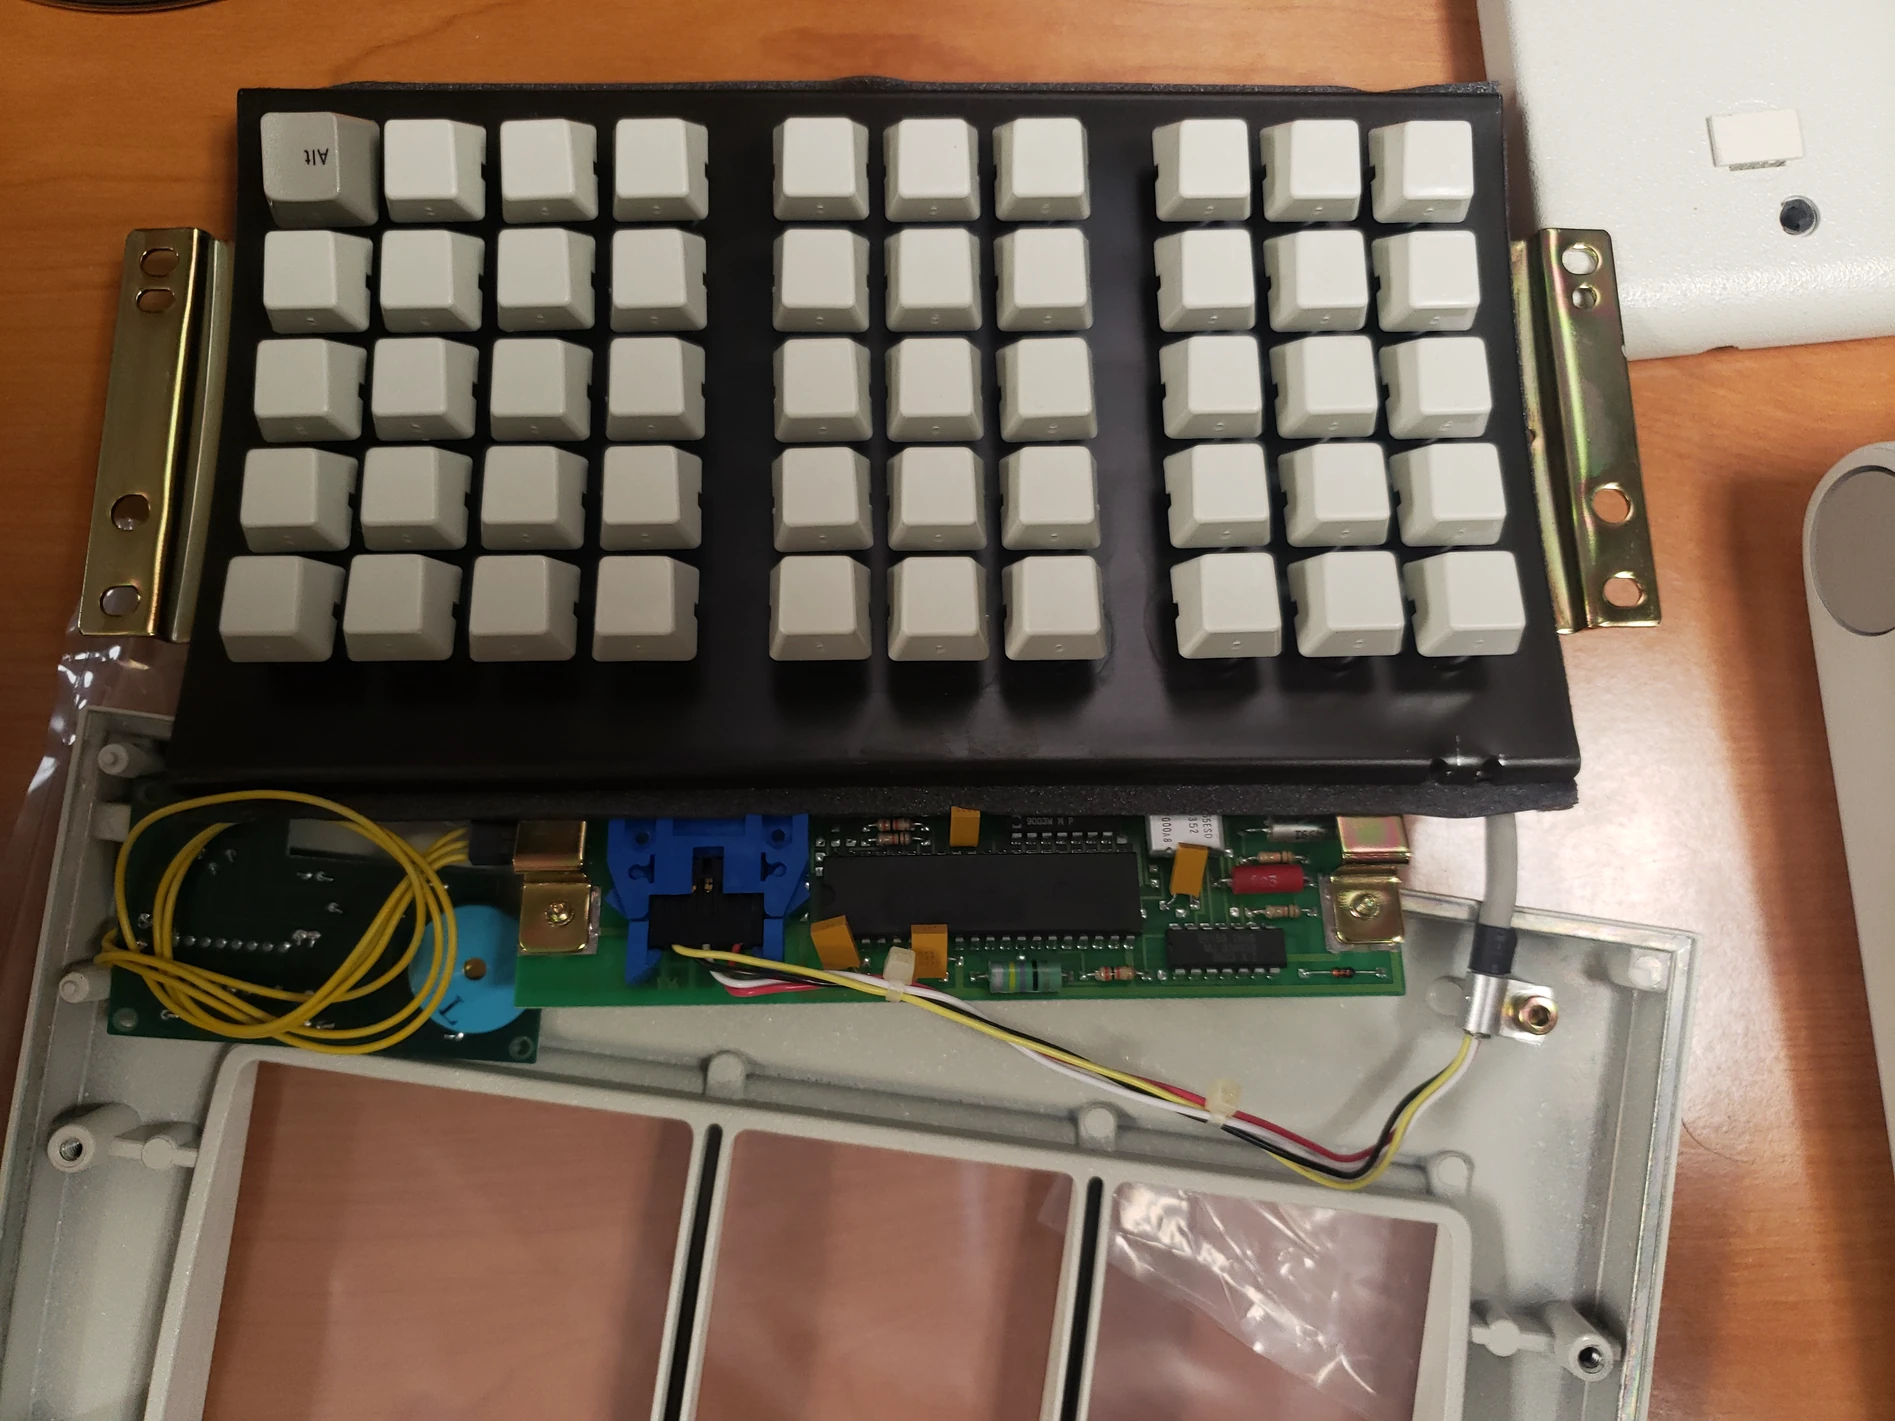
Warning: you may destroy your controller, solenoid driver, and/or solenoid by not following the solenoid driver instructions as well as the other instructions in the manual at modelfkeyboards.com/manual Most important is to match the square on both sides of the ribbon cable connector, so that you connect the squares (voltage line) to each other. The position is different from what is pictured online, from other xwhatsit controllers, and from the photo below. If you install the cable the wrong way you will destroy your equipment. If unsure, do not connect it! For the solenoid drivers: see the images below for the general installation procedure of solenoid drivers inside Brand New Model F Keyboards. The solenoid driver you receive will be either the xwhatsit original design solenoid driver or the version updated by forum member pandrew. Both are confirmed working fine with my solenoids and with the IBM original solenoids.