




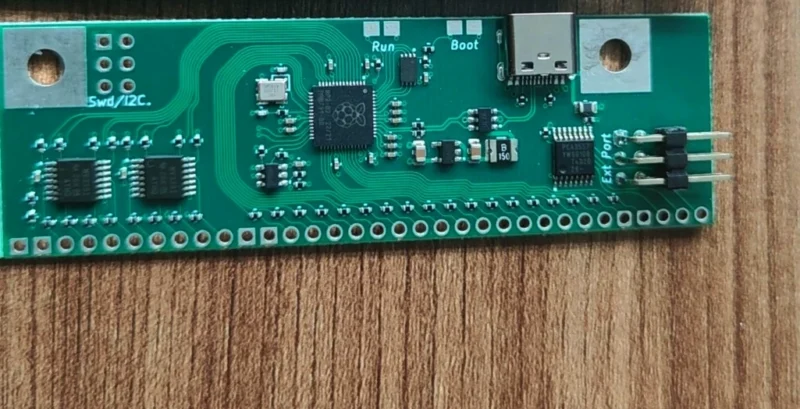
Spare controllers are one of the most popular extras. The controllers contain all of the custom electronics in the keyboard, so if the keyboard stops working long after the project has shut down and spare parts are no longer available, you can switch it out with the spare so your keyboard will continue working. No need to pick the controller; you’ll get the one that works with your keyboard unless you specify otherwise.
Pick "Leyden Jar" if you have a B122, B104, or F122. Pick "xwhatsit USB-C" if you have any other new Model F or Beam Spring keyboard.
To choose the correct option that you need, please see below. Note: All controllers offered here have USB-C! This is the only place to purchase all of these controllers as no one else manufactures them. When on the keyboard configurator page, the correct controller option compatible with your keyboard will be the only available choice.
Controller models available for the new production keyboards: There are two main offerings: xwhatsit USB-C and the Leyden Jar controller.
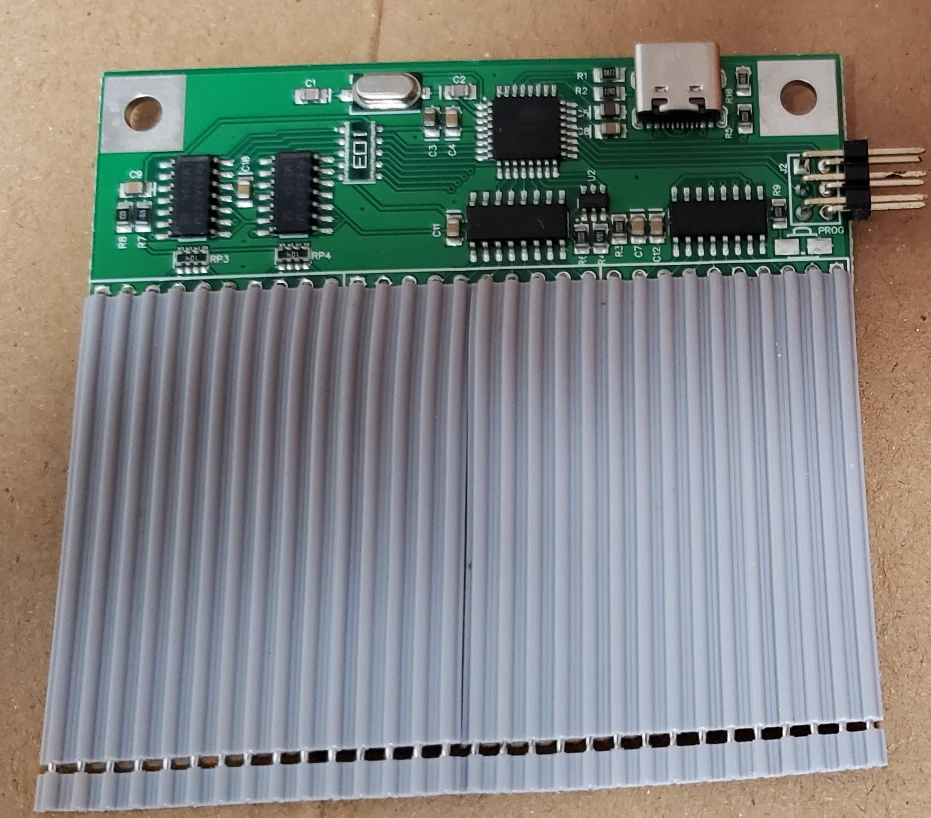
xwhatsit USB-C is used for many new Model F and new Beam Spring keyboards, other than the models below which use the Leyden Jar controller. All new F and Beam keyboards use these controllers; none of them use the controllers with the blue card edge connectors (those are only used with some IBM originals).
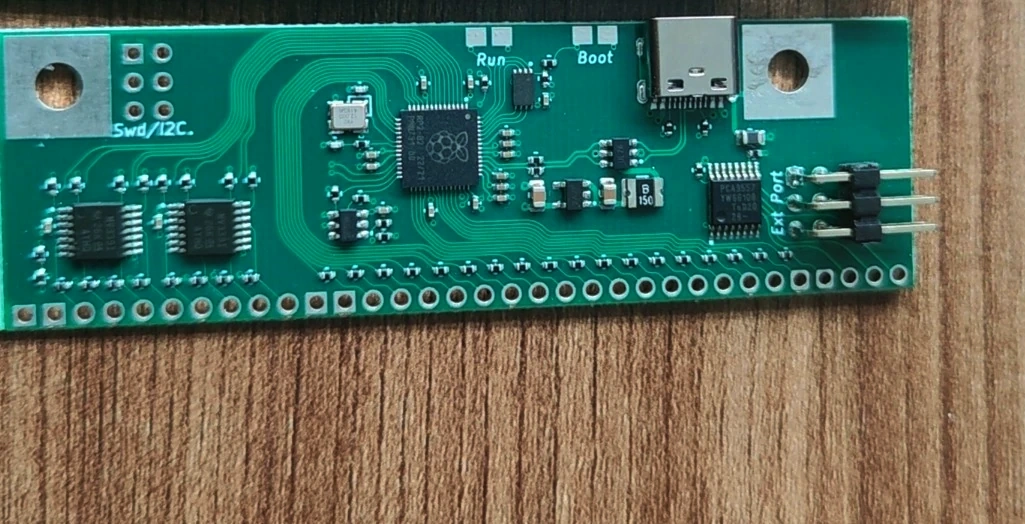
Leyden Jar controllers is for the F122, B122, and B104 because their capacitive PCBs are 18 column designs (support is planned for all other models as well, so you can order a spare Leyden Jar controller for futureproofing). This is an open source RP2040-based controller that you can also use to make your own keyboard.
Both controllers have the same usability and real-world performance, though the Leyden Jar is the latest and greatest, with support for 18 columns instead of 16 and other improvements. To be honest you won't notice much of a difference in normal usage so don't worry about getting one versus the other.
Some quick notes on flashing firmware: you must follow the steps in the manual to flash firmware. Spare controllers not sold inside a keyboard do not come pre-flashed; they will not be detected on the computer without following the steps in the manual so you might think they are broken when in fact they just need to be set up. While all of these keyboards work fine with Windows 11 among many other operating systems including Mac and Linux, due to increased security on Windows 11, for flashing Atmega controllers (i.e. all controllers except the Leyden Jar) you may need to use a computer running another operating system such as Windows 10, or try going to Windows Security > Core isolation and toggle “Memory integrity” OFF, then restart the computer, though this is not a confirmed fix as of now. I've had no issues flashing on my copy of Windows 11. Free programs like Rufus allow you to make a “Windows To Go” Windows 10 USB memory key using a freely downloaded trial iso of Windows 10, which will allow flashing. If you refuse to use something other than Windows 11 and you cannot change the aforementioned setting, you will be unable to flash firmware which may be required to use the controller and fix bugs and other vulnerabilities.
I have an original Model F. Should I replace the controller? For models that can use Soarer’s Converter, I do not recommend replacing the original controller unless it does not work reliably. Soarer’s Teensy/Pro Micro 5V ATMEGA32U4-based converter (XT, AT, F122, Unsaver, etc.) plugs into the original controller. Removing the original controller is not a good idea as the traces are at risk of damage during the desoldering process and it is completely unnecessary for the F122 which has a reliable original controller. Instead, just order the aforementioned Pro Micro and follow the setup instructions. For the 4704 style models (F62 Kishsaver, F77, F104, F50), I recommend replacing the controller with the latest and newest 4704 USB-C controller. Just pick the 4704 option. The main benefits of the new controllers are the USB-C connection and the ability to replace the pro micro brains of the controller with another one in case it fails, instead of having to replace the entire controller. They are two separate parts that you would solder together using the included header pins. You also get the benefits of the new QMK firmware (binning, autocalibration) with the new board. Only if you want to use a solenoid, if your original IBM board has failed, or if you want to replace it, I recommend getting the right controller for your keyboard. Here are some helpful Soarer’s Converter files (provided AS IS, no support offered, use at your own risk) that I gathered from various sources.
Which beam spring controller to order for your original IBM keyboard:
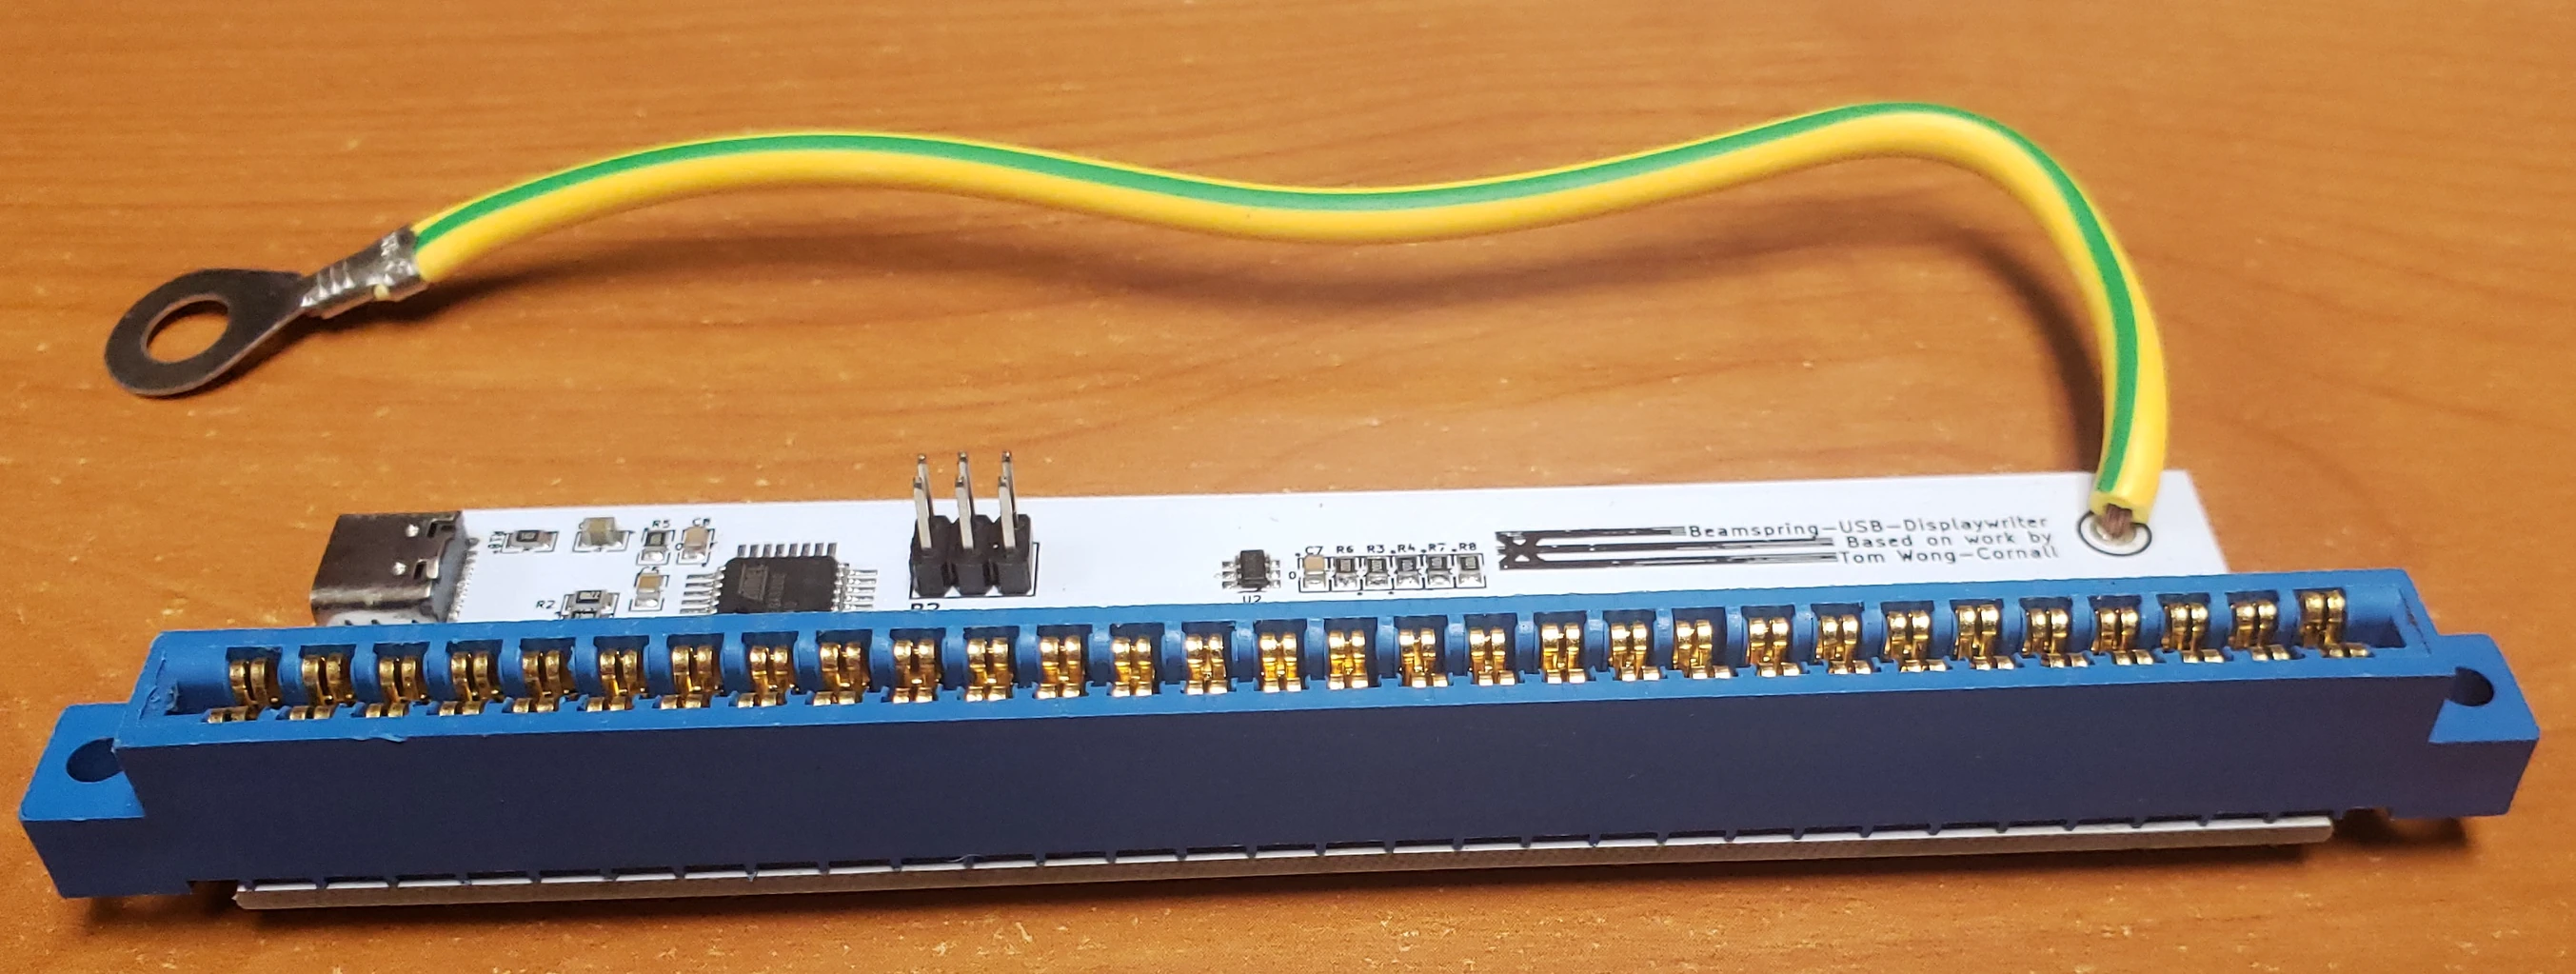
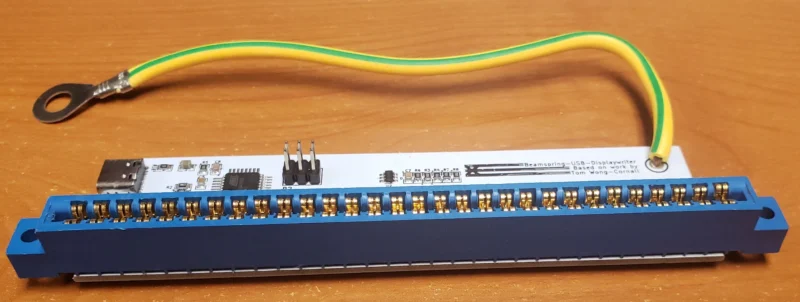
Displaywriter beam spring controller (if you have a displaywriter keyboard – Google to confirm if you are not sure)
Beamspring USB-C (for IBM Models) – for various IBM beam spring keyboards except the non-displaywriter beam spring controller – examples include but are not limited to IBM 3278 Beam Spring Keyboard, 5251, 3279, 3276, and 4978
Some beam spring keyboards (3277, 3741) have a non-detachable controller – you may need to order a replacement capacitive PCB as well (I do not offer these)
5253/5254: Note that no controllers are compatible with the 5253/5254 which appear to resemble displaywriters but use a nonstandard 5 rows and 23 columns. No known controller supports this output; you would have to modify the open source xwhatsit beamspring controller design and keymap in the firmware.
What to order if you have an original IBM F122 / F104 Unsaver / PC AT / 3178 Blue Switch Keyboard:
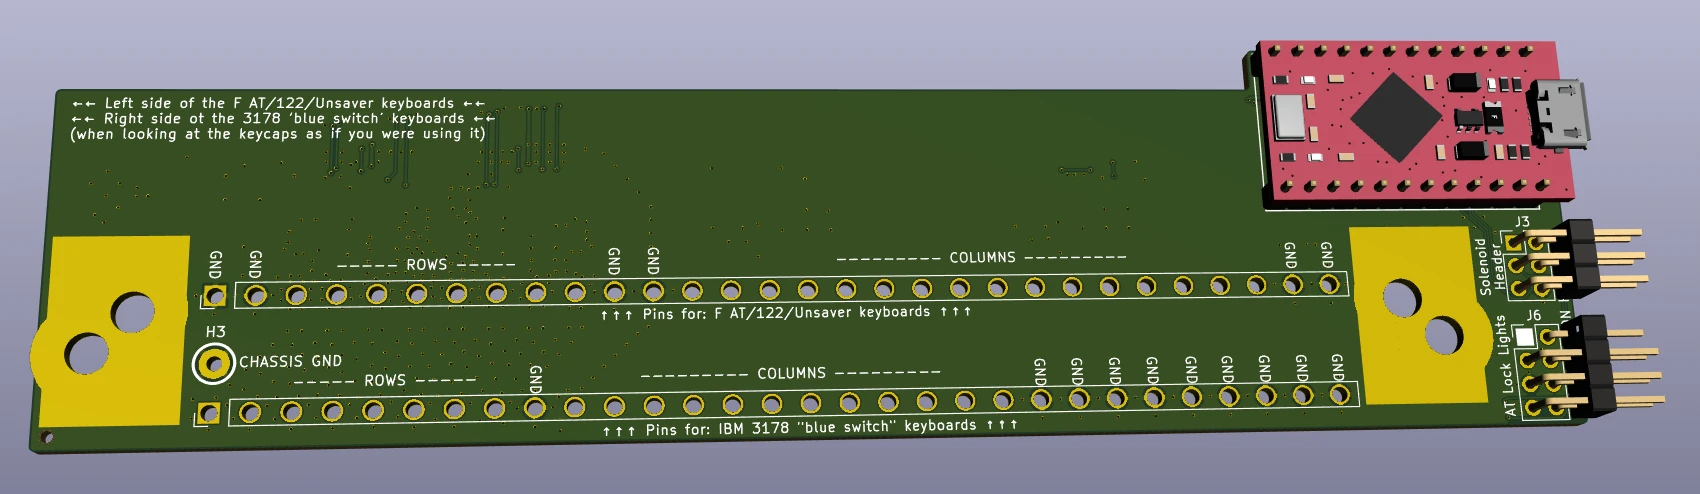
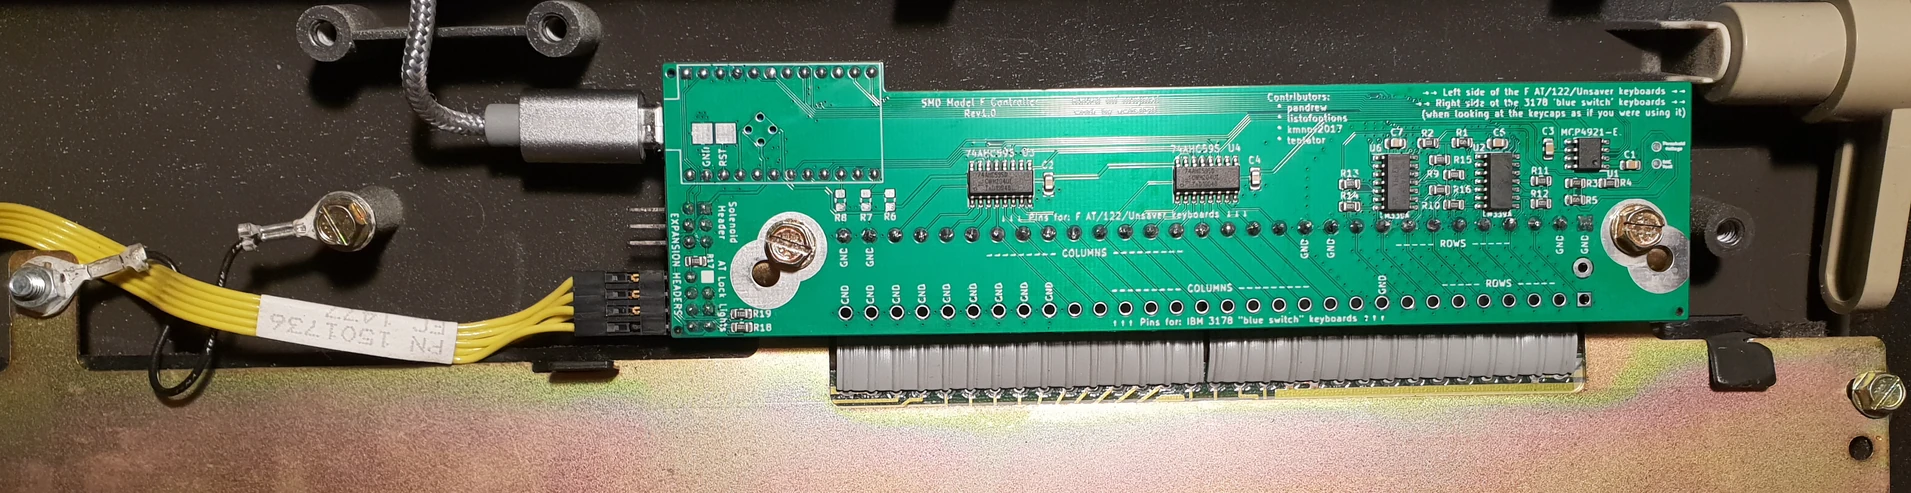
F122/Unsaver/3178/AT Controller (note: this pandrew controller includes the USB-C Pro Micro. You have to solder the pro micro to the controller): Solenoid Driver, Solenoid, USB-C cable
What to order if you have an original IBM F107 / F77 Unsaver / F62 Kishsaver / F50 Keyboard:
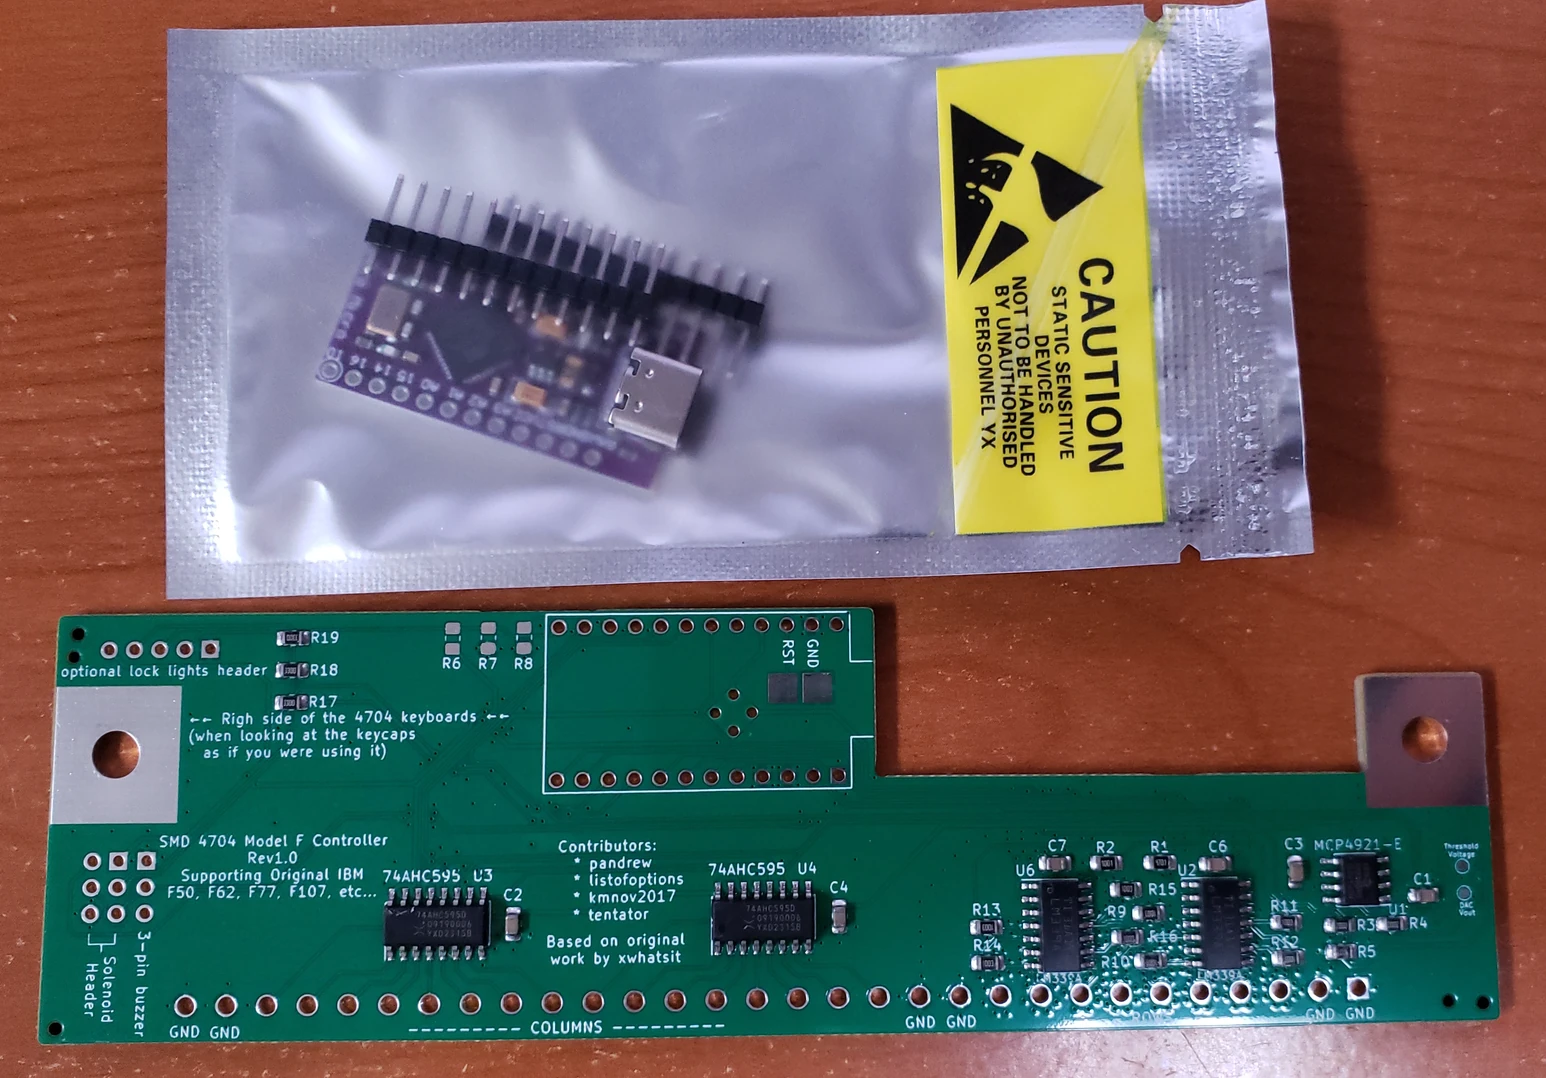
4704 Controller (note: this pandrew controller includes the USB-C Pro Micro. You have to solder the pro micro to the controller)
USB cables: Model F custom USB cables are not included – please order one in the shop.
Important terms: Please note that for all PCBs and controllers that specifications and functionality may change over time, so I cannot guarantee compatibility or availability of each feature on these products. Product hardware and firmware revisions may change or be updated in the future, so your PCB may not match exactly what is pictured. The ribbon cable is not pre-soldered to the controller as depicted in some photos. Please note that you have to read the manual and head over to the geekhack mechanical keyboard forum for support as no one on one technical support is offered. In addition to reviewing the manual on this web site, please also review xwhatsit’s original instructions here: https://static.wongcornall.com/ibm-capsense-usb/
A note on USB-C: the USB-C standard allows for extra movement in the connector compared with other USB receptacles like USB-B. For original IBM keyboards, ensure that the USB cable is internally strain relieved so that pulling on the cable will in no way cause cable movement on the other side of the strain relief. By ordering a controller you agree to accept this extra movement and the need for strain relief to ensure a reliable connection. In other words, you must expect that the controller may disconnect if the USB cable is pulled while connected to the controller’s USB-C connector, if not properly strain relieved. I have found that gently squeezing the connector with your fingers to compress the metal USB-C connector housing helps reduce the normal looseness.
For the pandrew controllers for original IBM keyboards: be sure to solder the Pro Micro controller on the correct side! It always goes on the side without the chips and other components. The pandrew controllers are always installed so that the factory assembled components are visible when viewing the bottom case as shown below; in other words they should be placed so that when you are looking at the keyboard in its normal position, the controllers should be oriented as per the first two images below. The third image below shows the keyboard upside down, with the components side visible. Images credit: pandrew